ARTICLE
Forging the Greater Brass Scorpion
Foreword
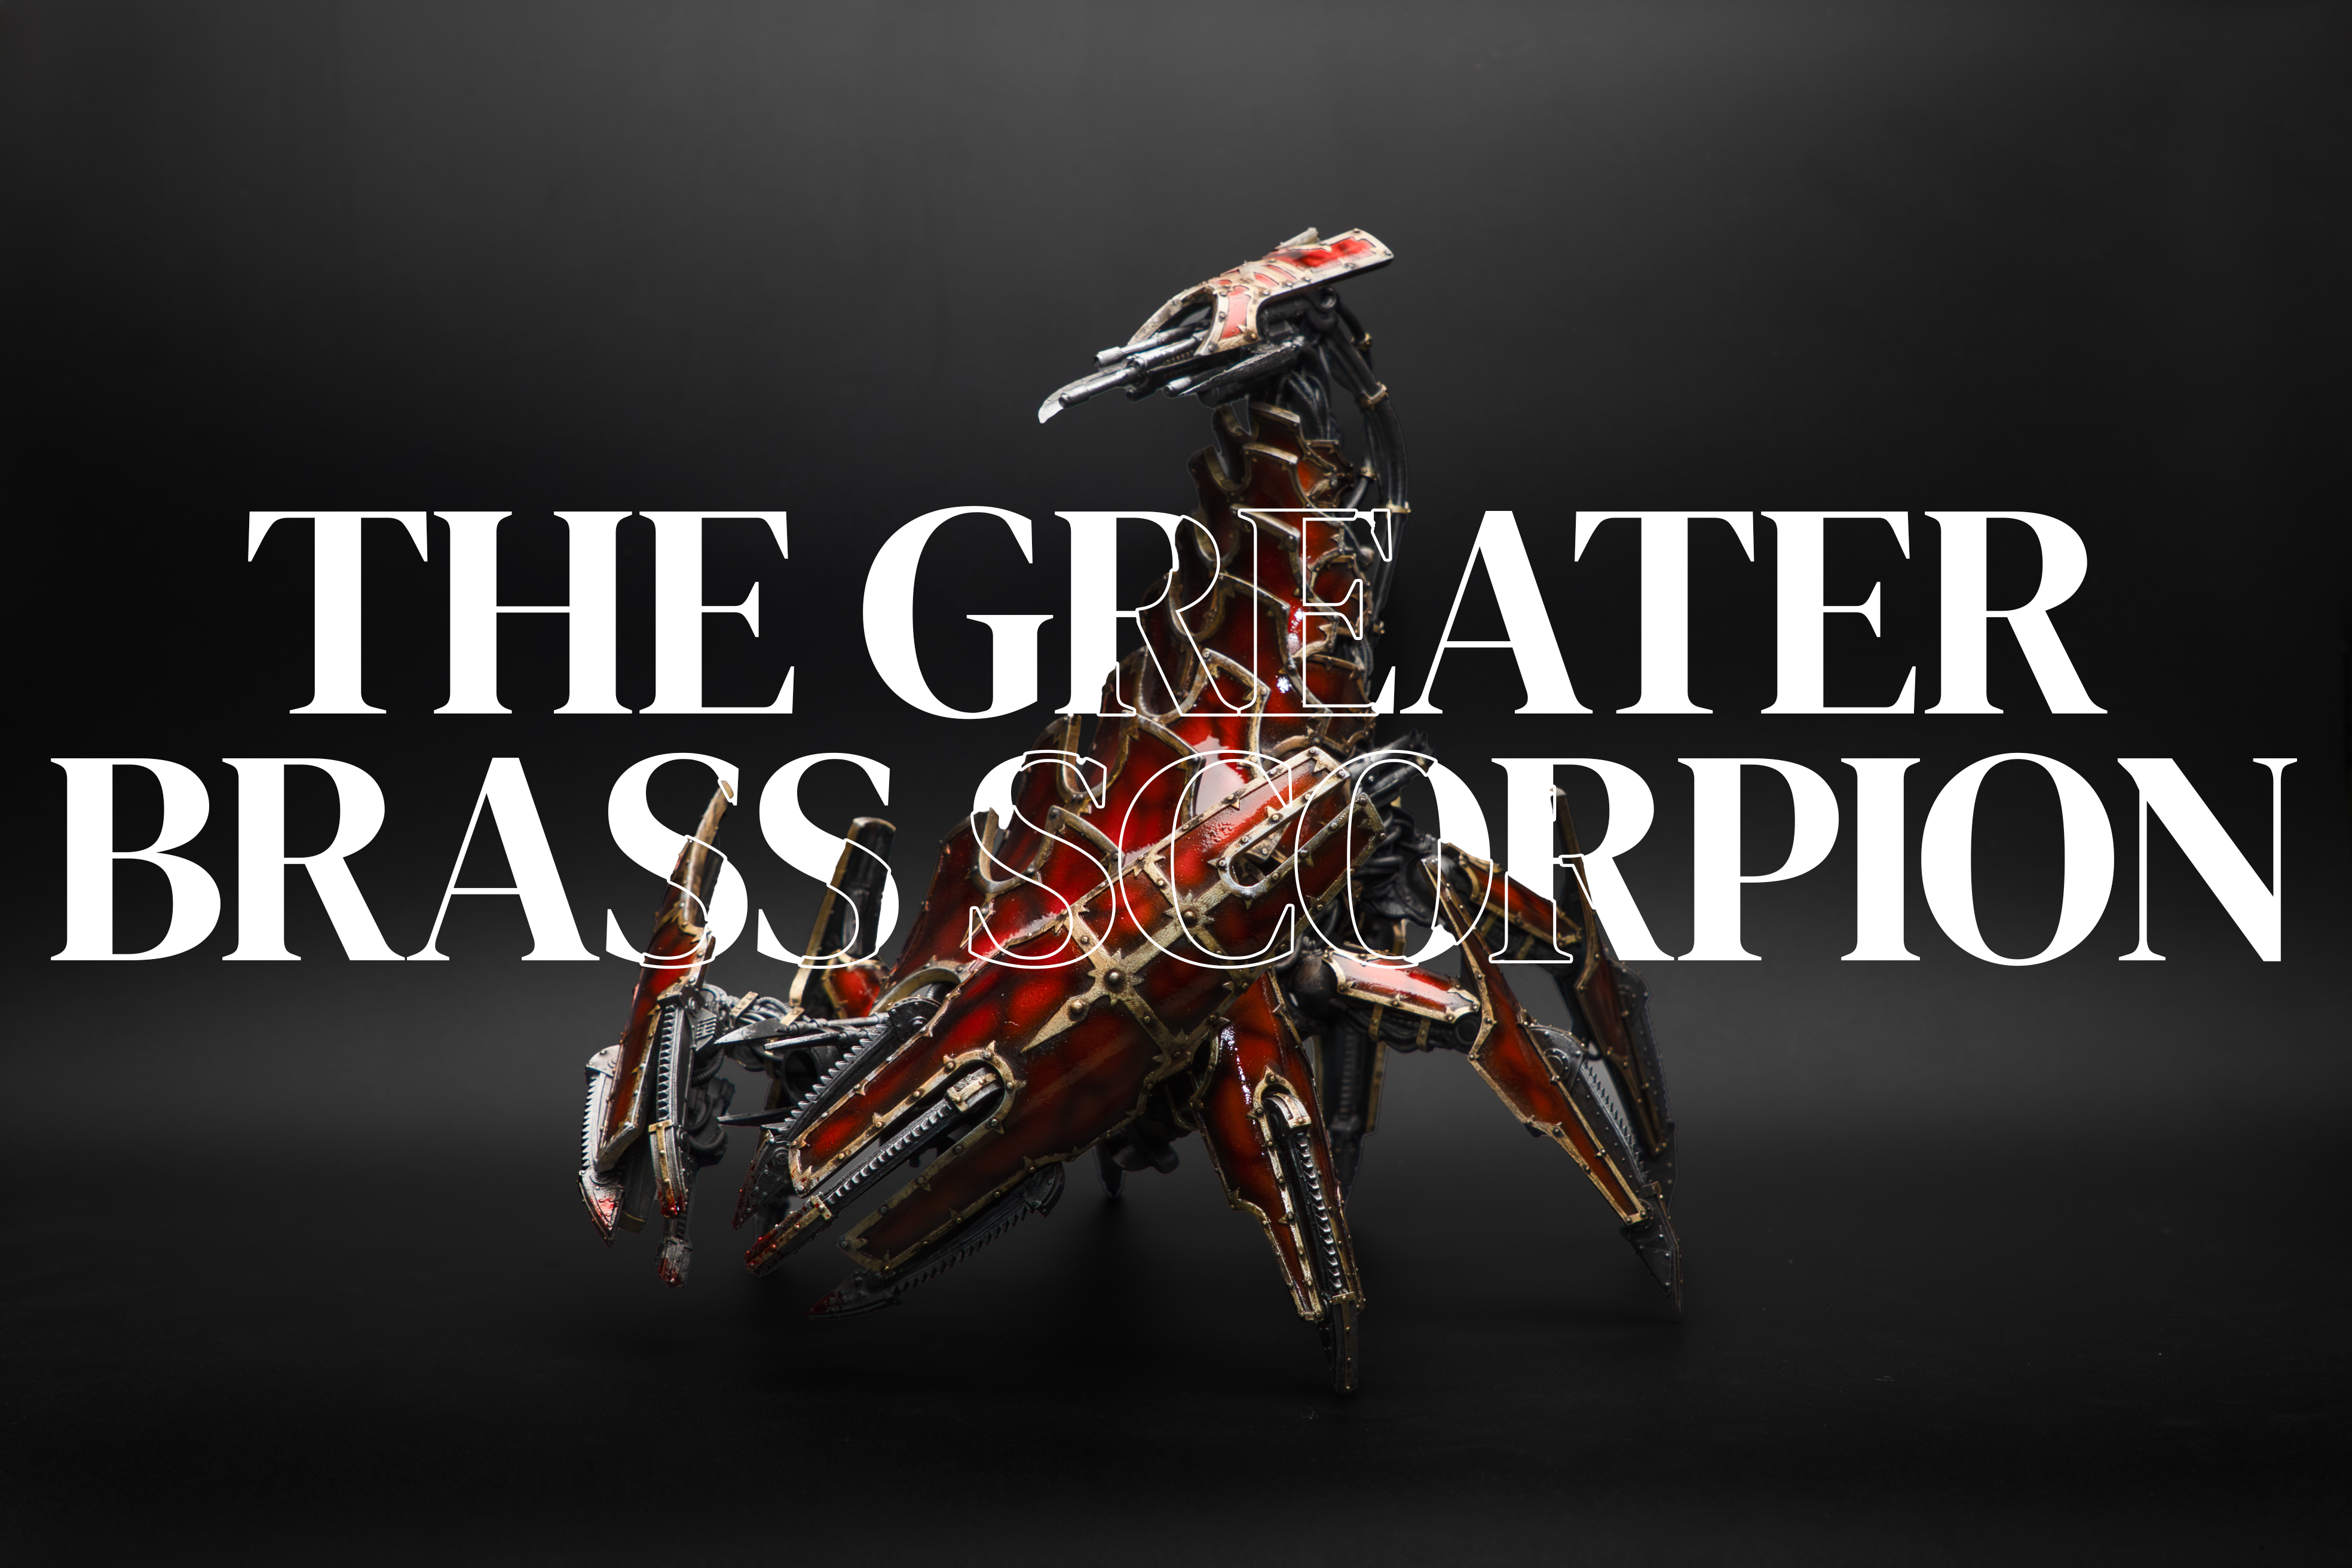
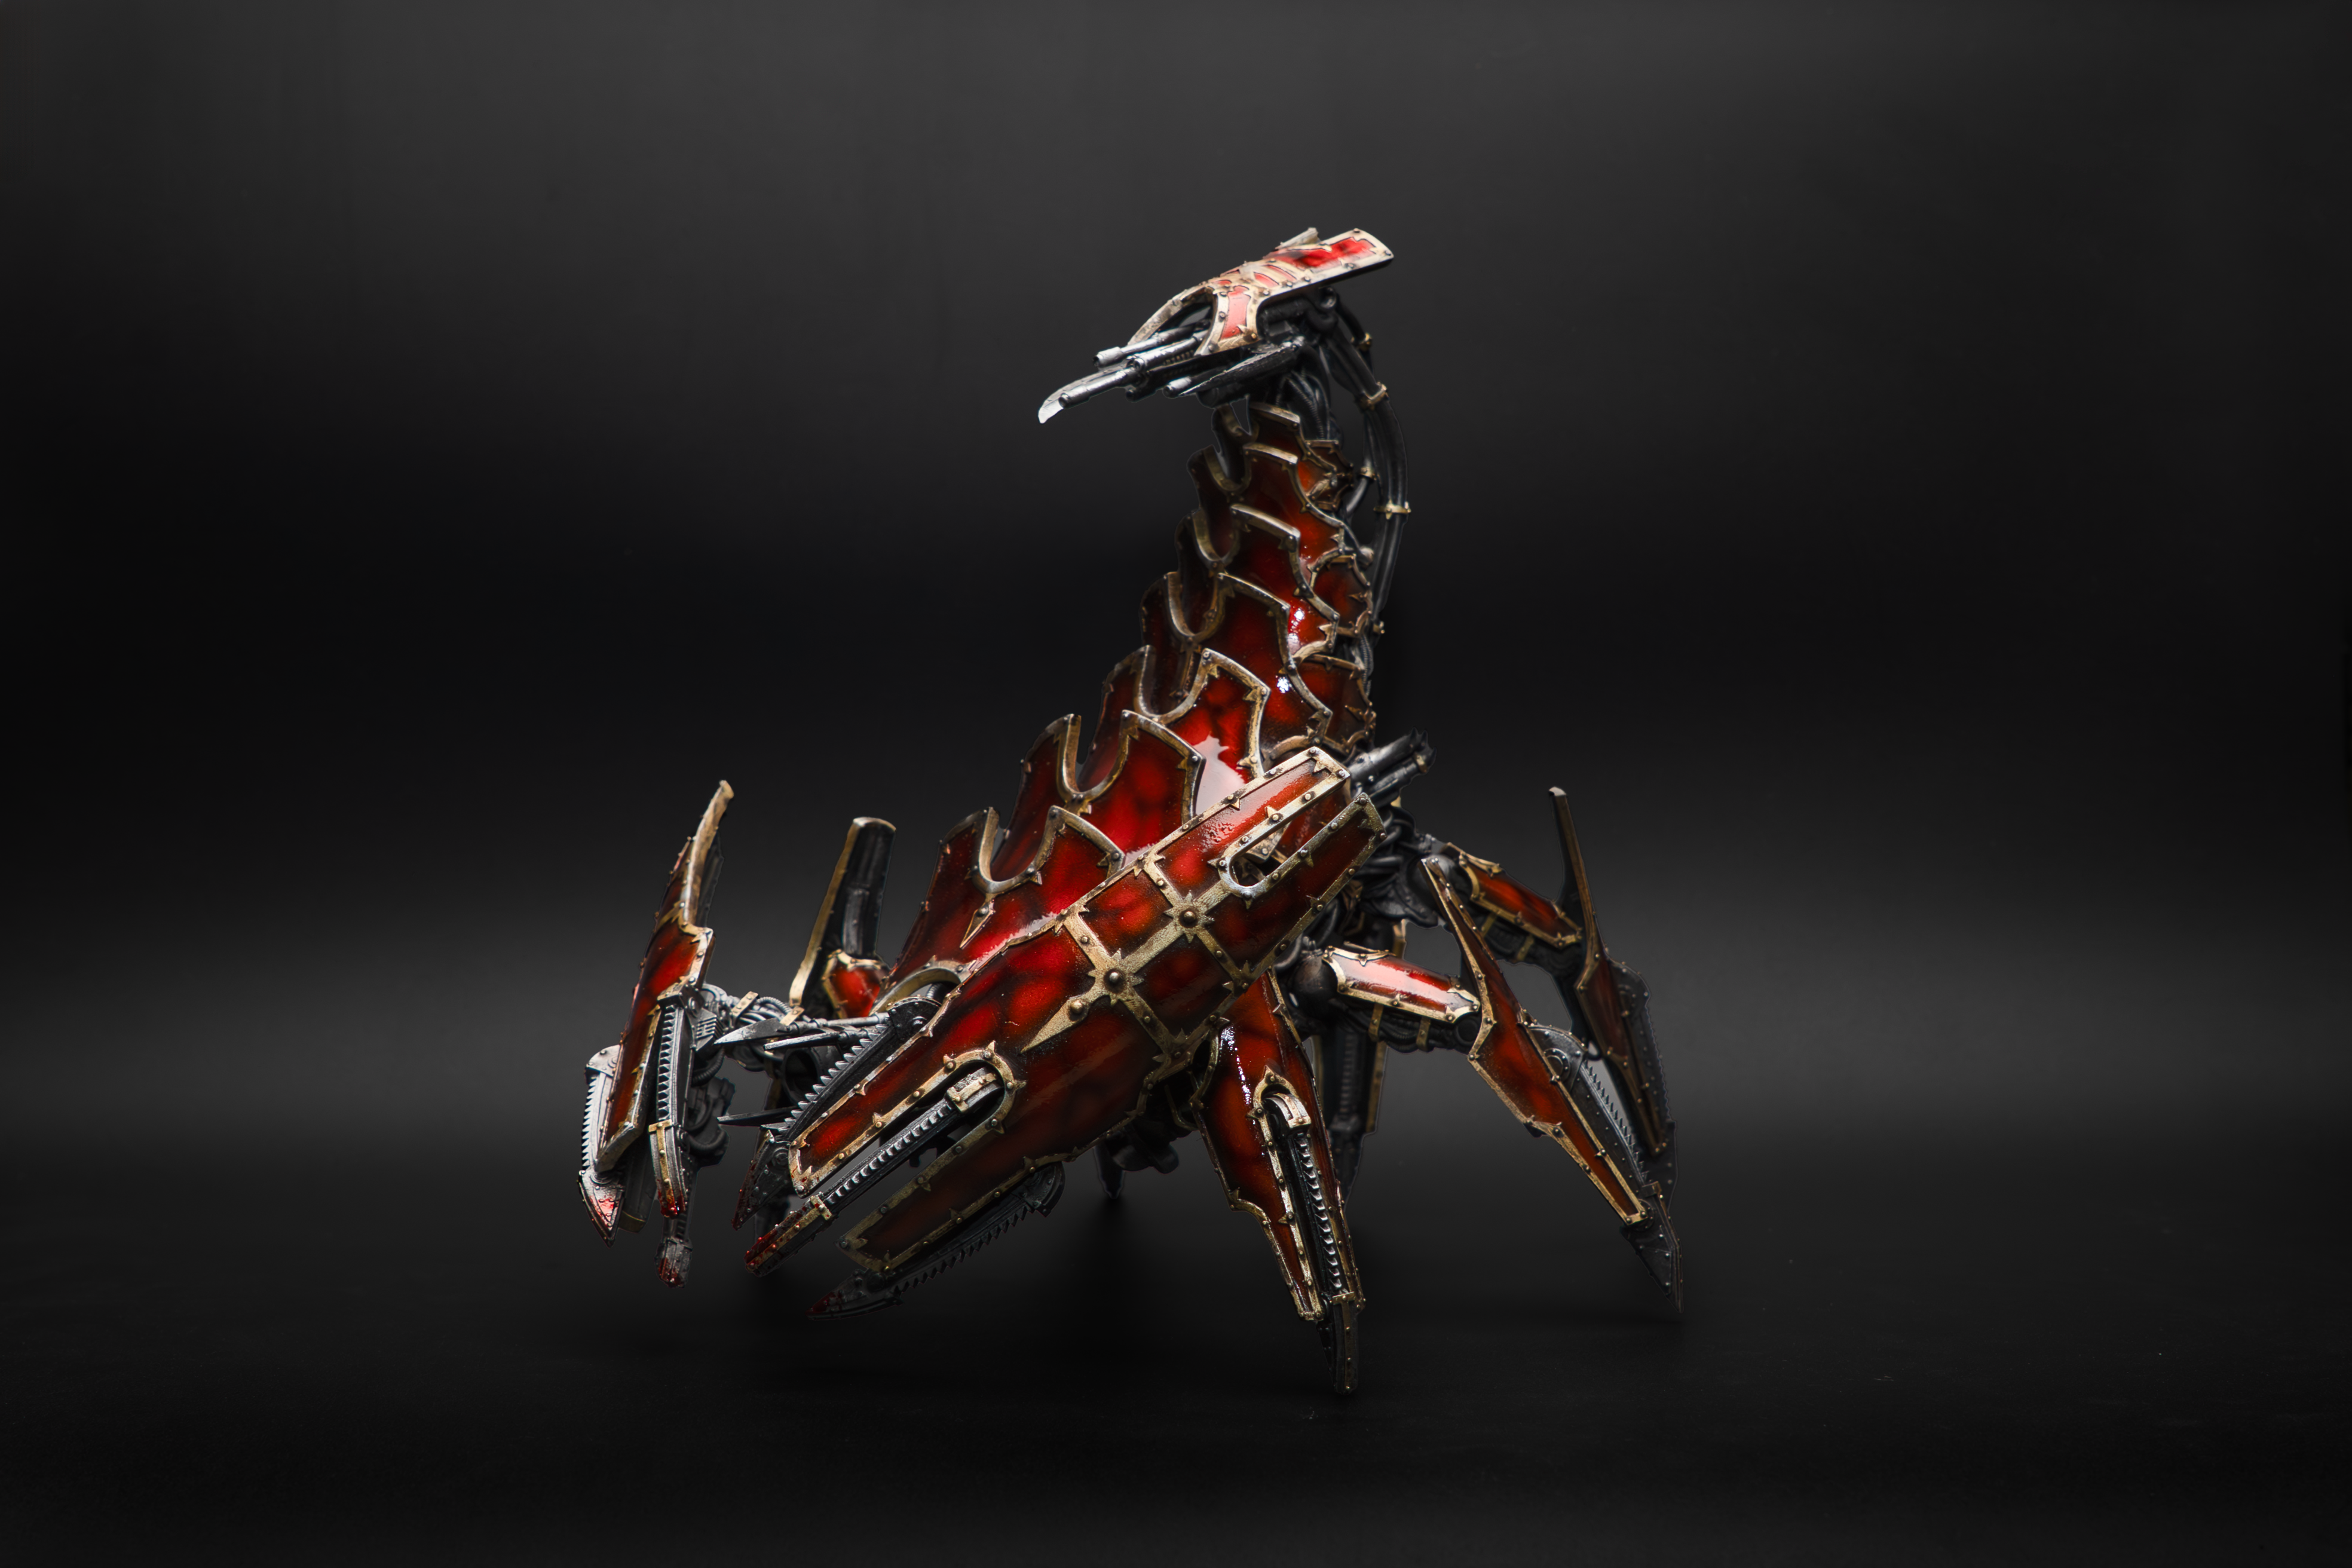
Recently I've had the experience to work on a unique model primarily due to the finishing technique that is seldom present on other box art examples. The article takes you through the build stage all the way up to the final result. The final result can easily vary from painter-to-painter depending on paints used. I encourage you to experiment with different products and techniques. Different expressions are what I'm excited to see online. I hope it serves to help anyone who's had this model sitting on their backlog or is eagerly waiting to receive it in the mail.
Assembly & Preparation
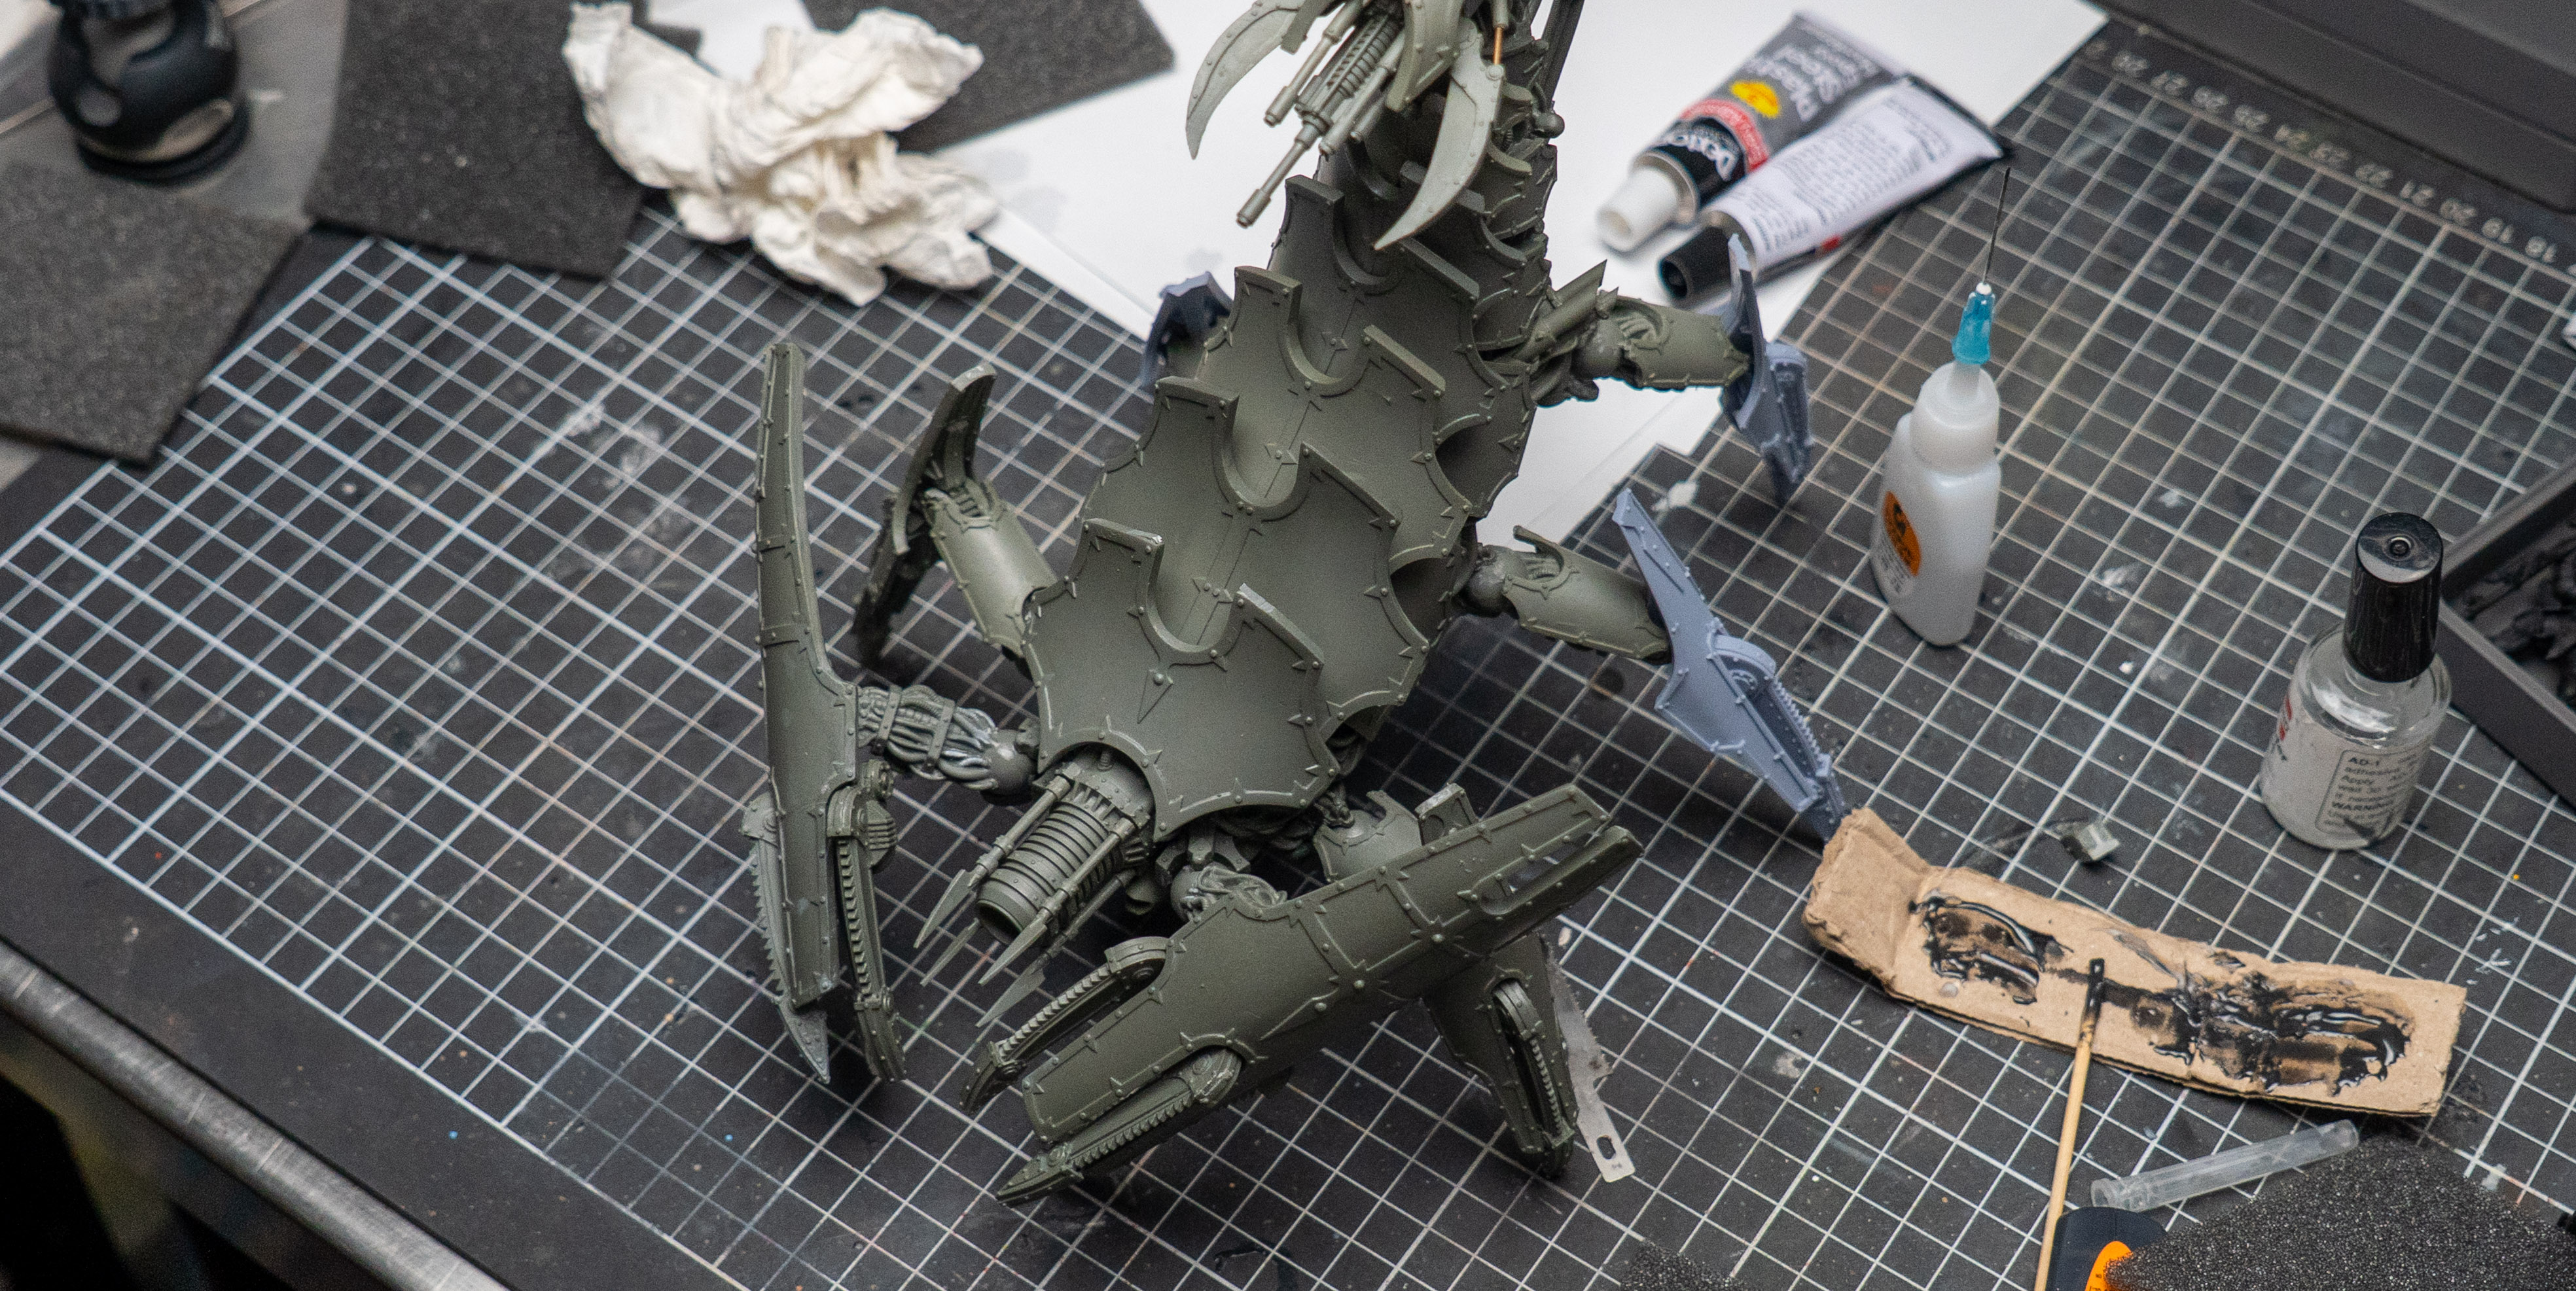
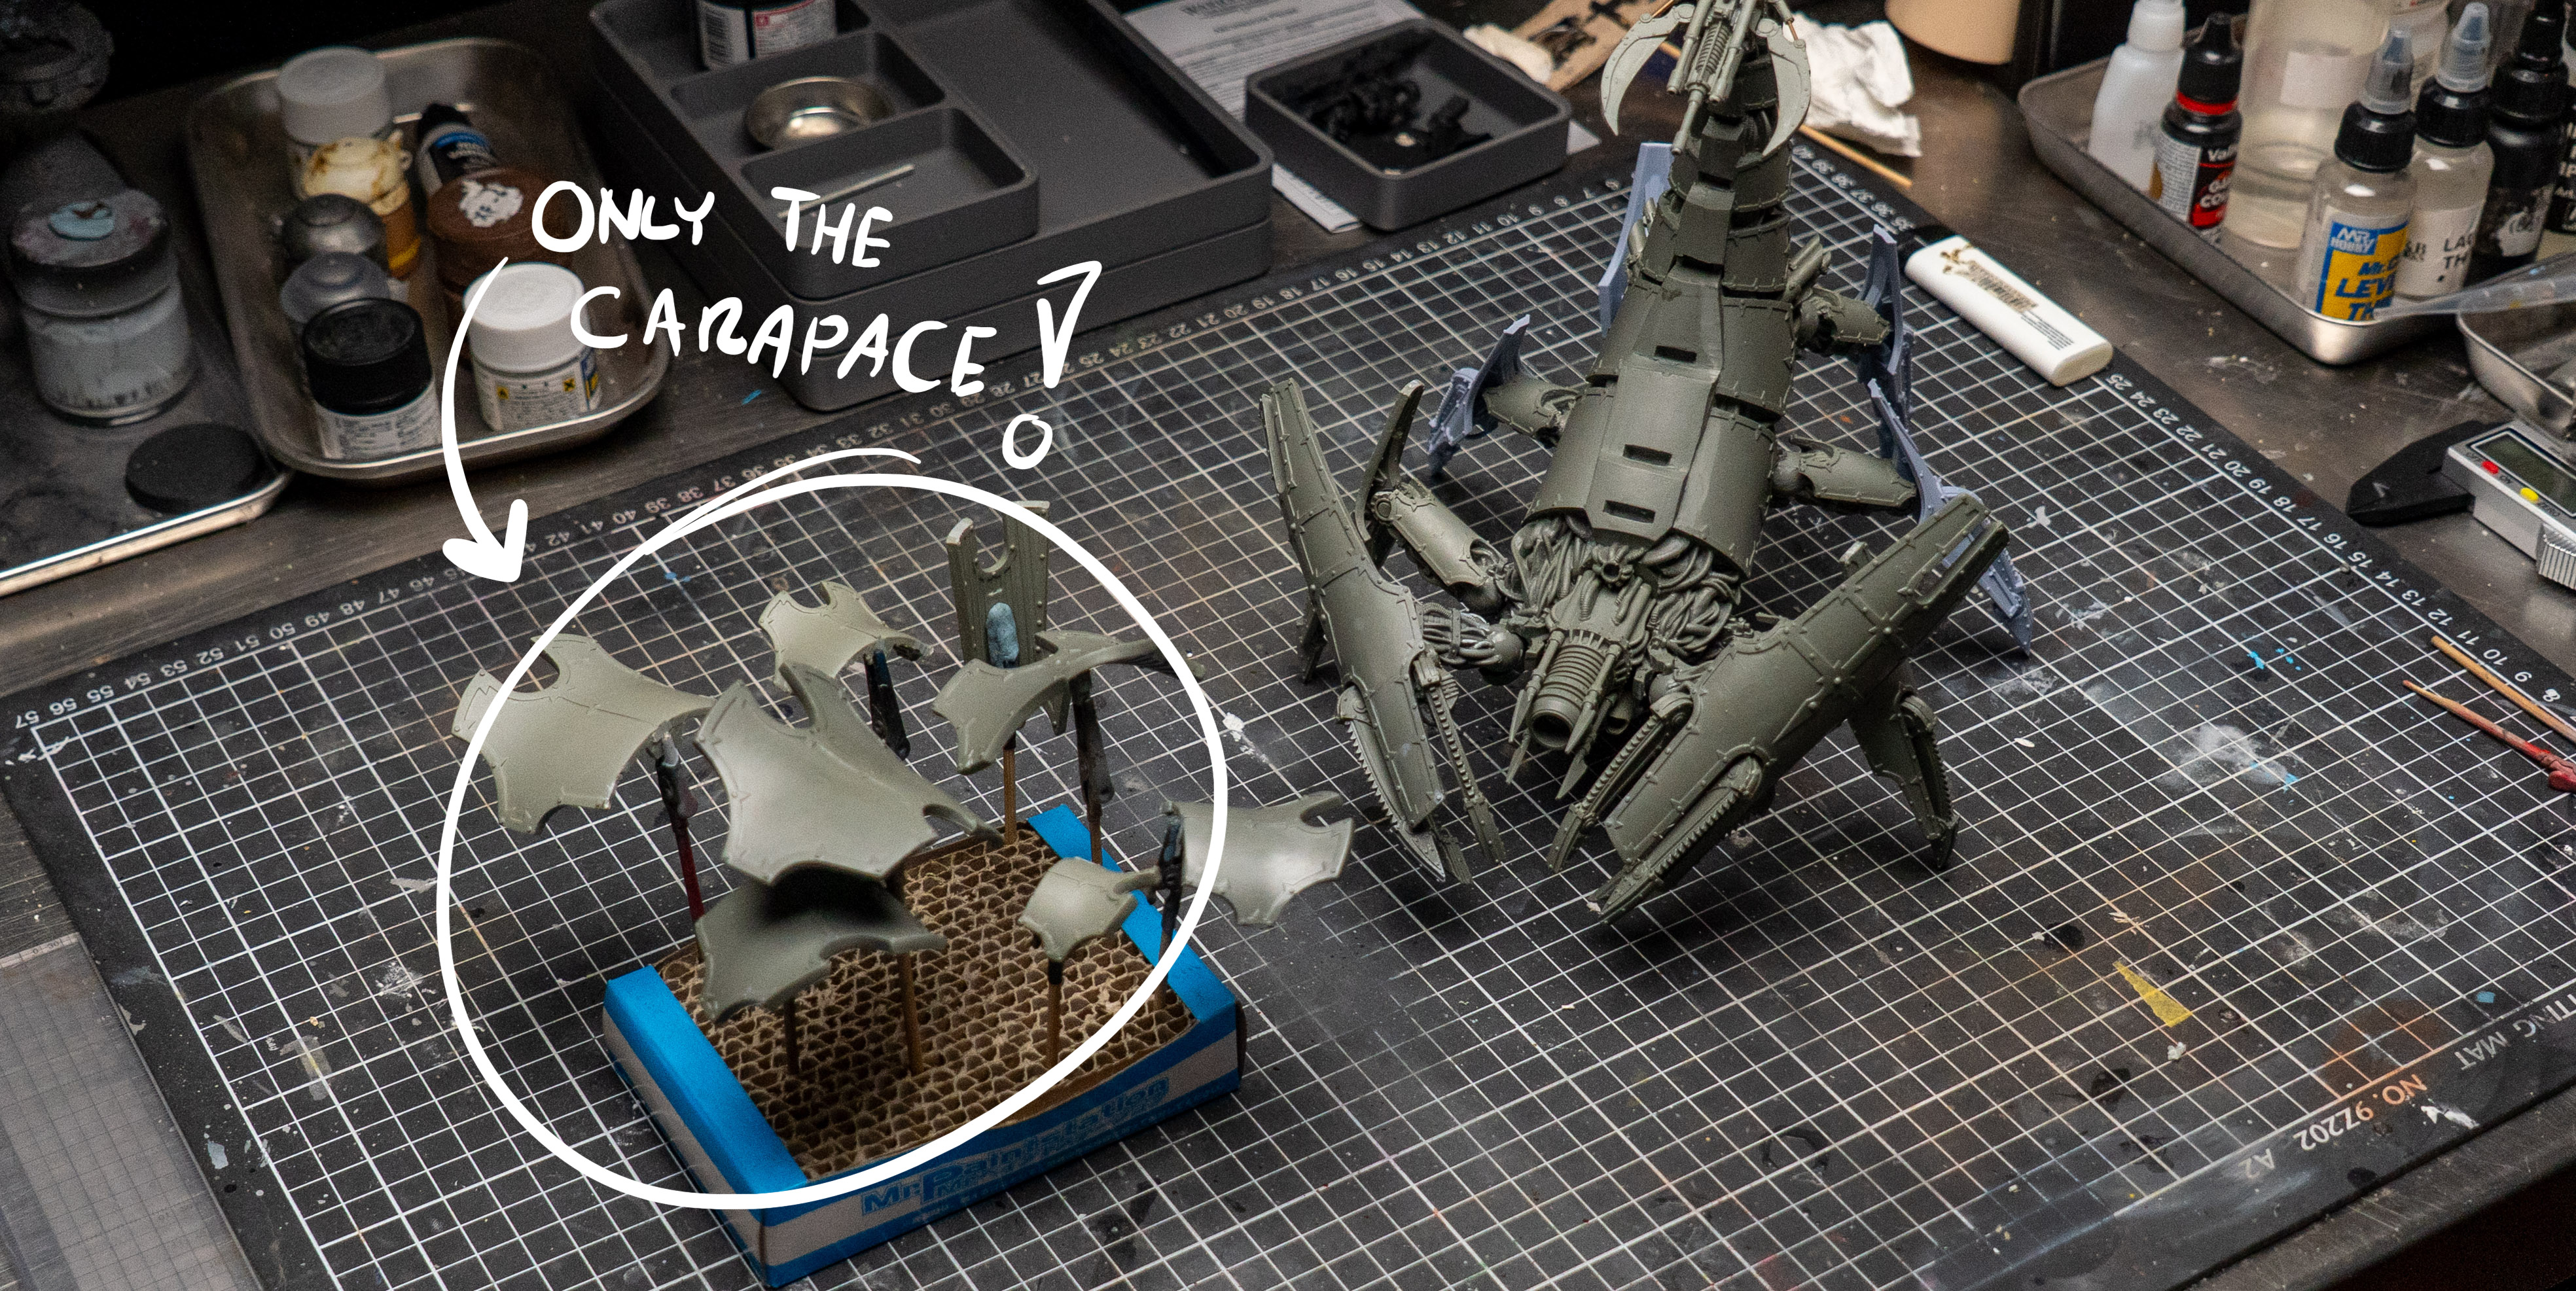
(1-2/3) Preparation of the model is always paramount to the final result, all of which will be included in a future article specifically regarding assembling Forge World models. Replacement legs were printed as the original parts were missing from the original kit upon inspection. At this stage, it's important not to glue the 8 center carapaces on the model as it will result in the desired finish being impossible to achieve.
All other elements of the kit have been cleaned and sanded following the Forge World instructions. Structural parts are connected by two part epoxy, and fine detail with runny CA glue.
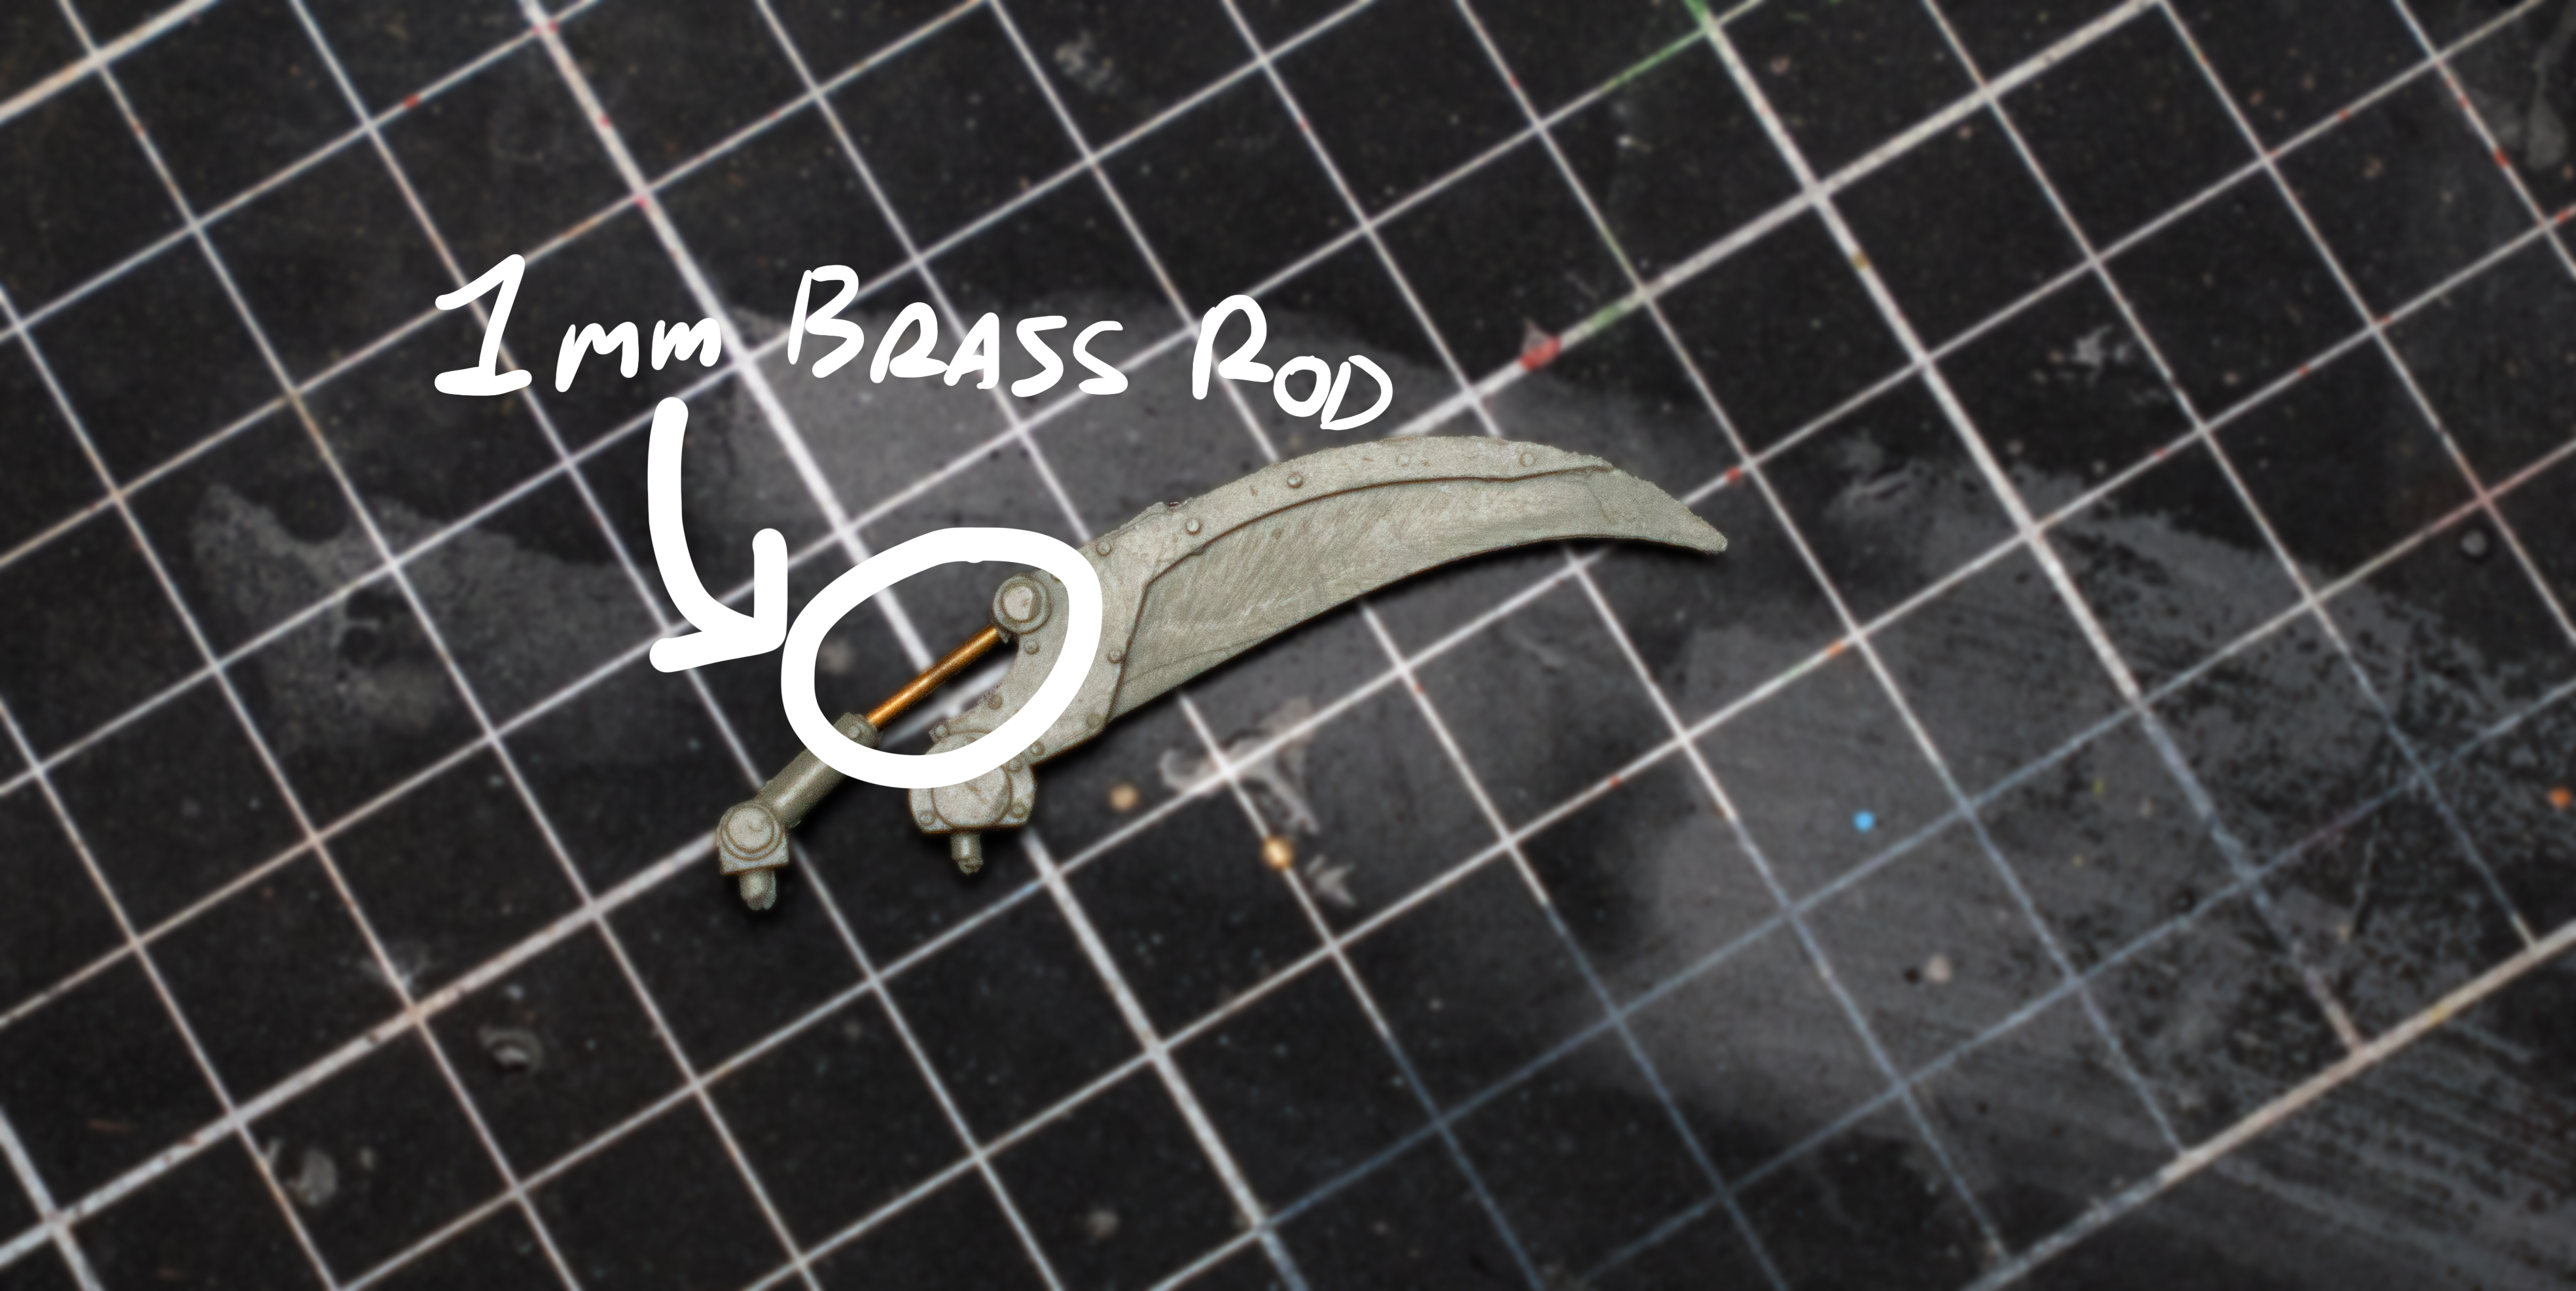
(3/3) The second image highlights a modification I made to the tail blades, the warpage was severe and the rod was replaced with a brass rod cut to the length following the original piece.
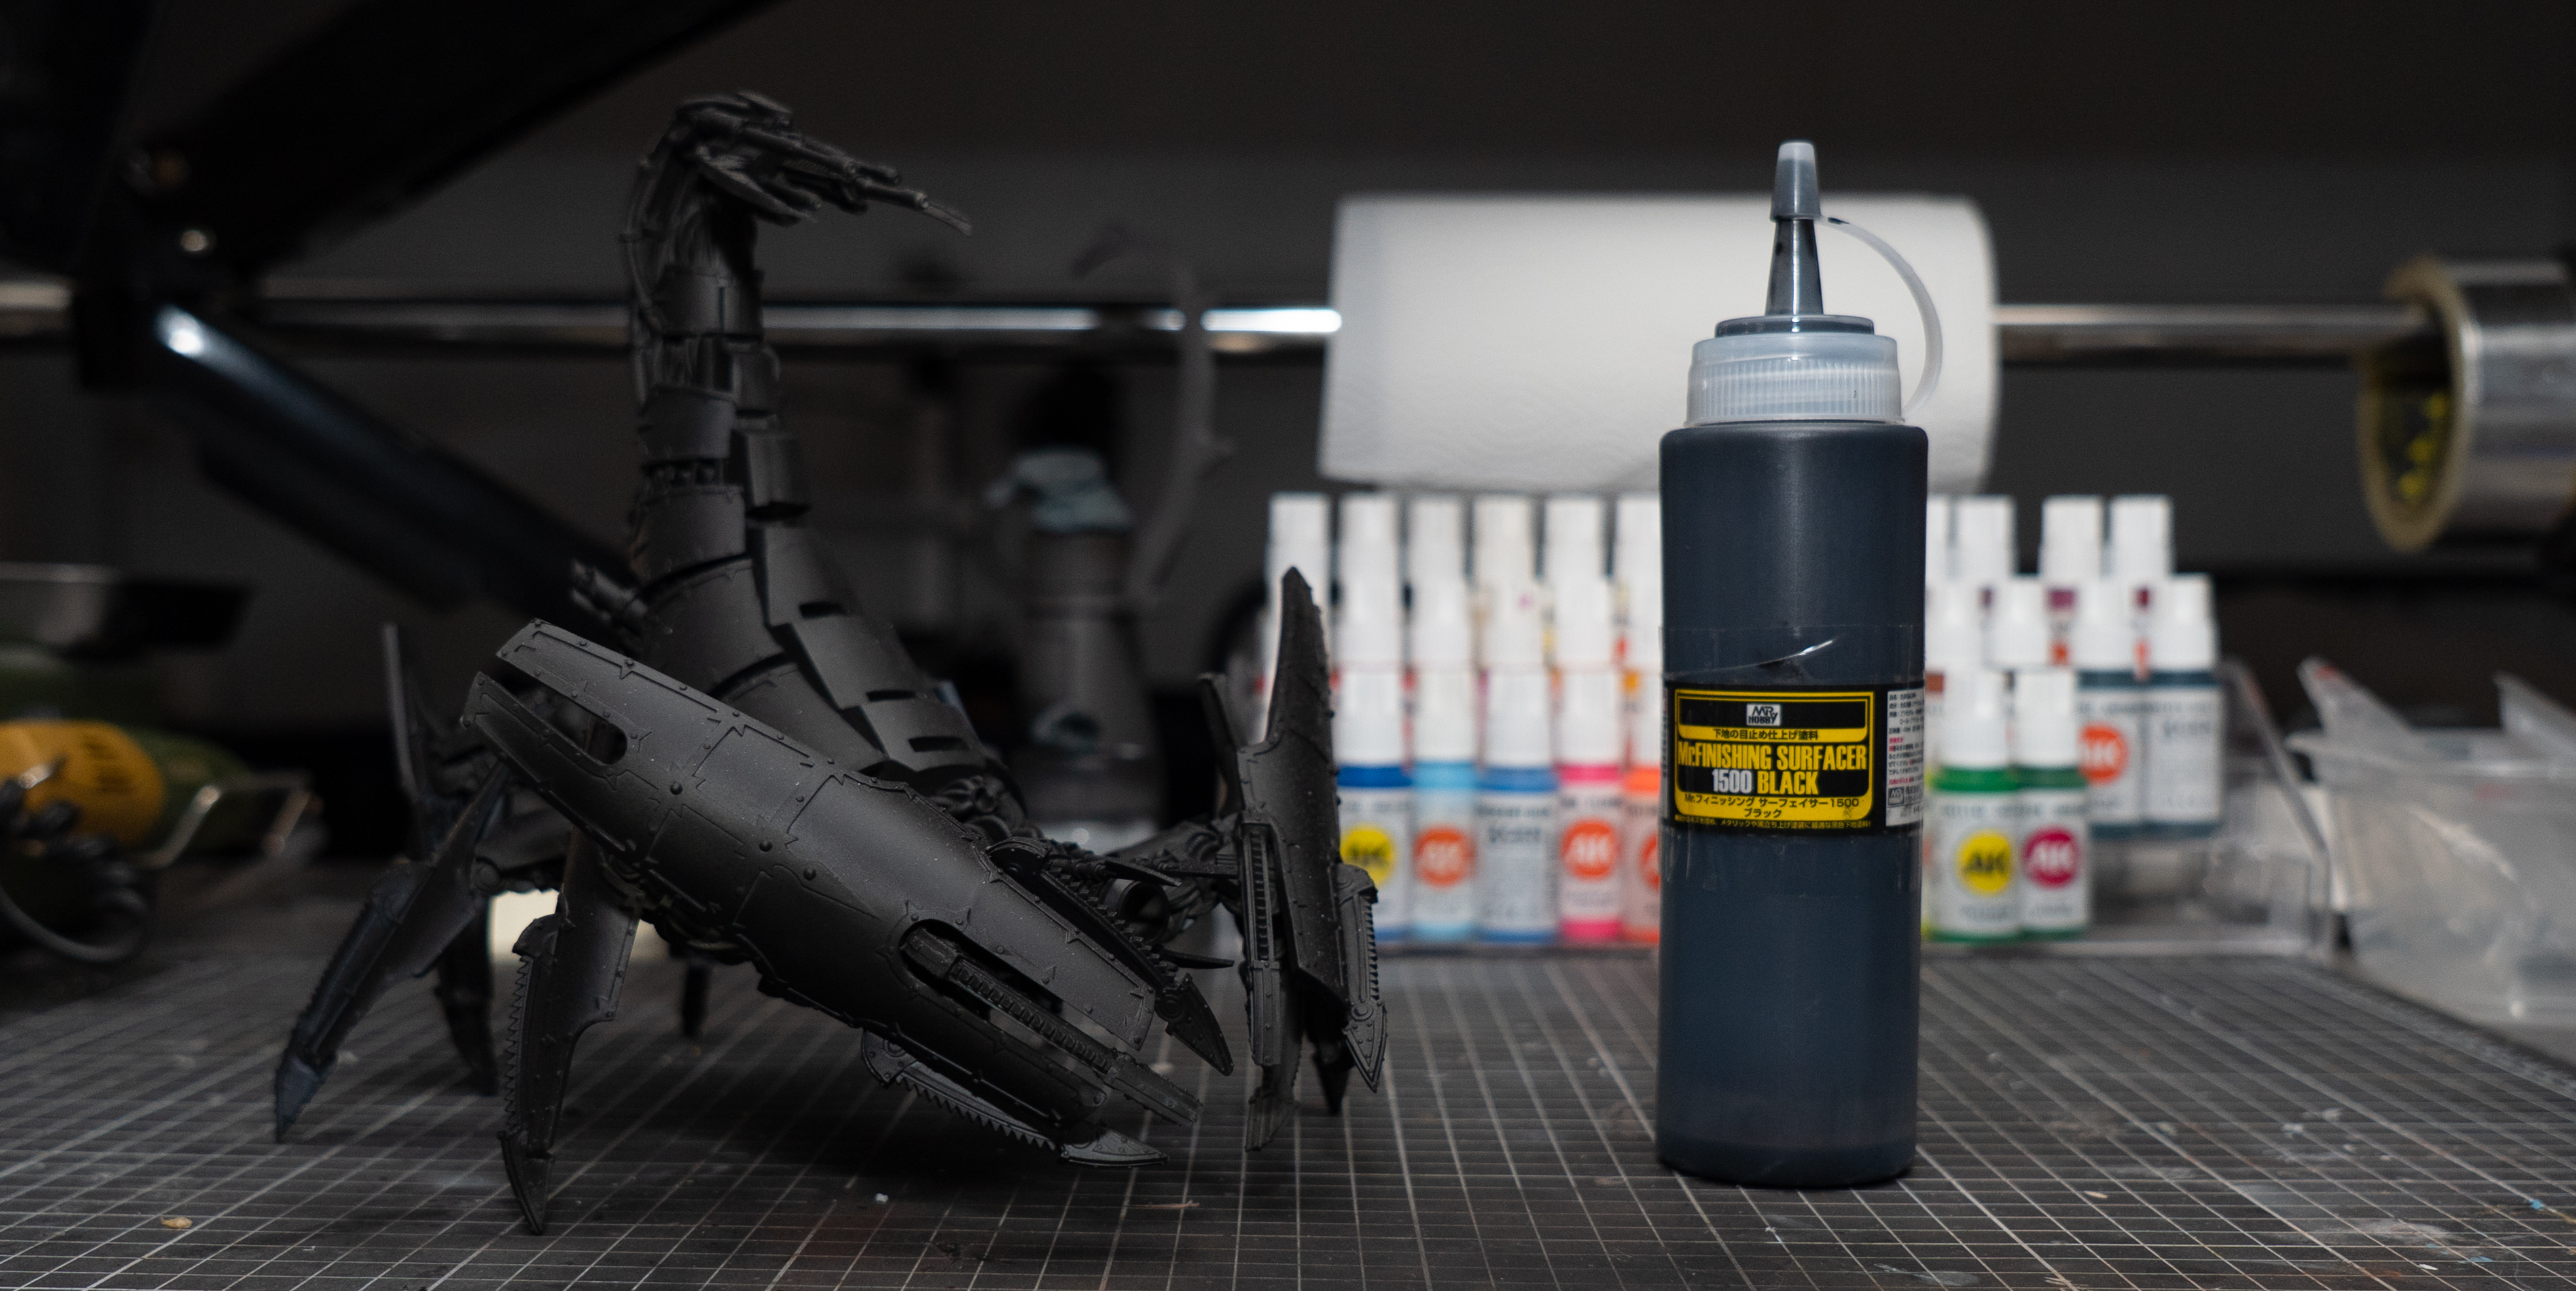
This step is as crucial as the one before it, failing to achieve a smooth layer underneath the next one will lead to more trouble than it's worth trying to fix, so it's better to address these issues early on.
Painting
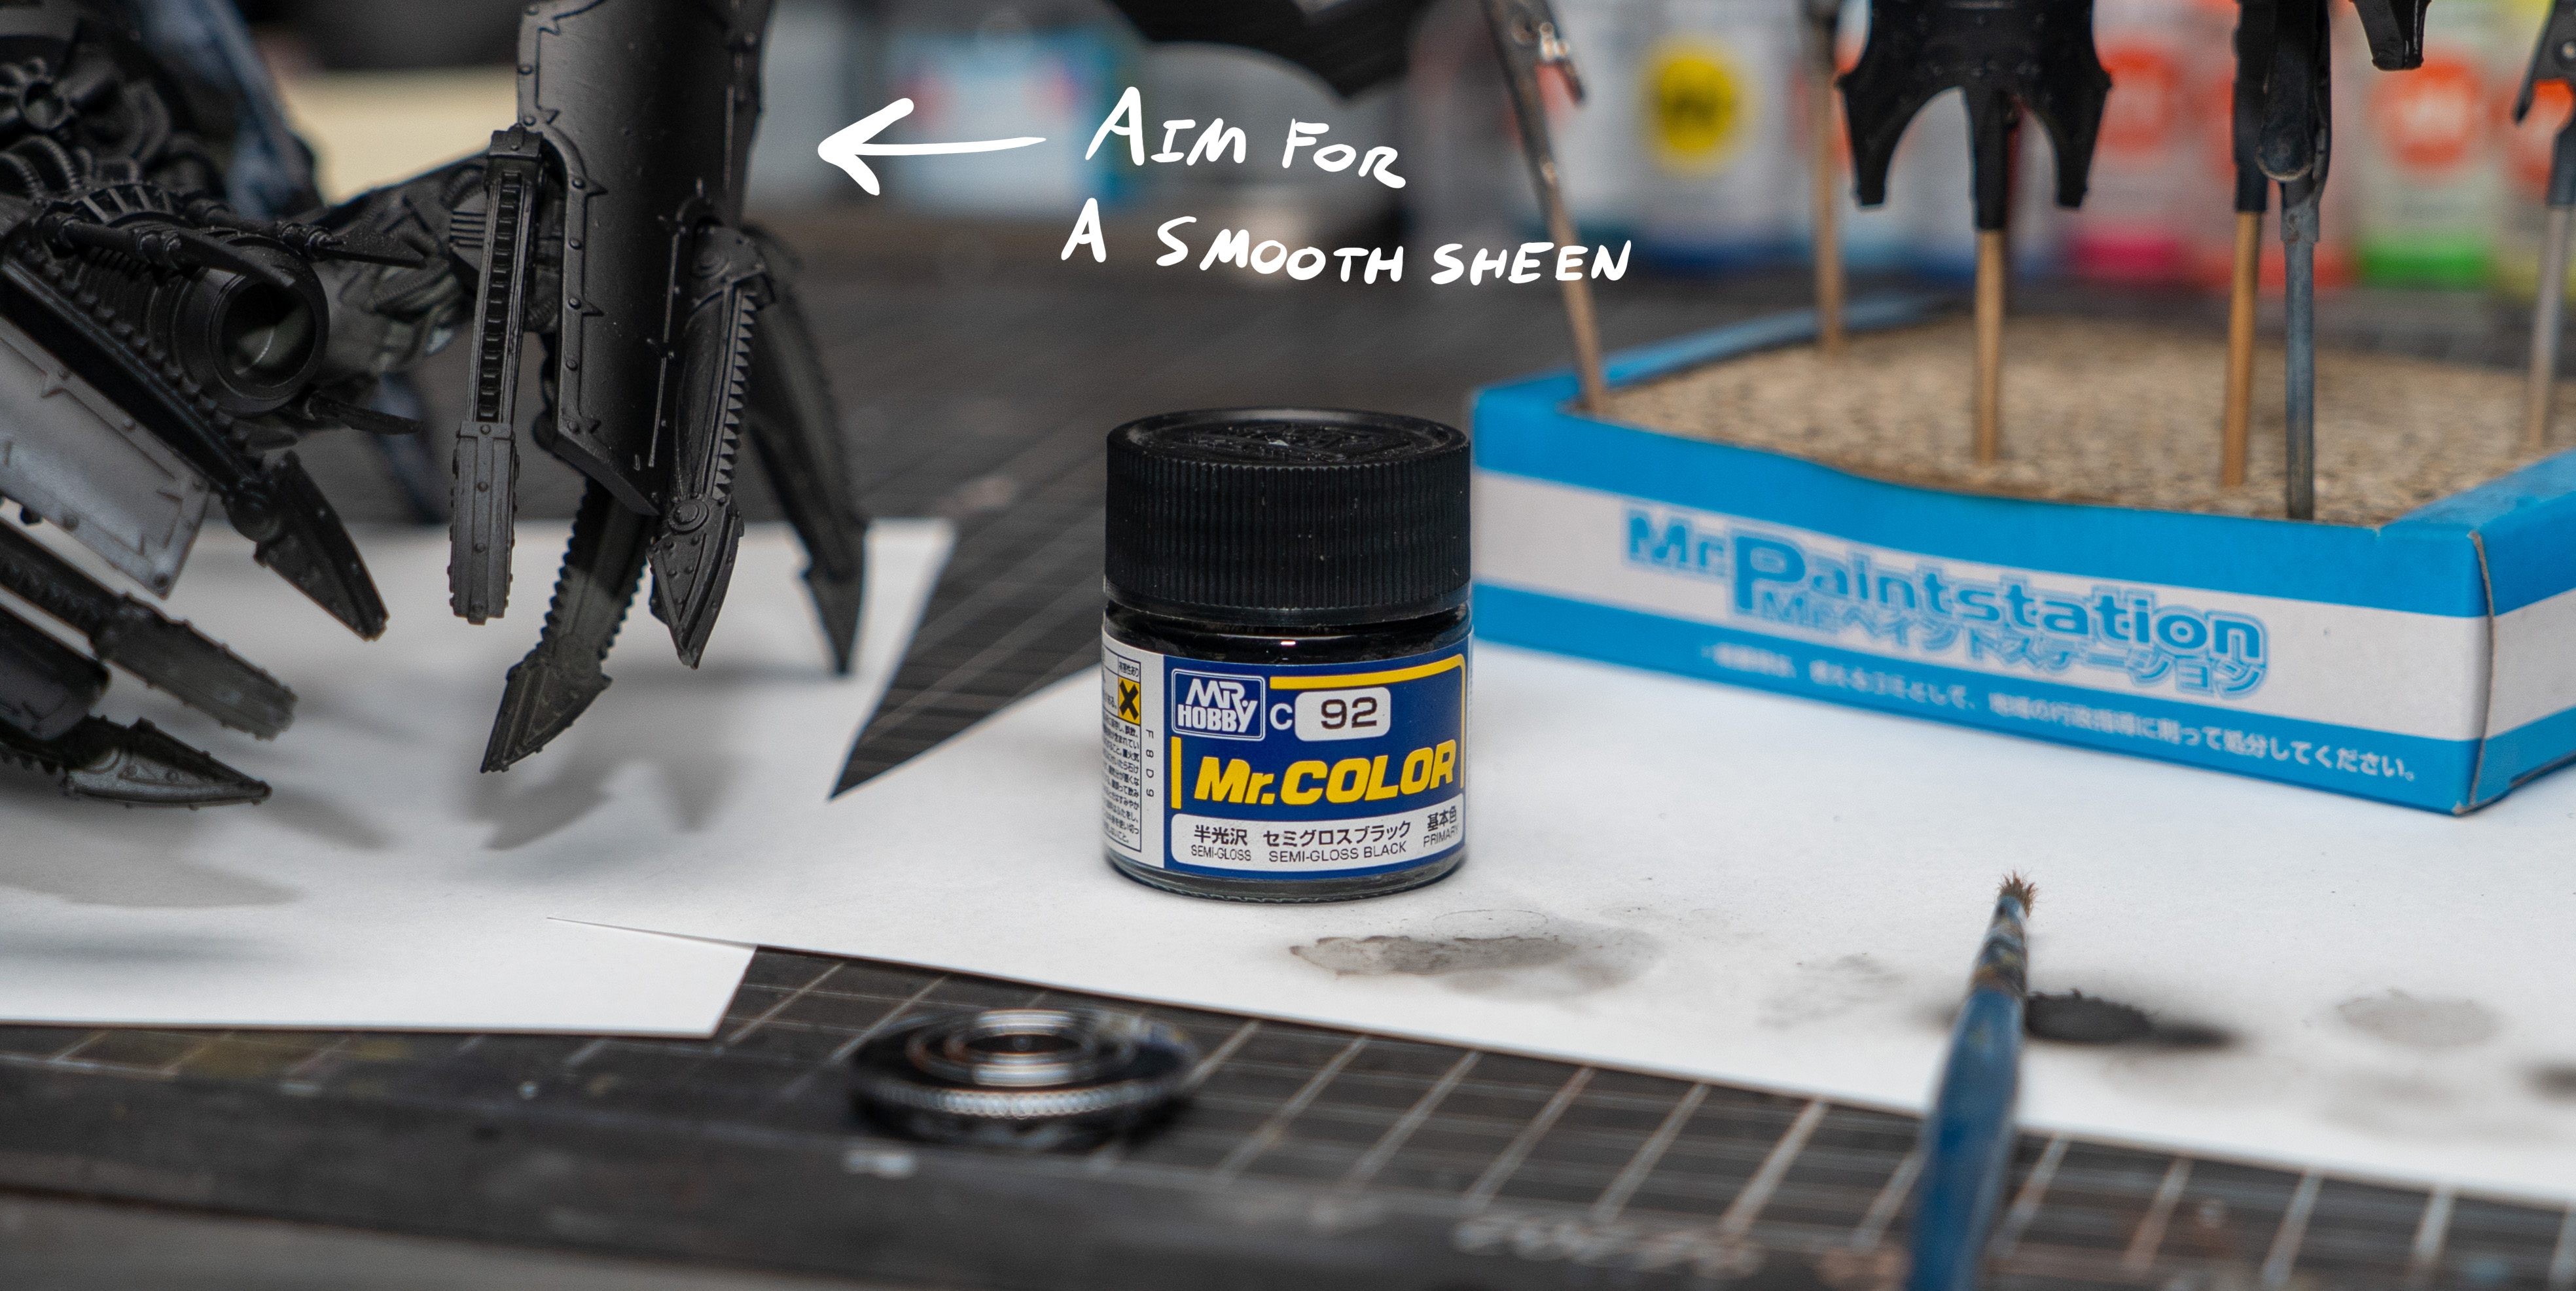
The next step is a base coat of any applicable lacquer semi-gloss black, thinned the same way as Mr. Finishing Surfacer. Perform the same steps as the priming stage. Using a gloss black may lead to more of a shine on the final result, but is quite unforgiving if applied incorrectly.
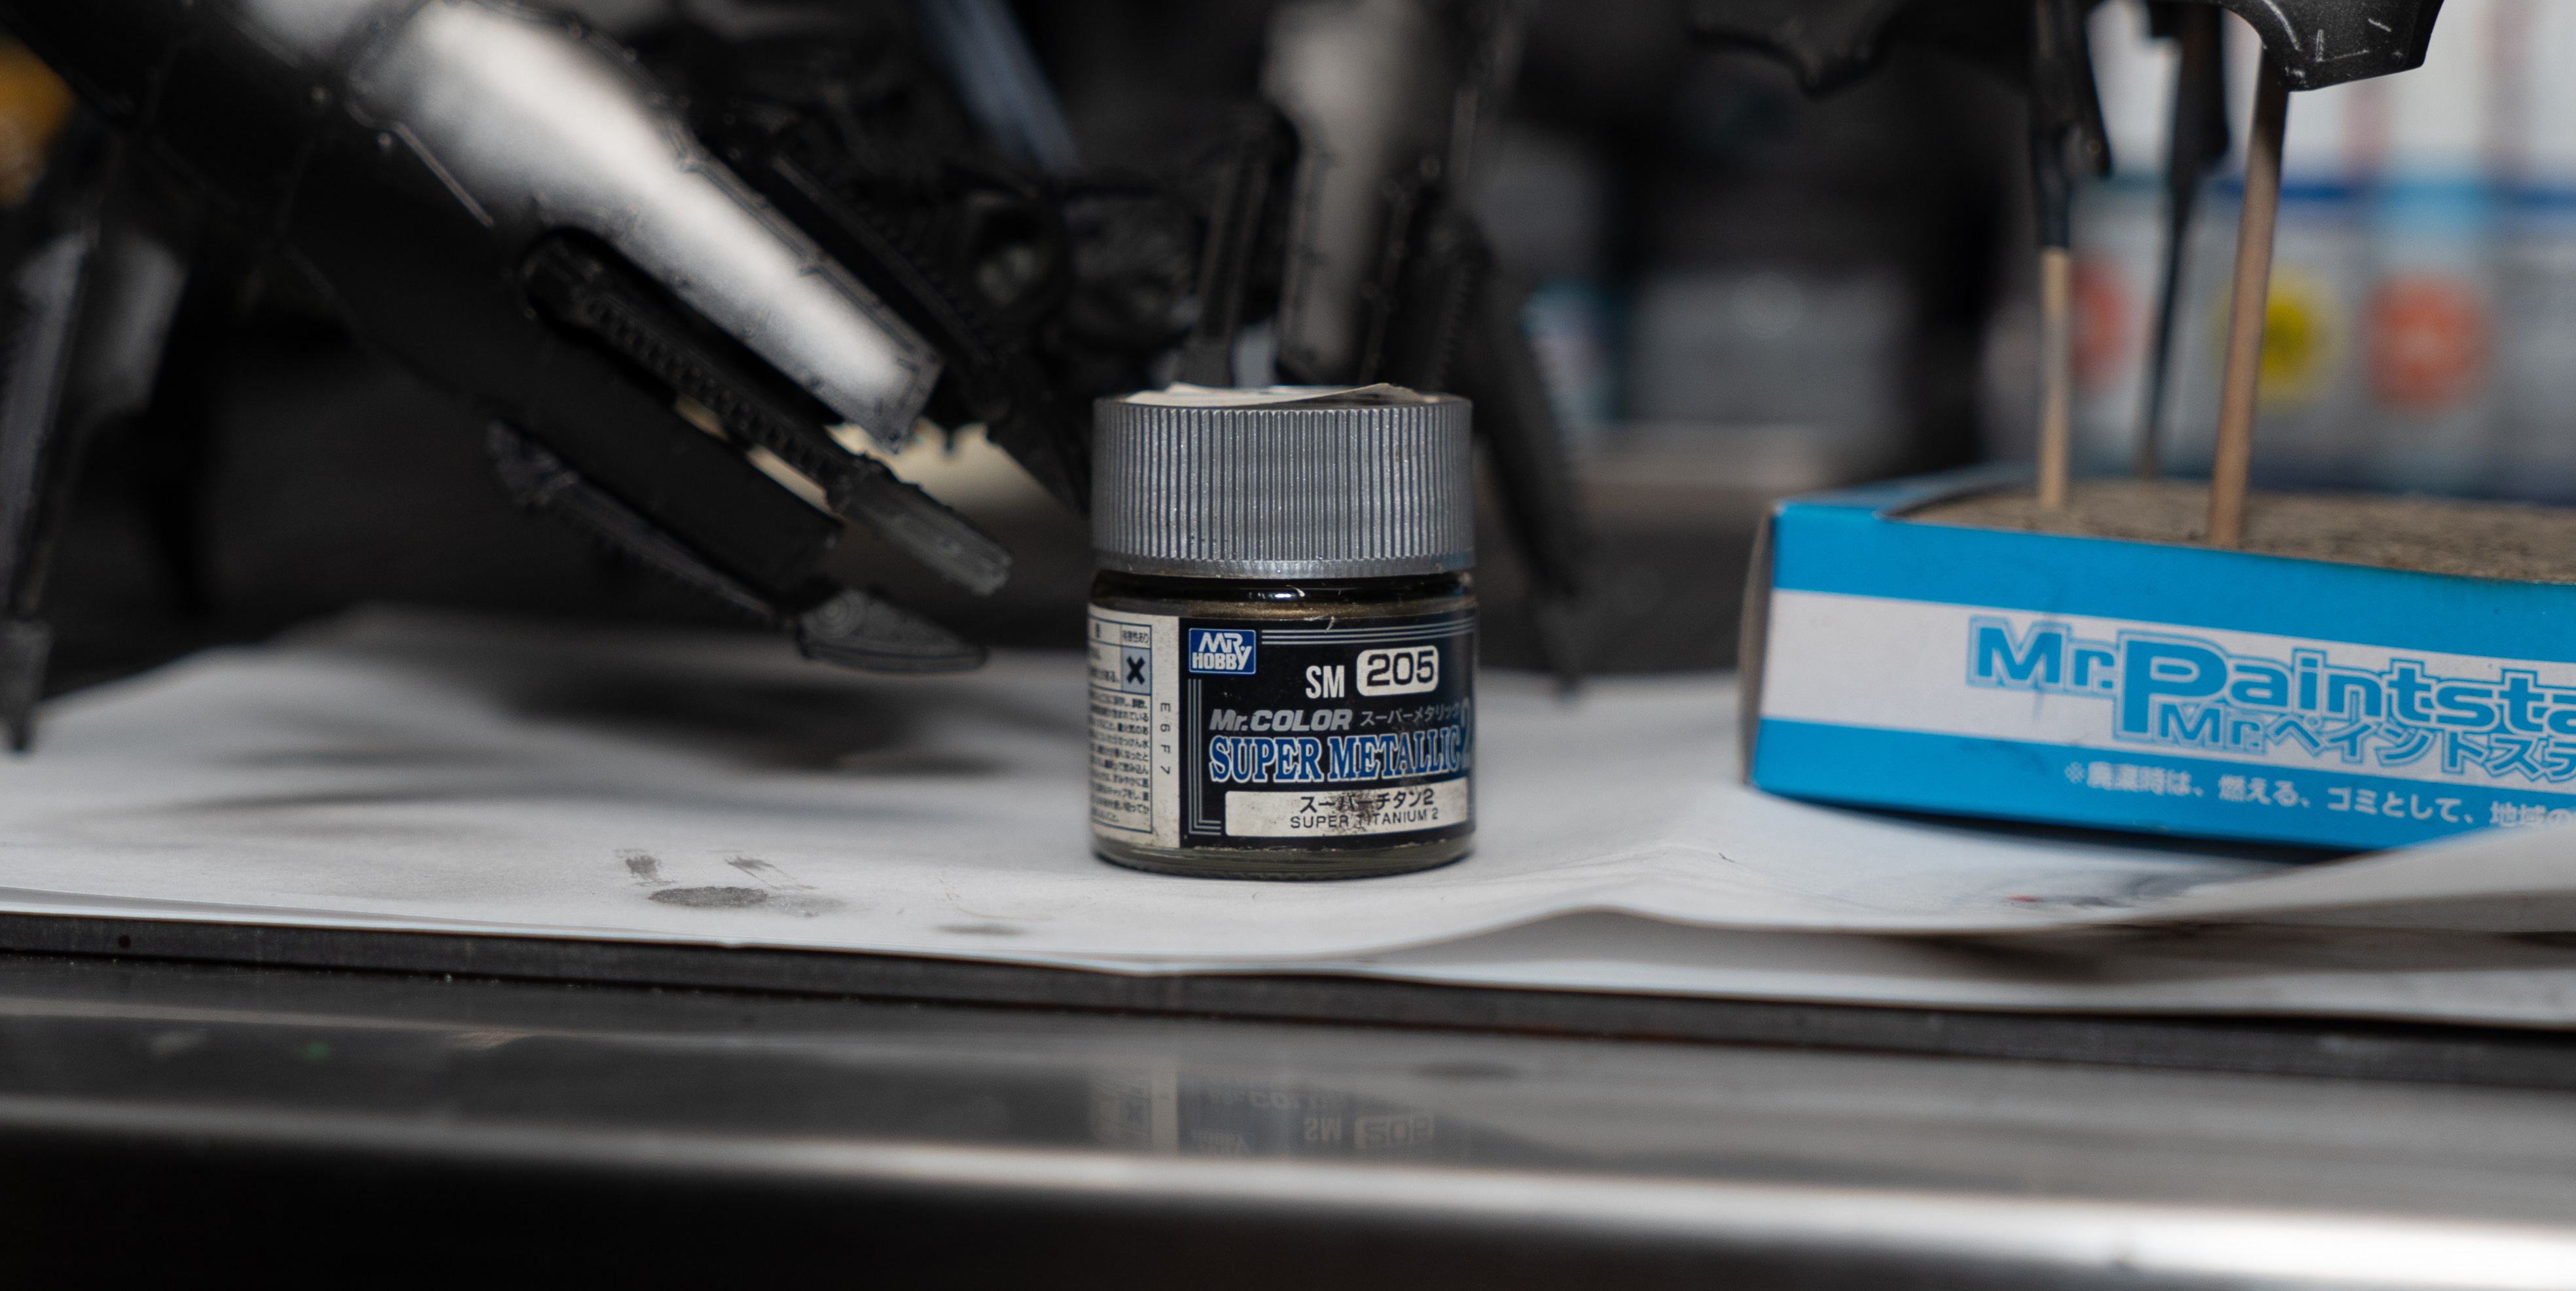
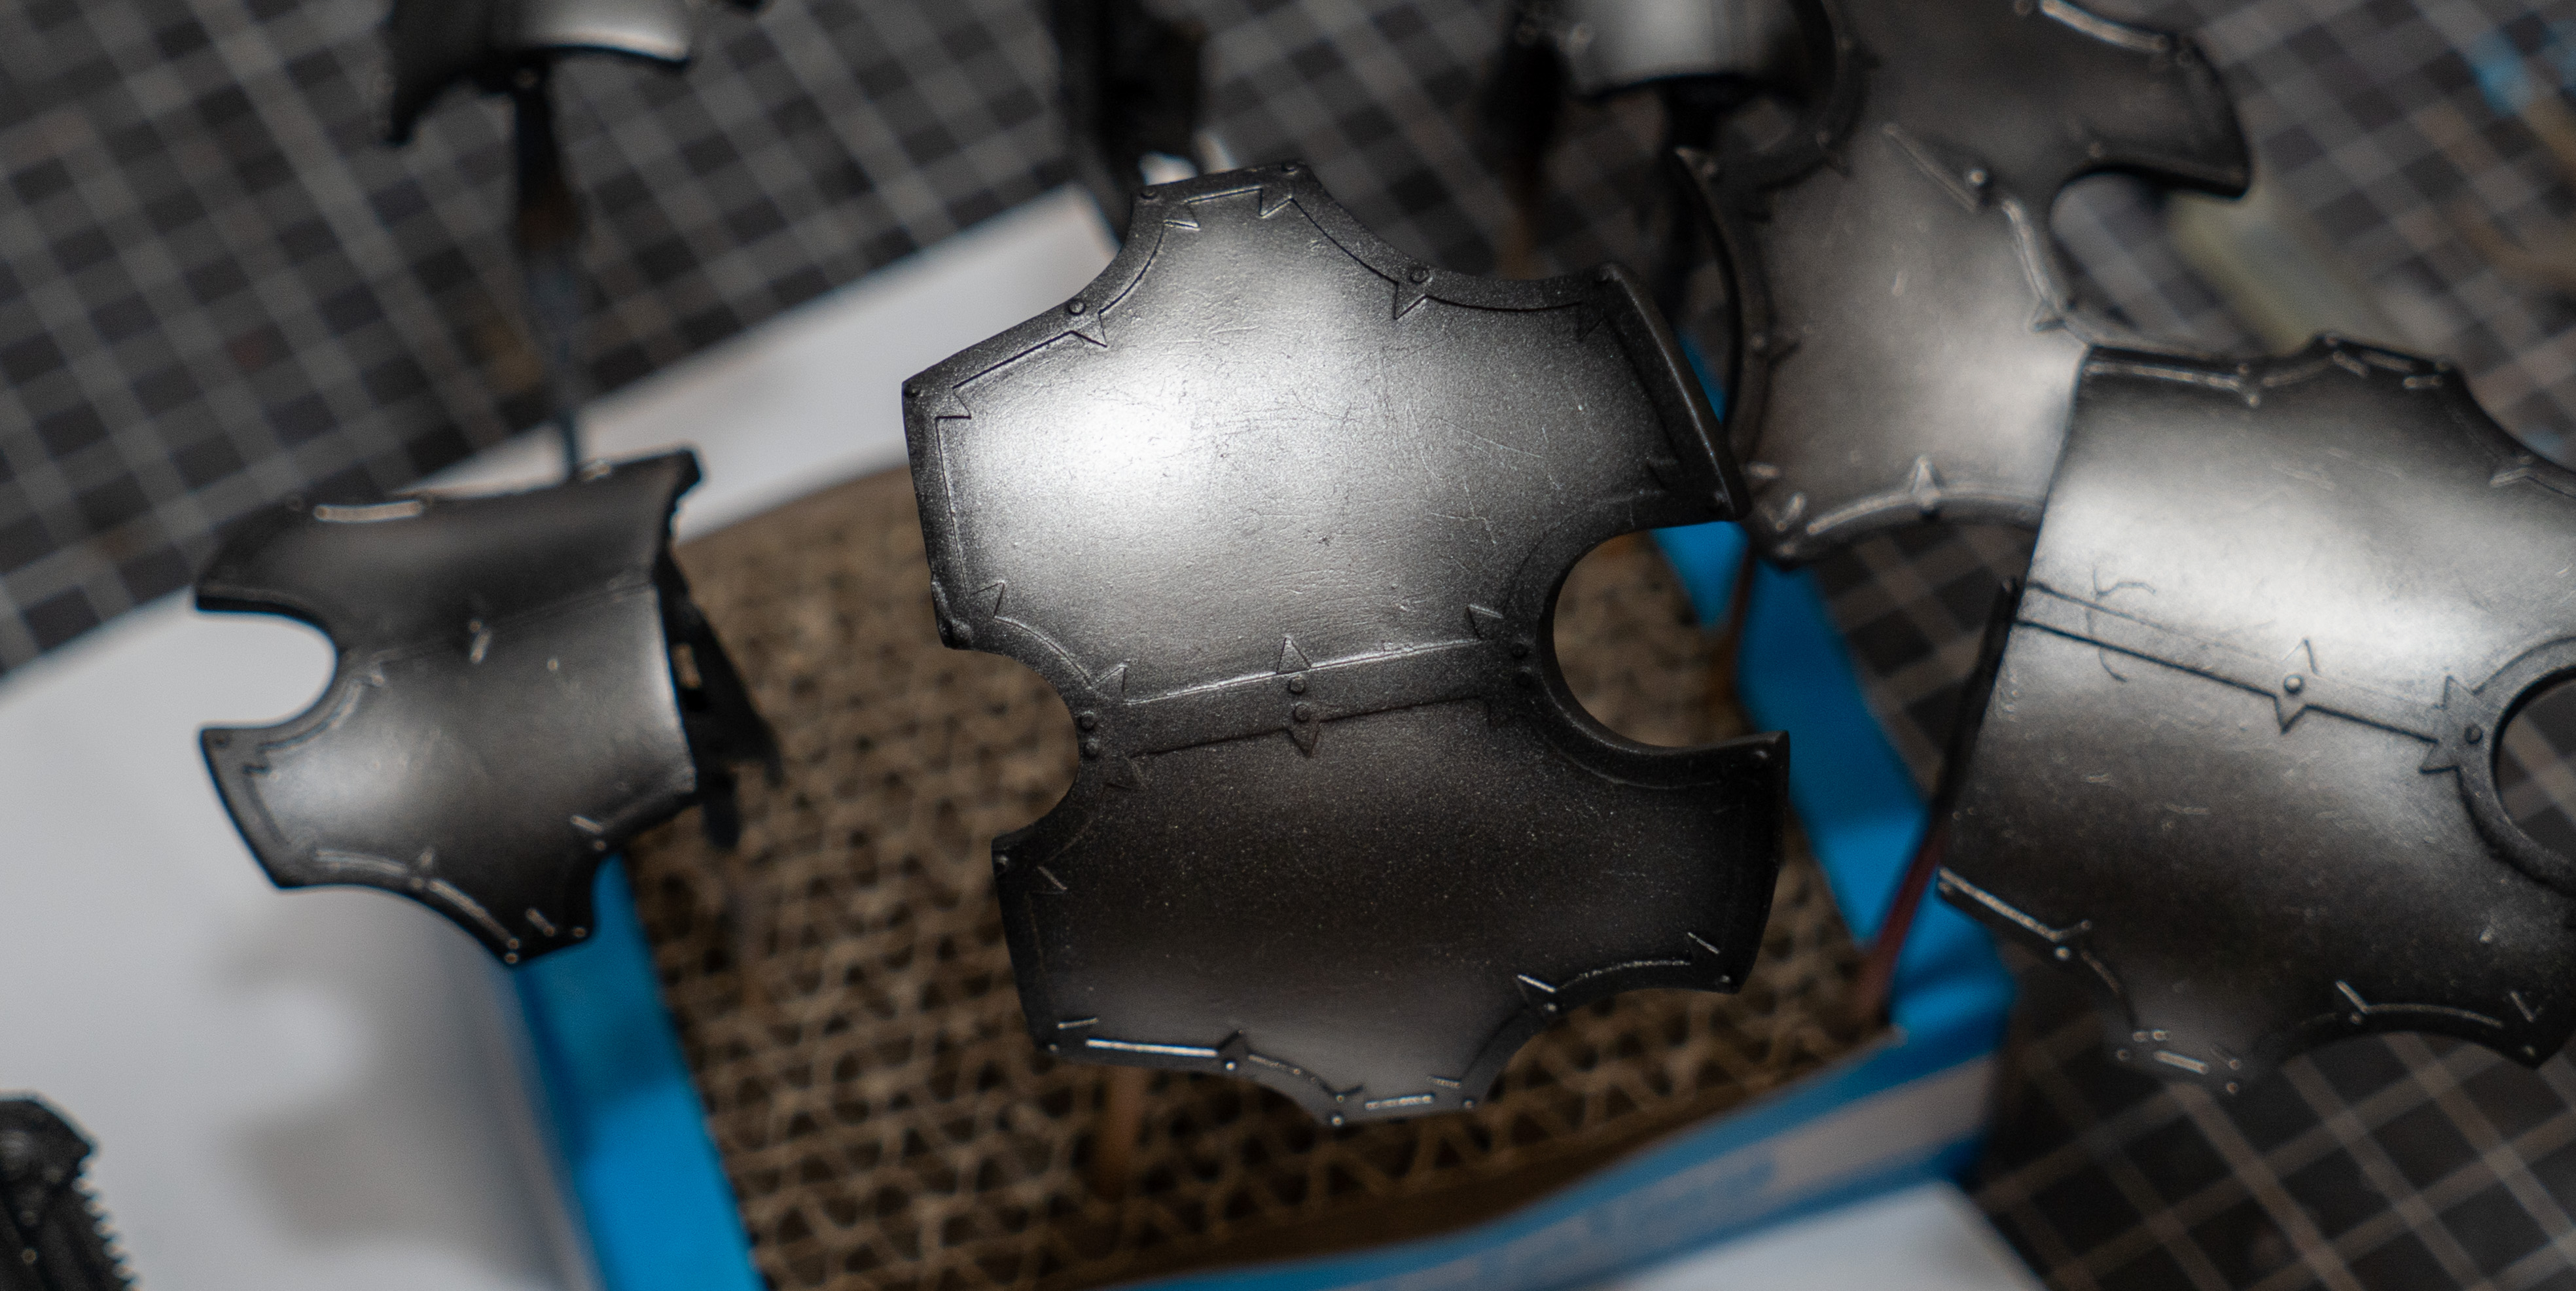
(1/2) On top of the semi-gloss black, a bright lacquer titanium color is sprayed. I opted for SM 205 Super Titanium 2. With Mr. Color Metallics, I typically only use a drop of thinner to improve the flow otherwise the mica/metallic powder fails to settle evenly.
(2/2) The airbrush movement focuses on the highest plane of maximum curvature to accentuate the roundness of the parts. Think volumetrically to provide greater depth to the final result.
Before proceeding to the next step, occlusion shadows were shaded on the outline of each piece to help visually separate the elements further.
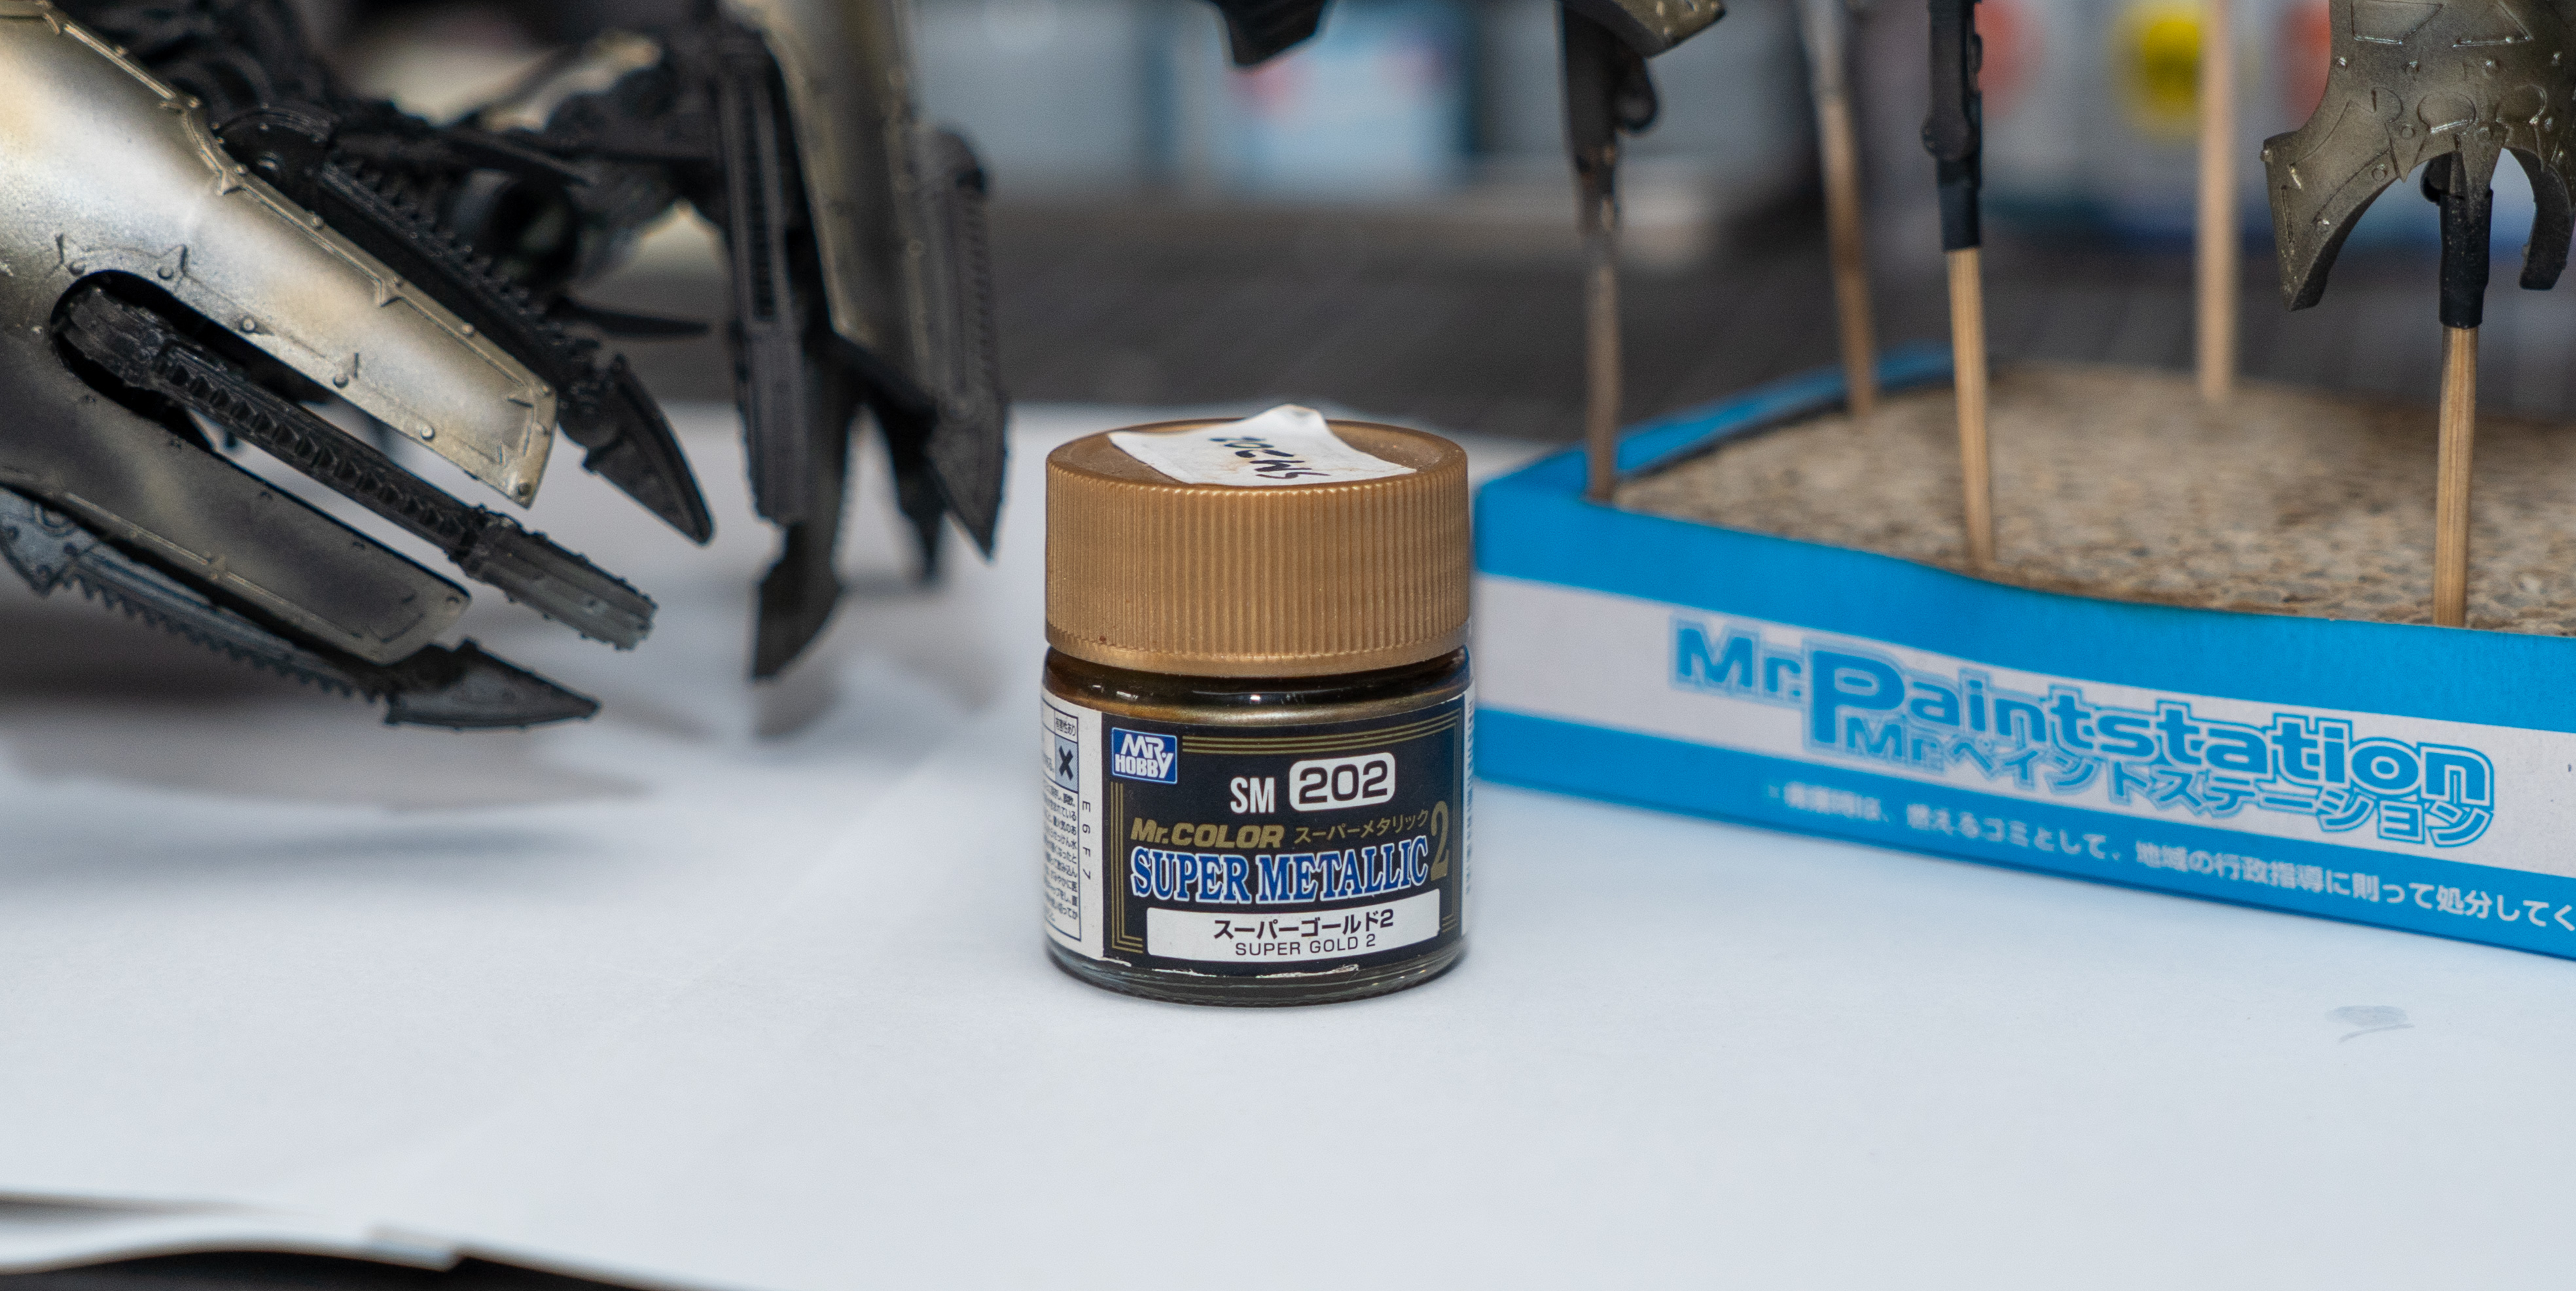
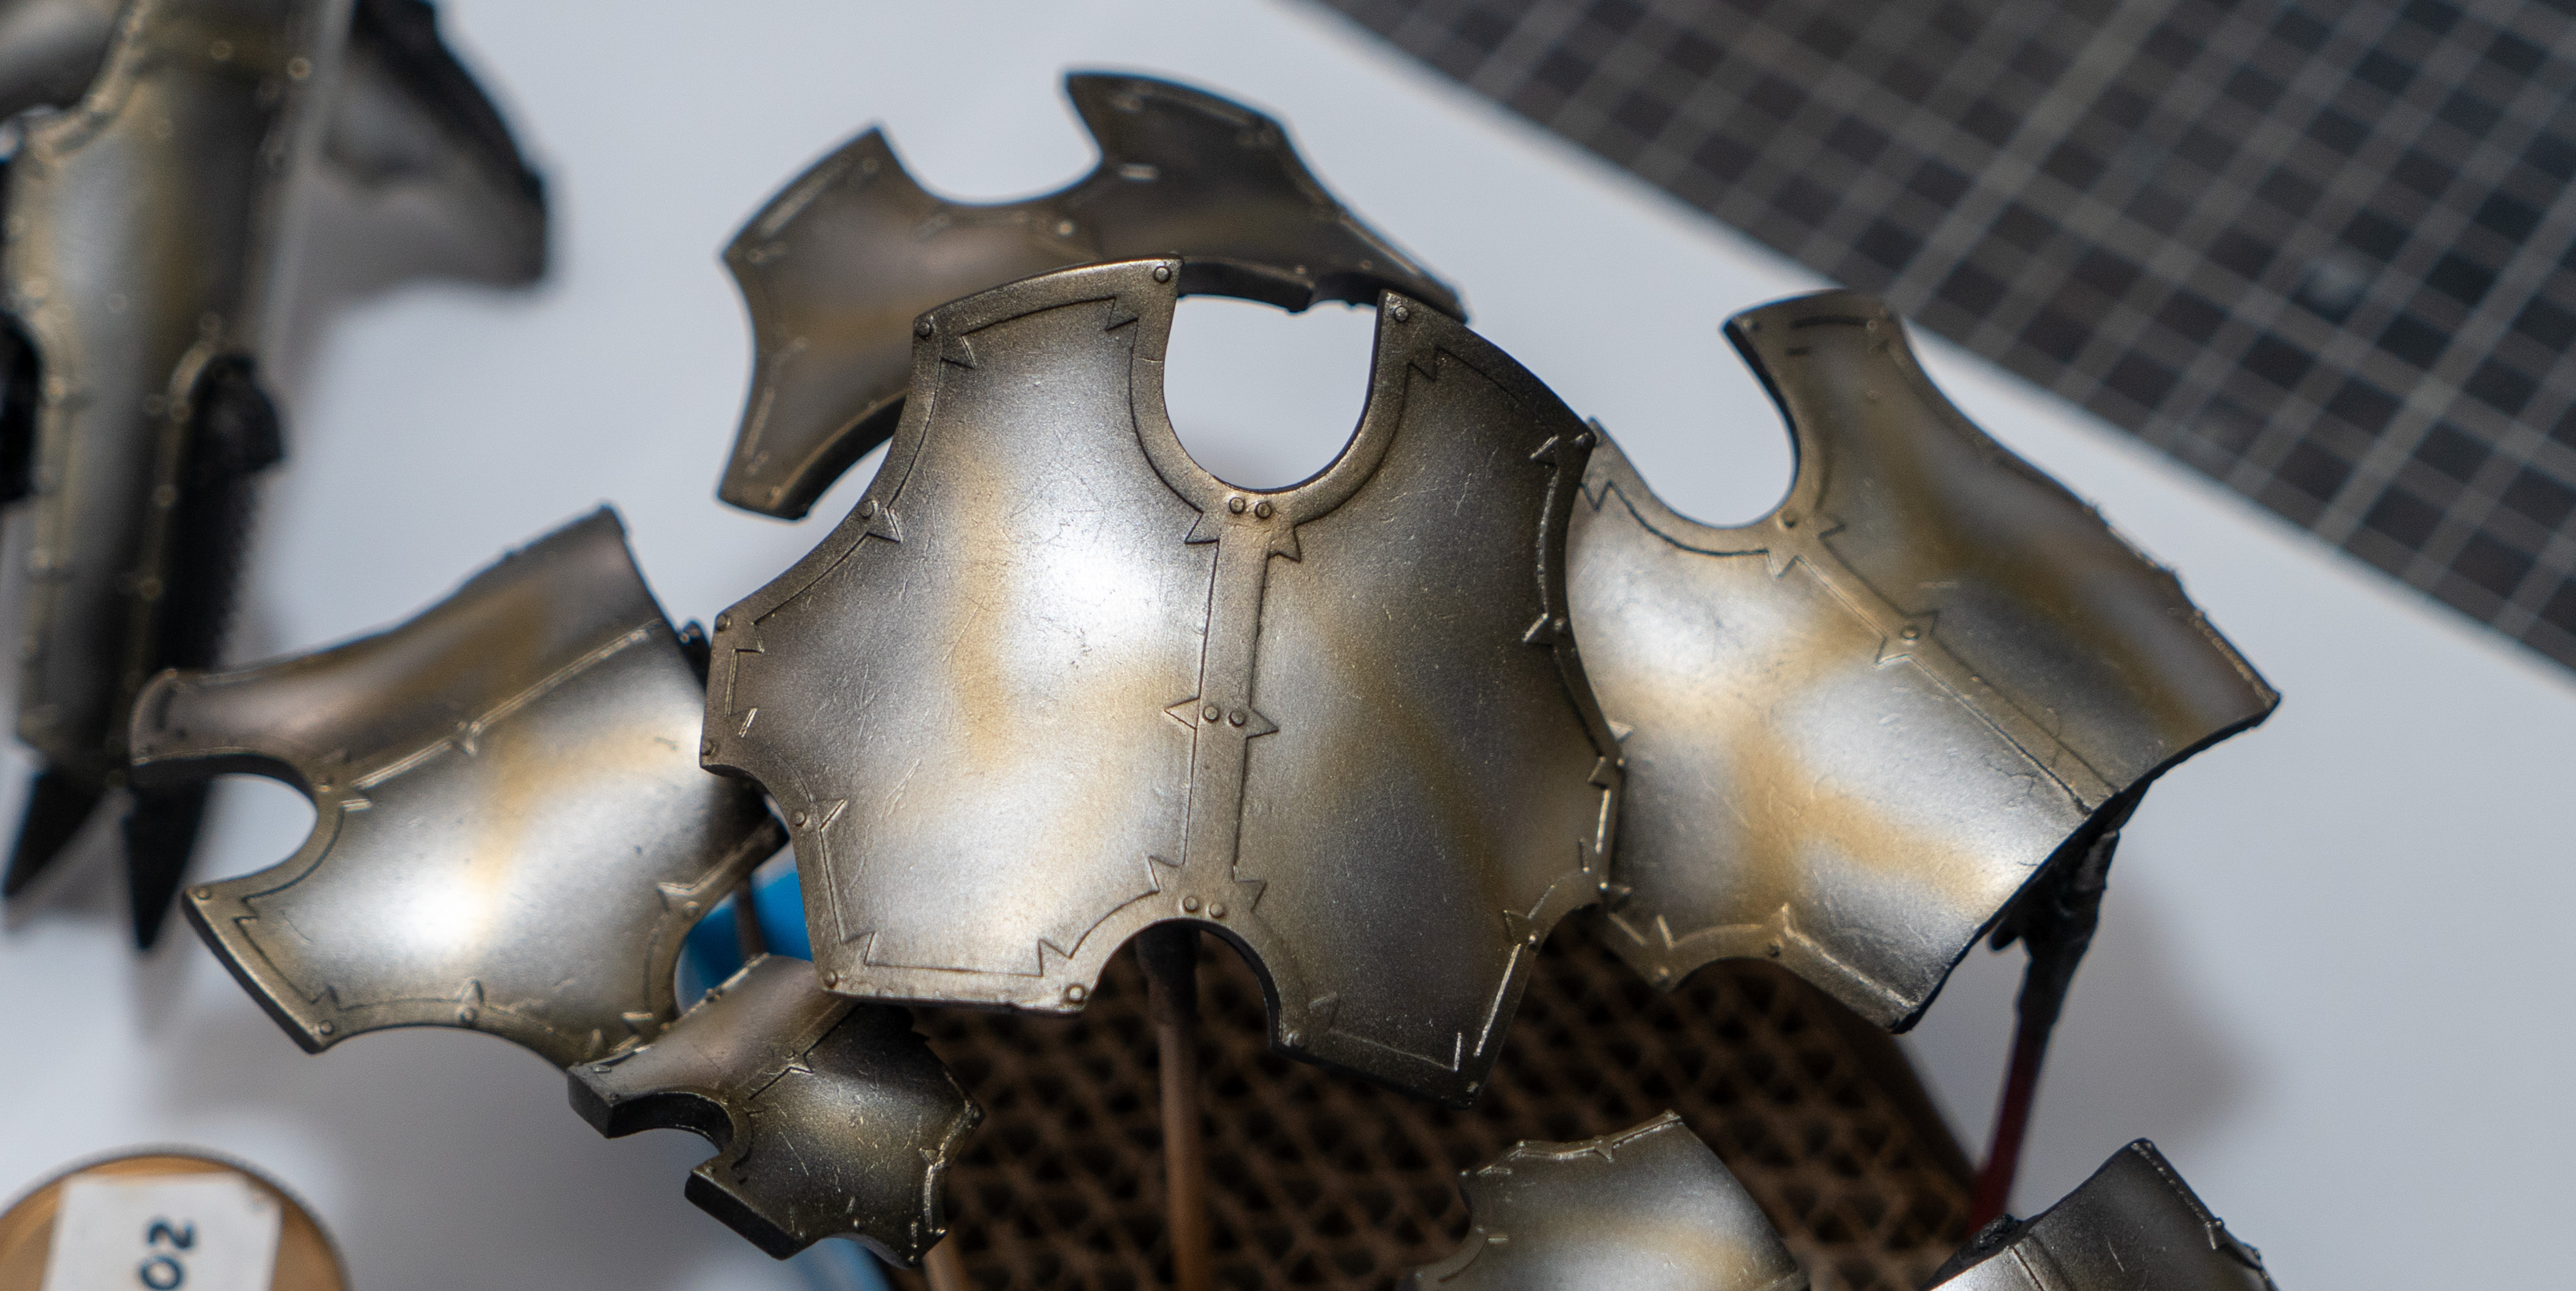
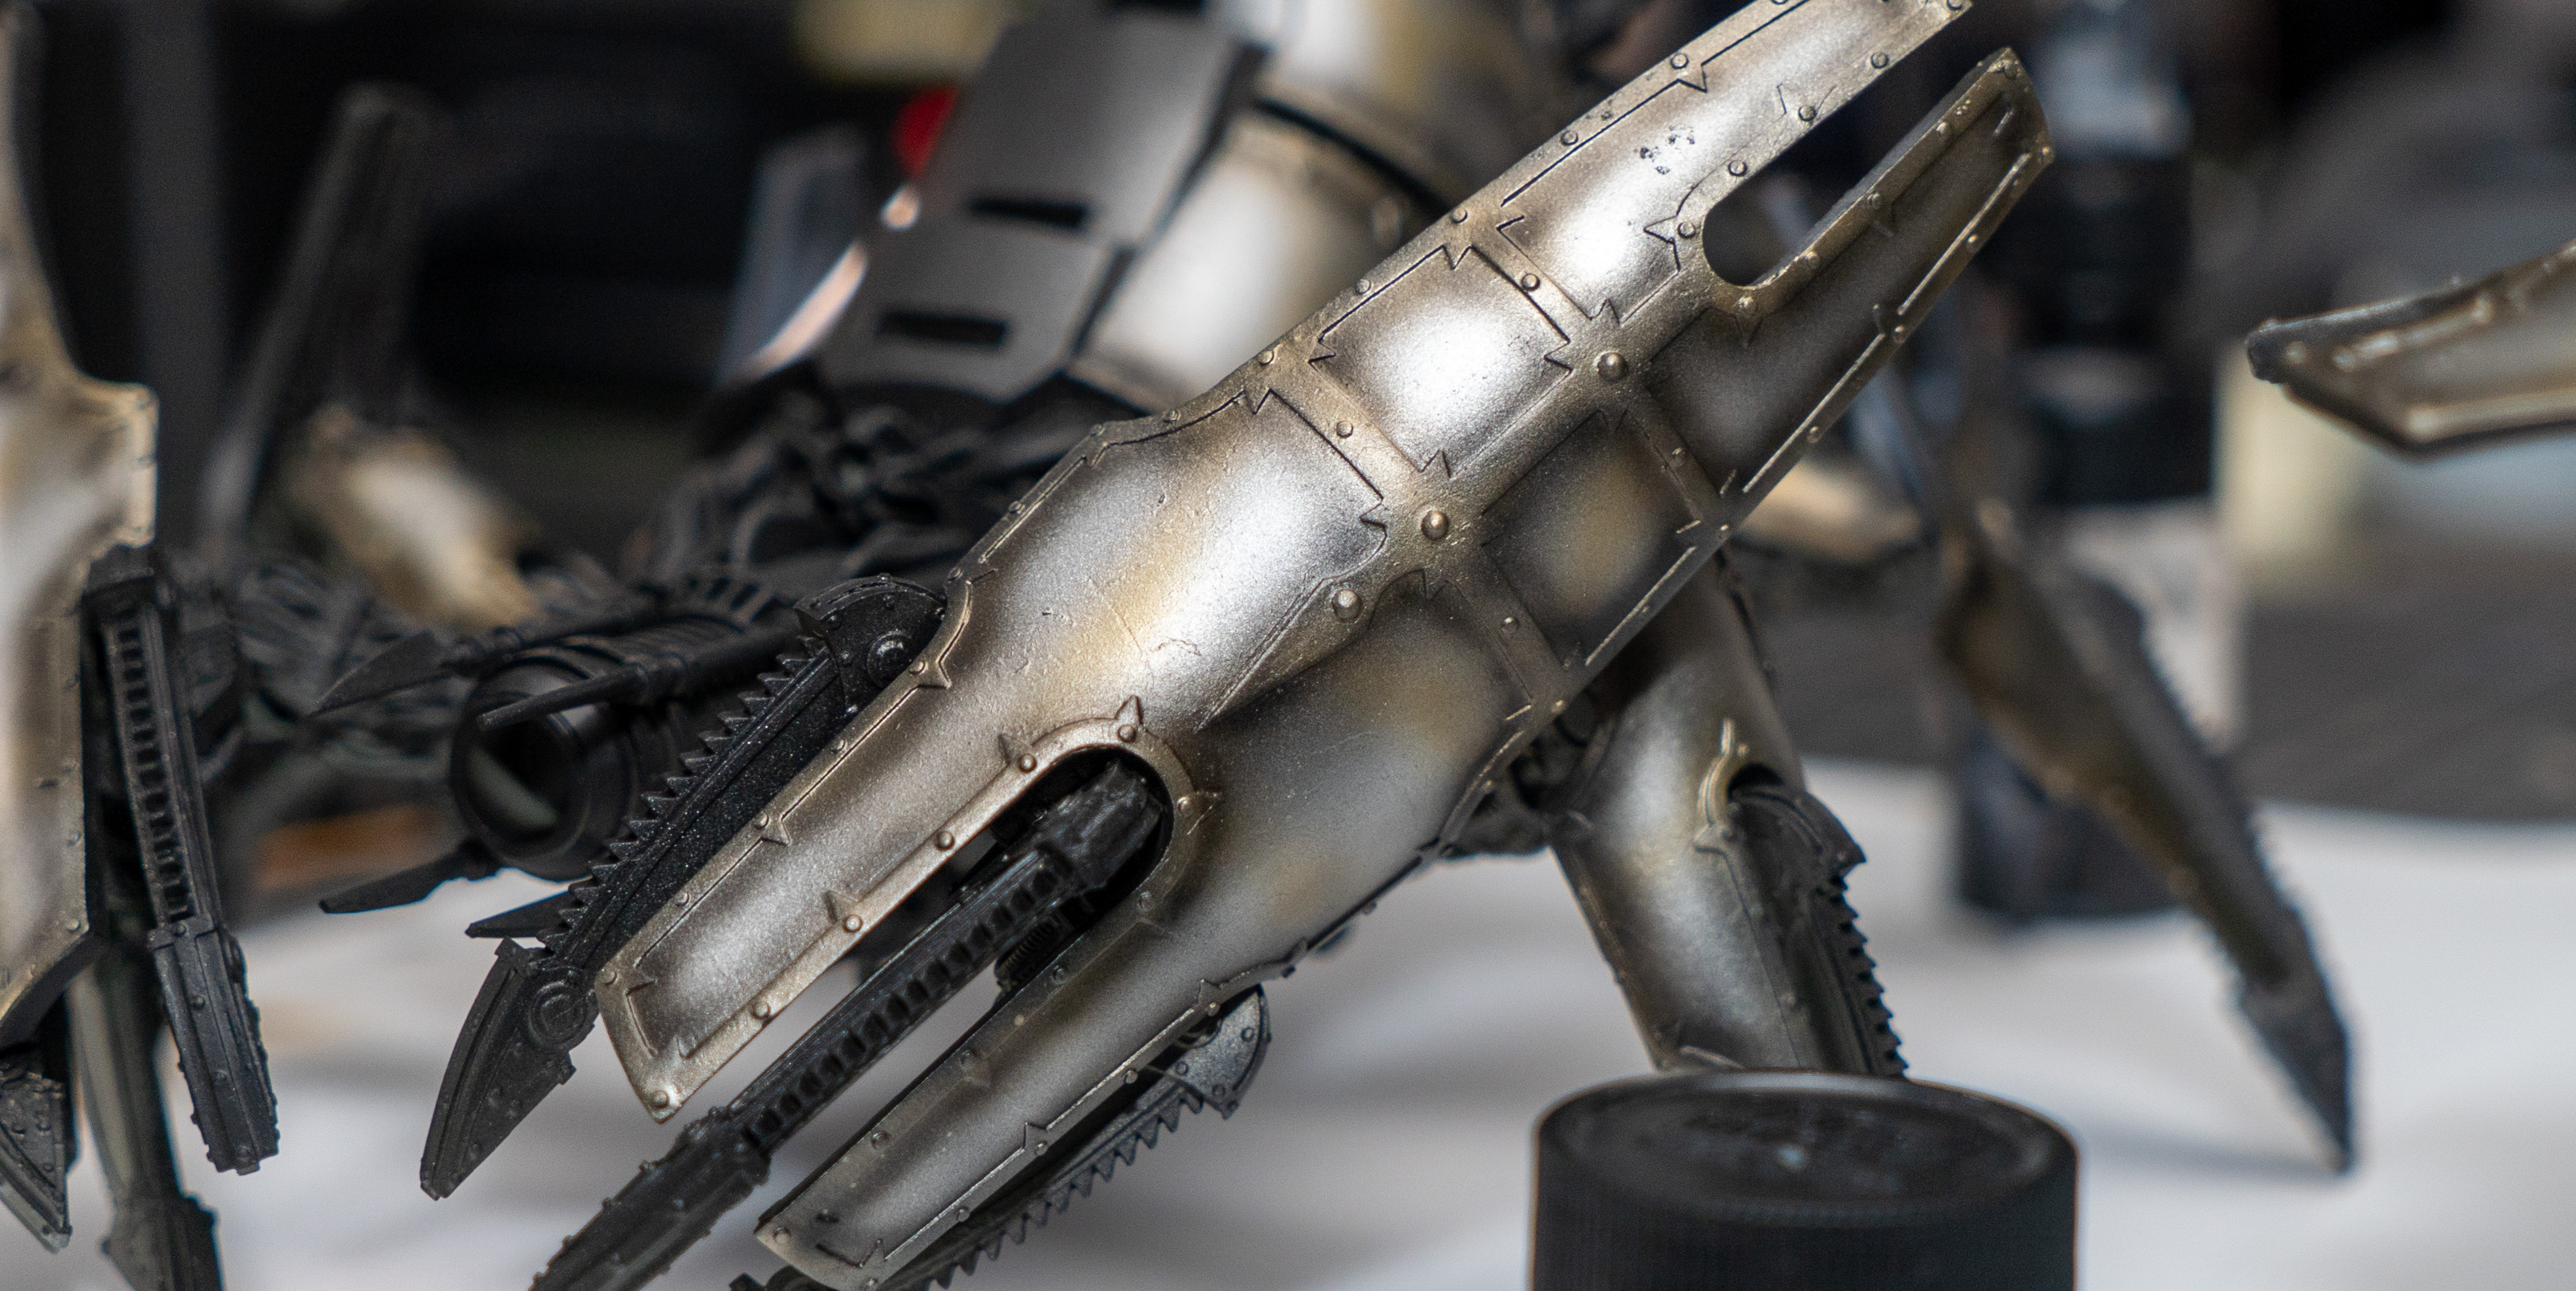
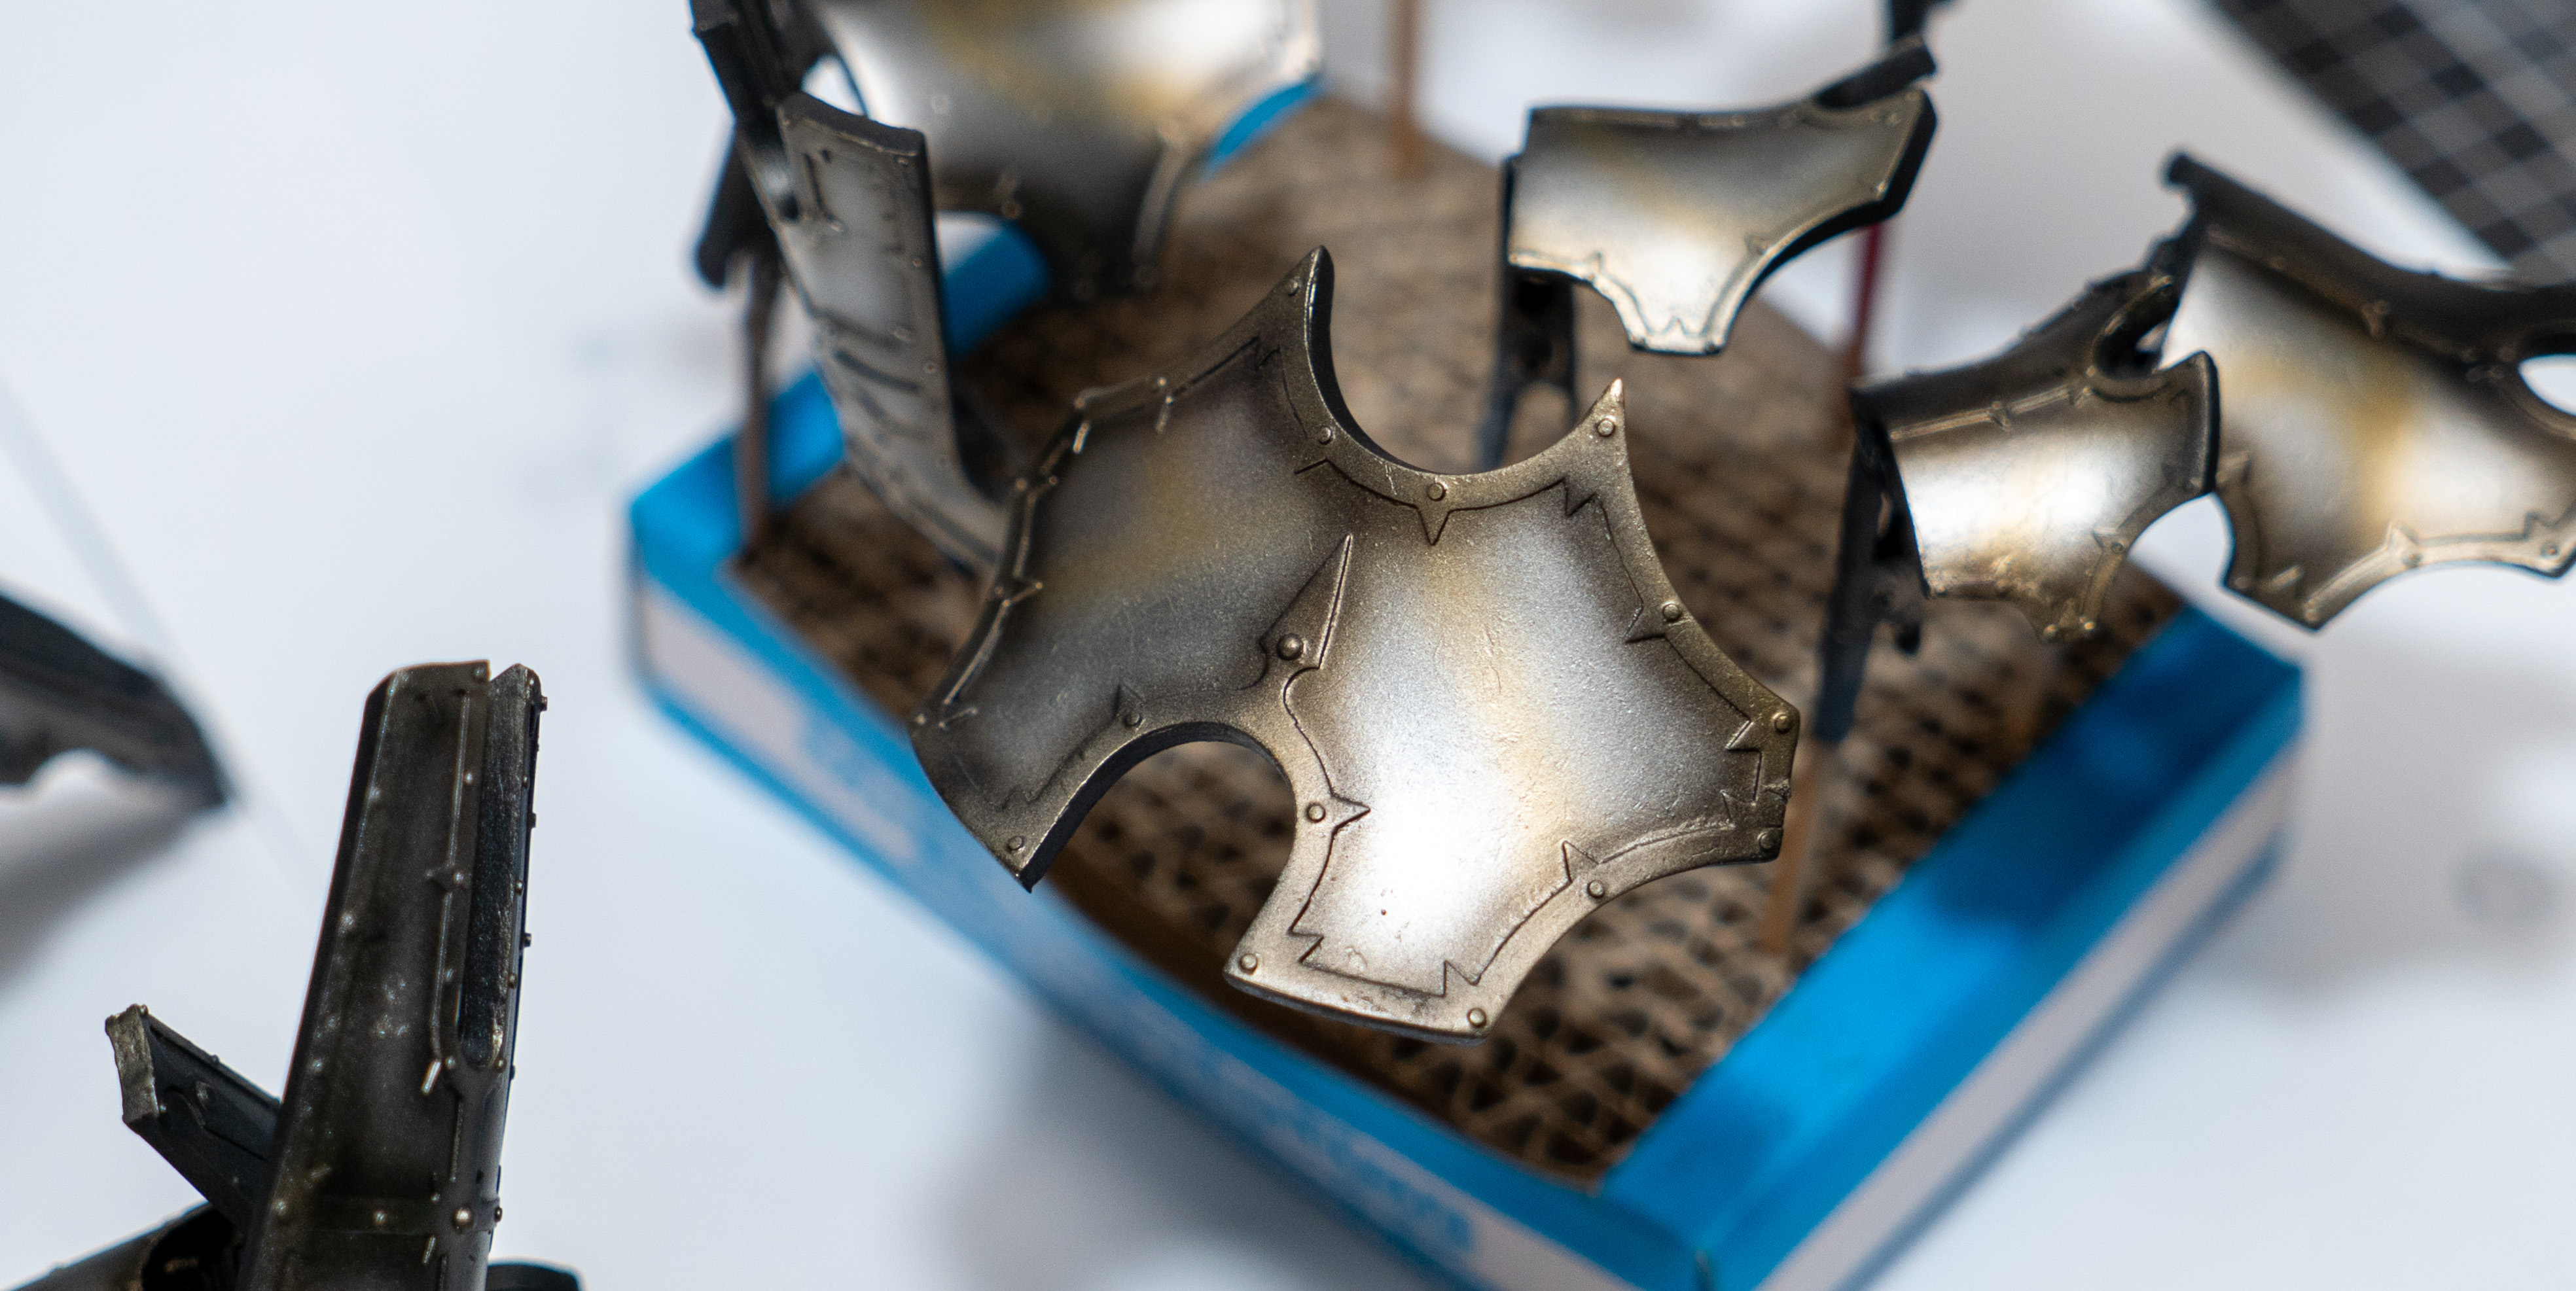
(1/4) SM 202 Super Gold is applied with the same thinning ratio as the previous step. This time, focus on creating "snakes" and breaking up the surface pattern. In the successive steps when placing the clear red will become more vibrant and chromatic atop the gold compared to the silver.
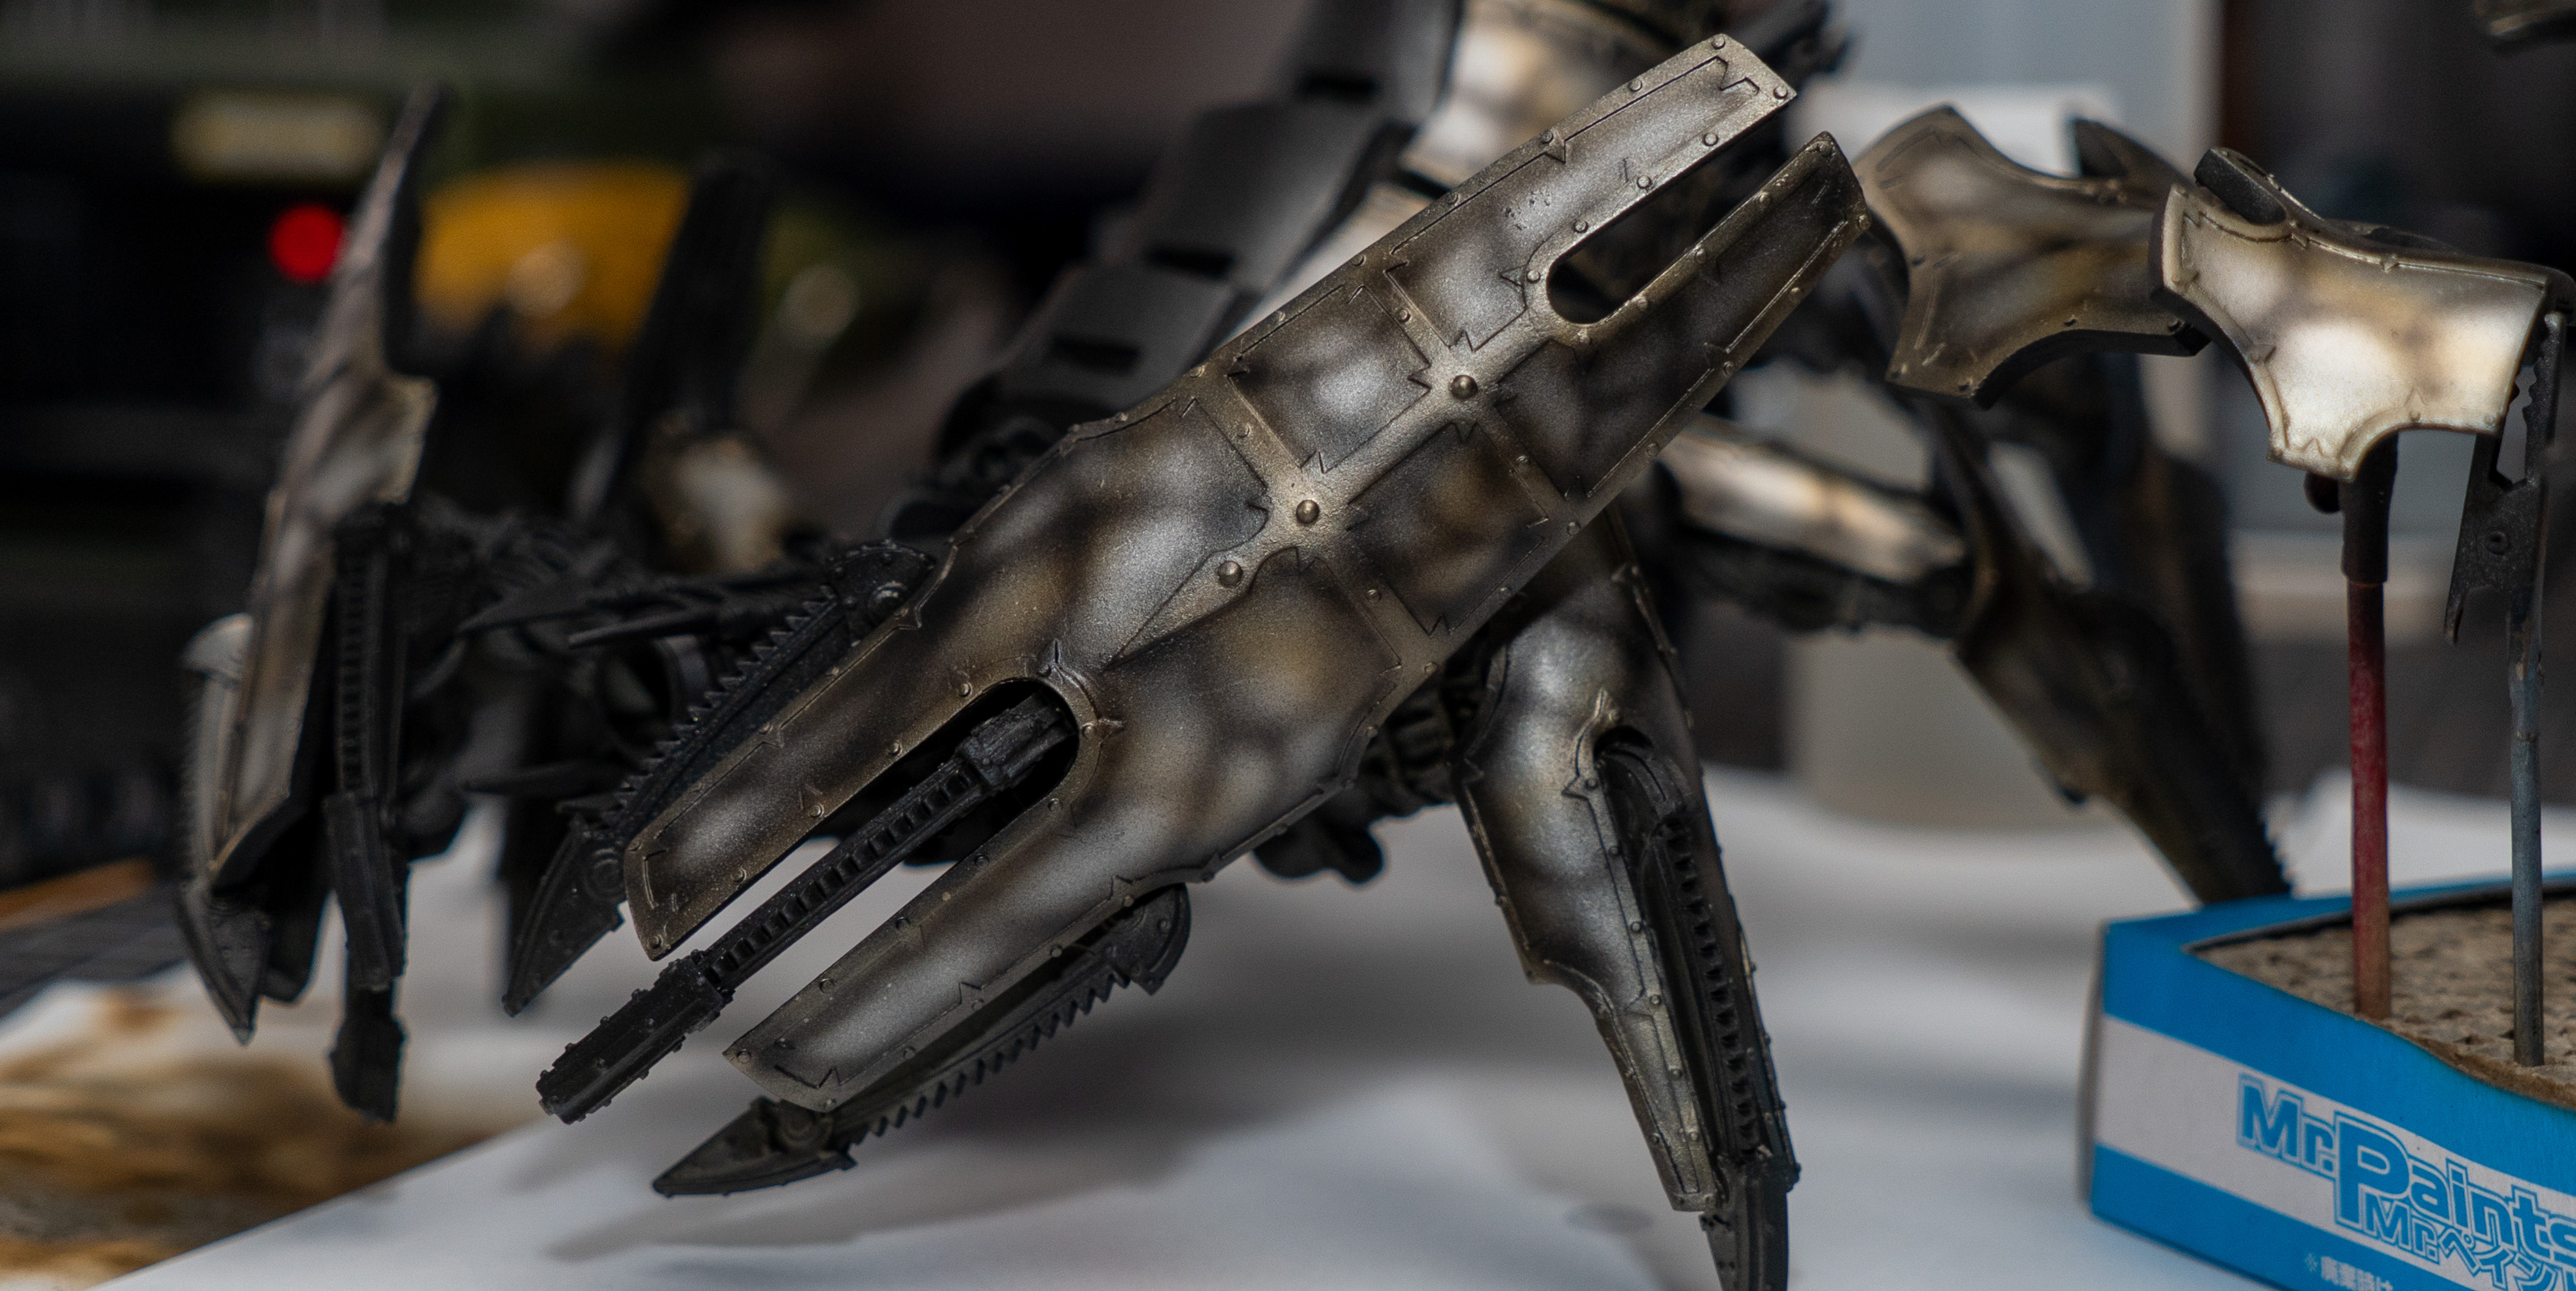
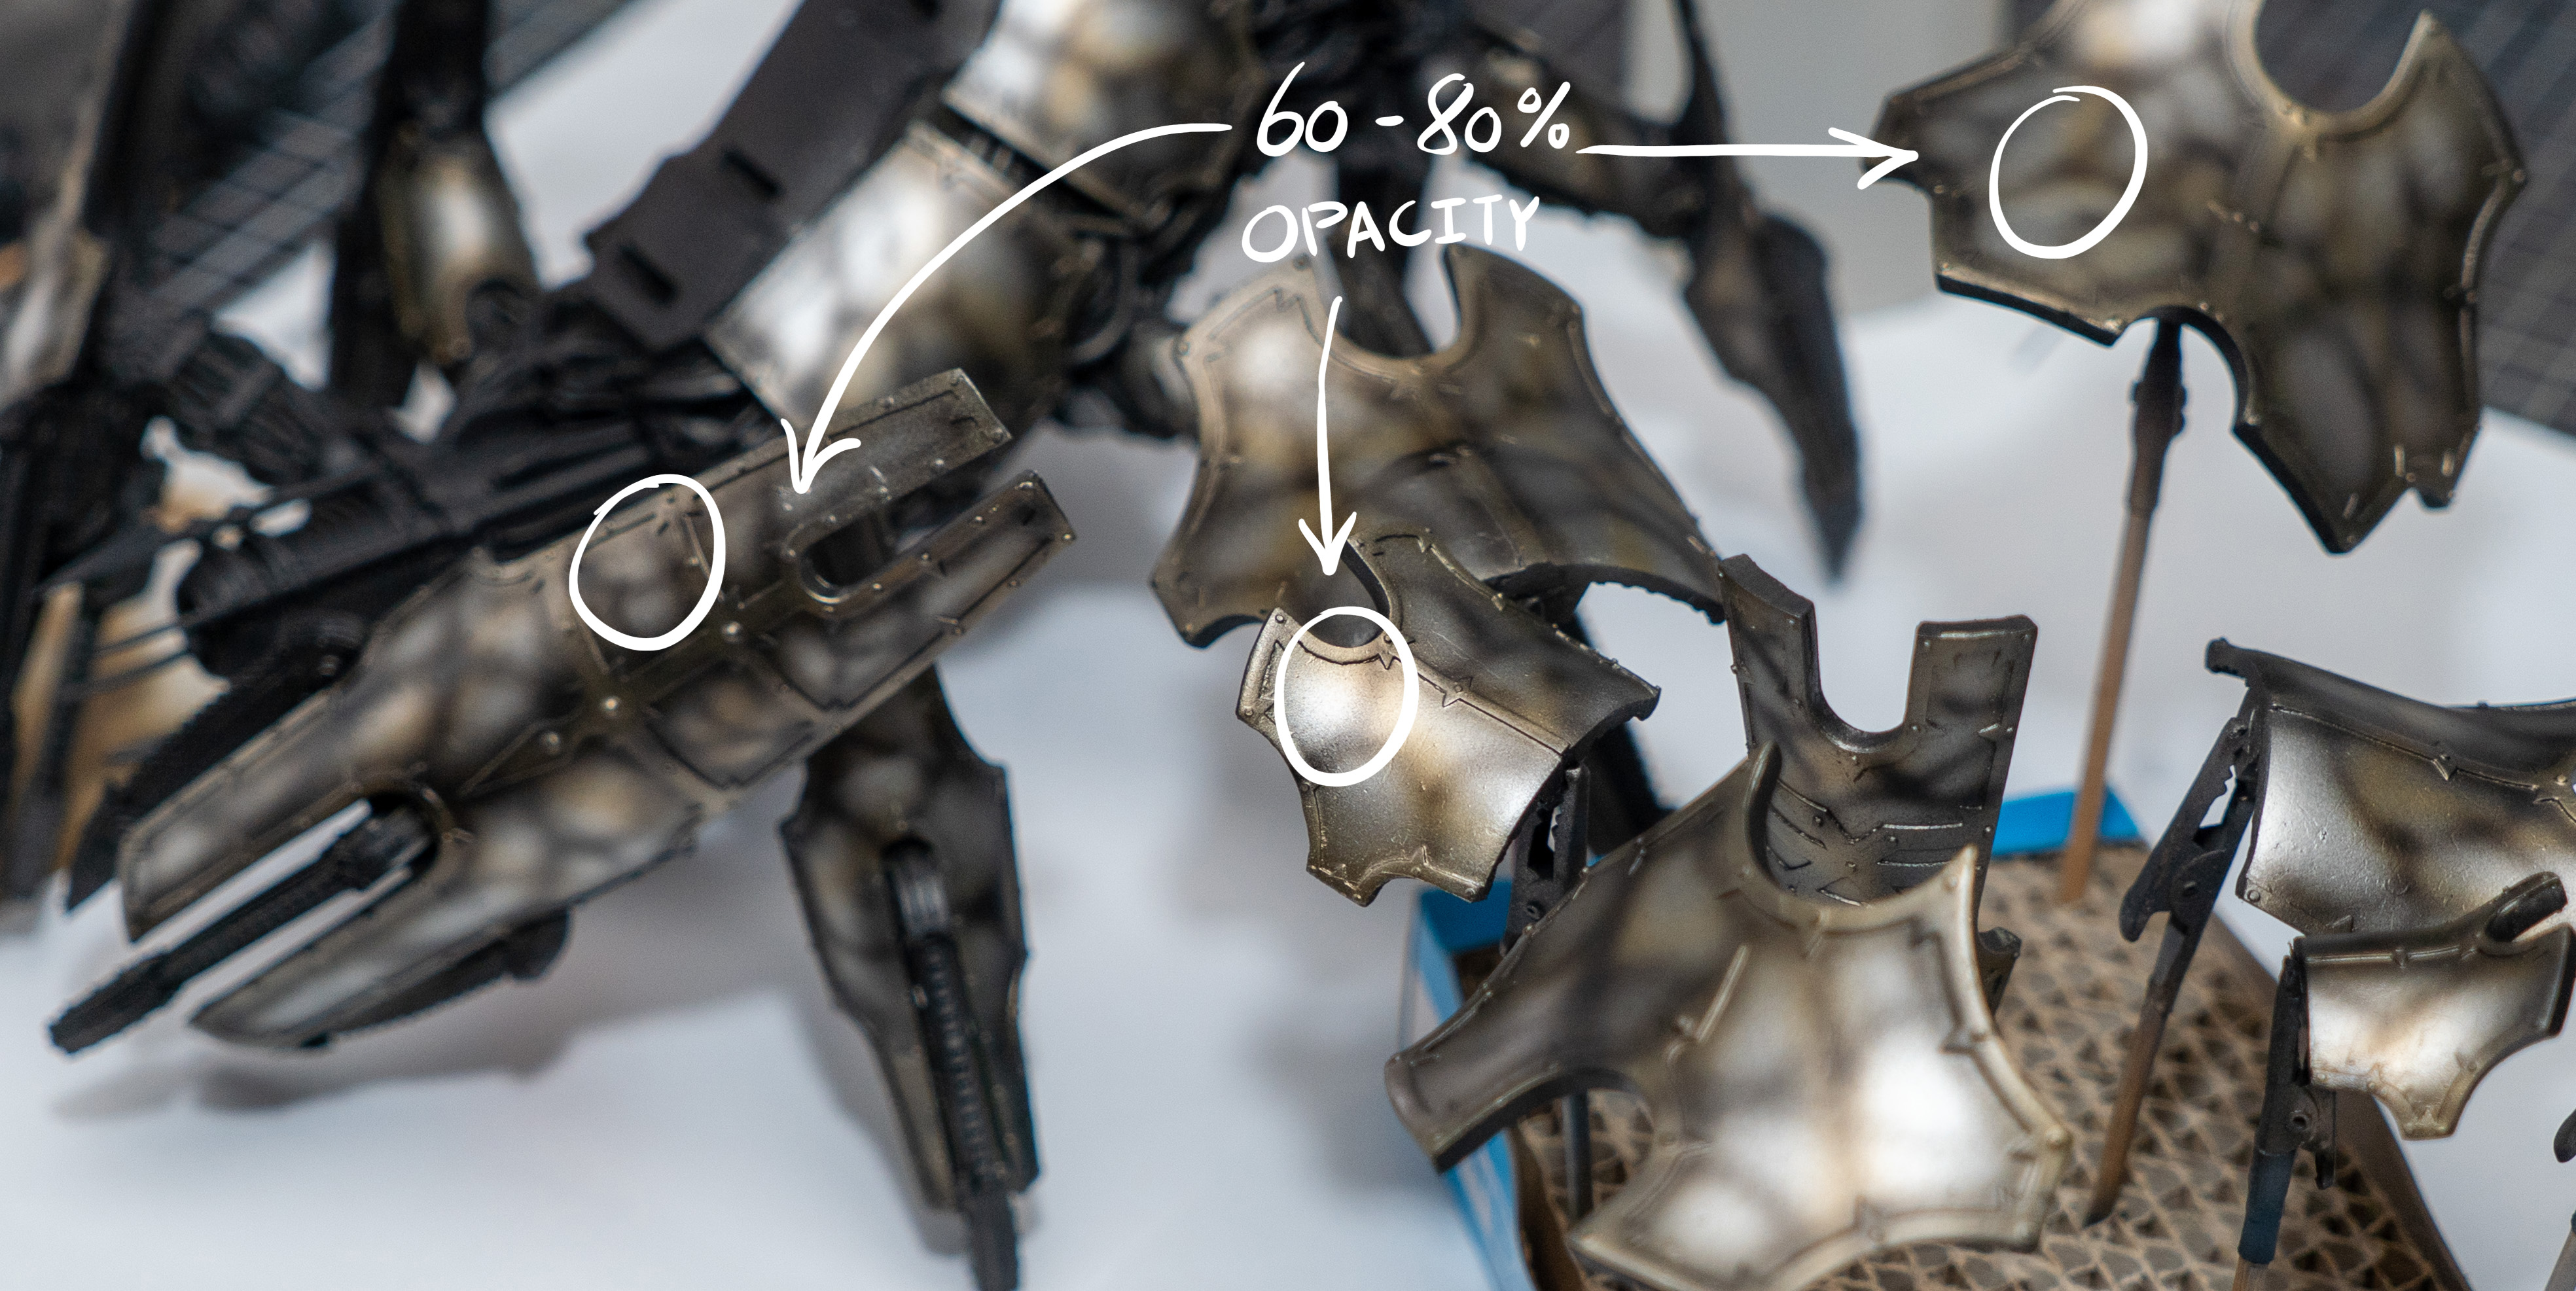
(1/2) In this step, we begin to create the pattern that will appear prominently alongside the red in the final finish. I tried aiming for a natural membrane-like pattern. To create the black I used C92 Semi-Gloss Black thinned fairly generously with a lower pressure and having the airbrush closer to the model.
(2/2) When applying the black, let the underlying layer show through for further depth if trying to replicate the result closely. Though I've found with maximum opacity it creates a greater separation between the red. Always paint what you think is coolest to you.
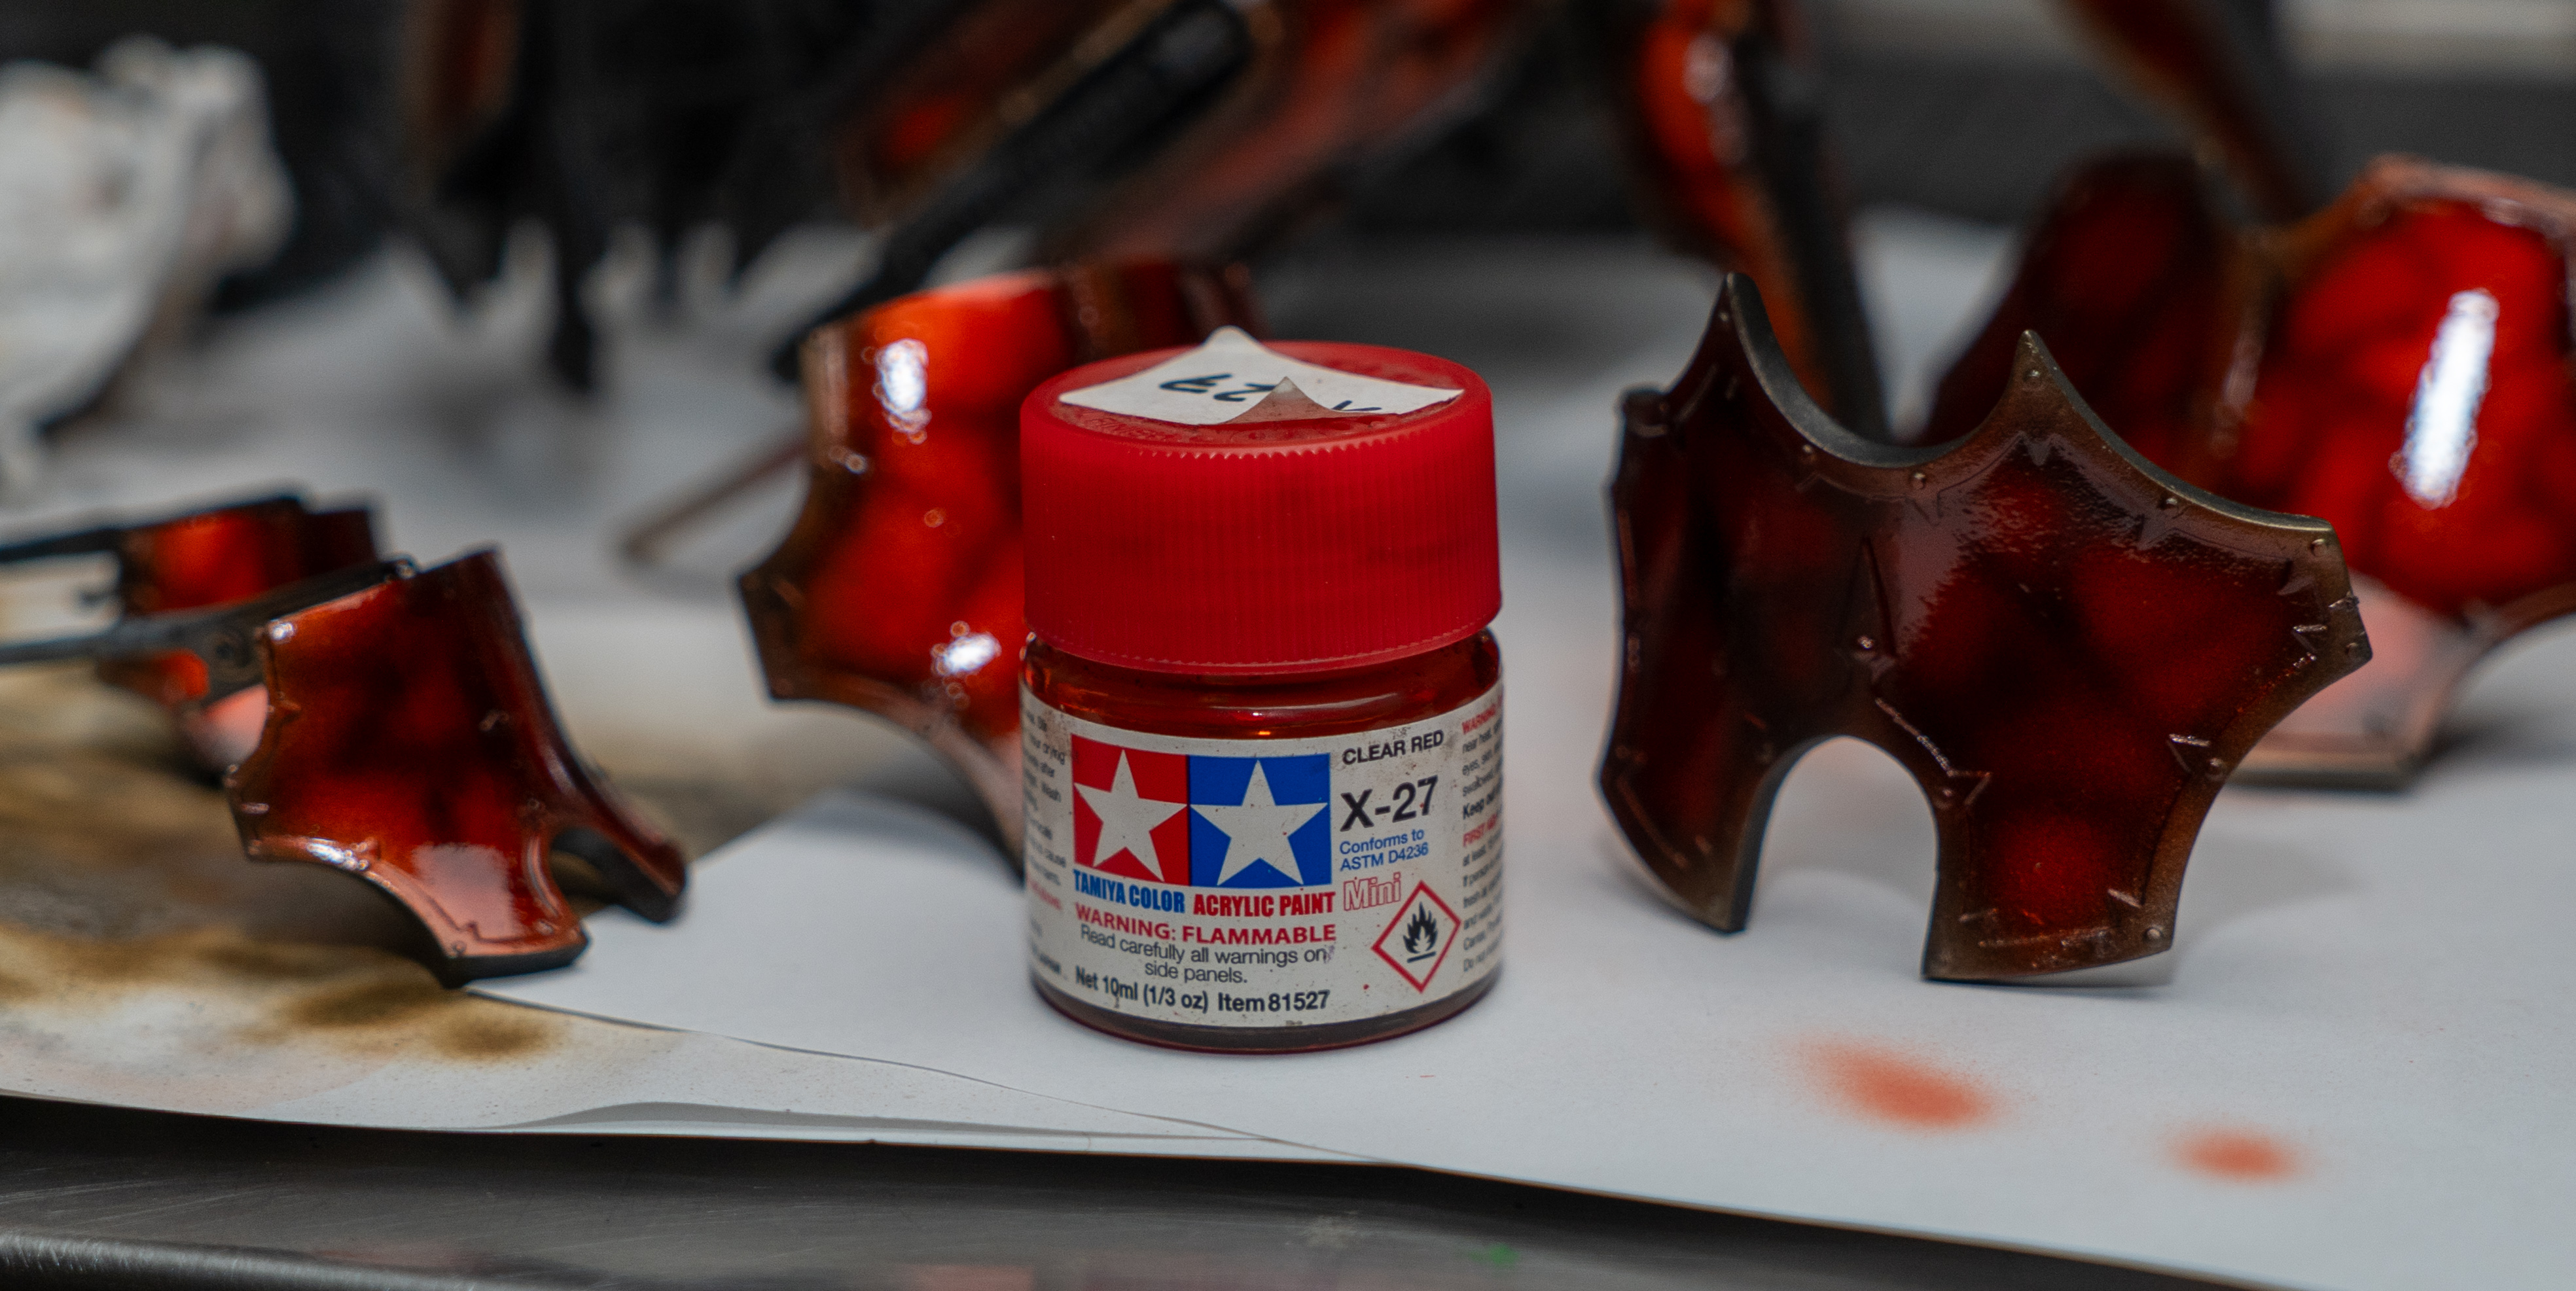
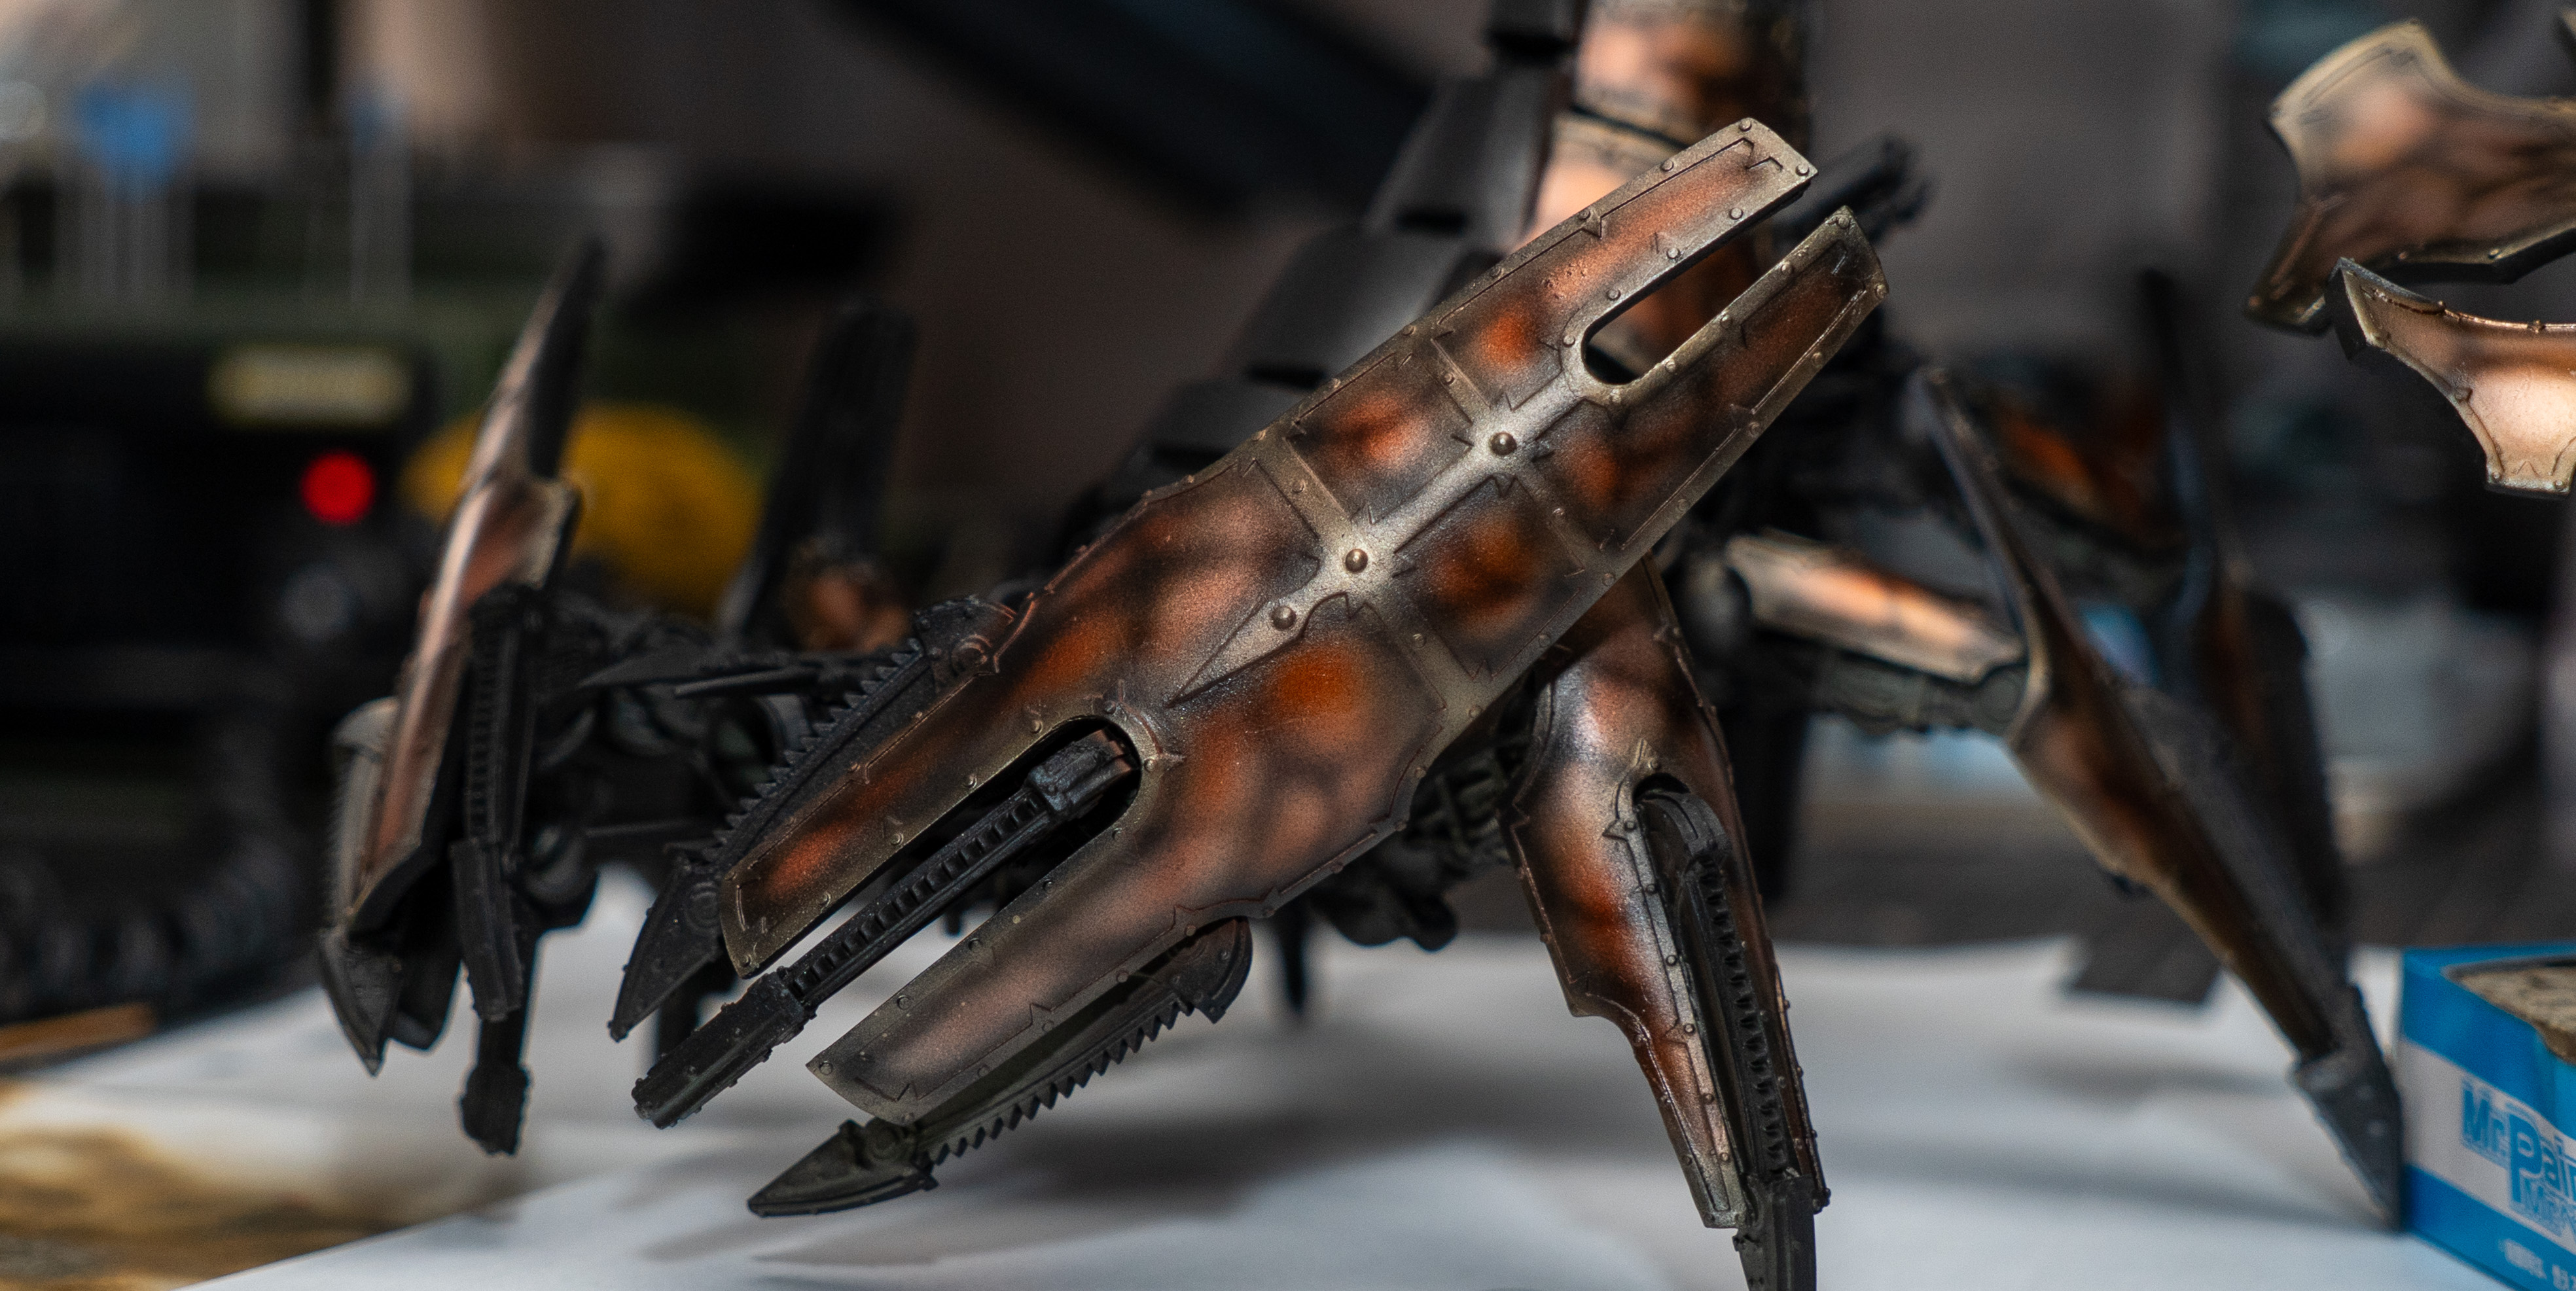
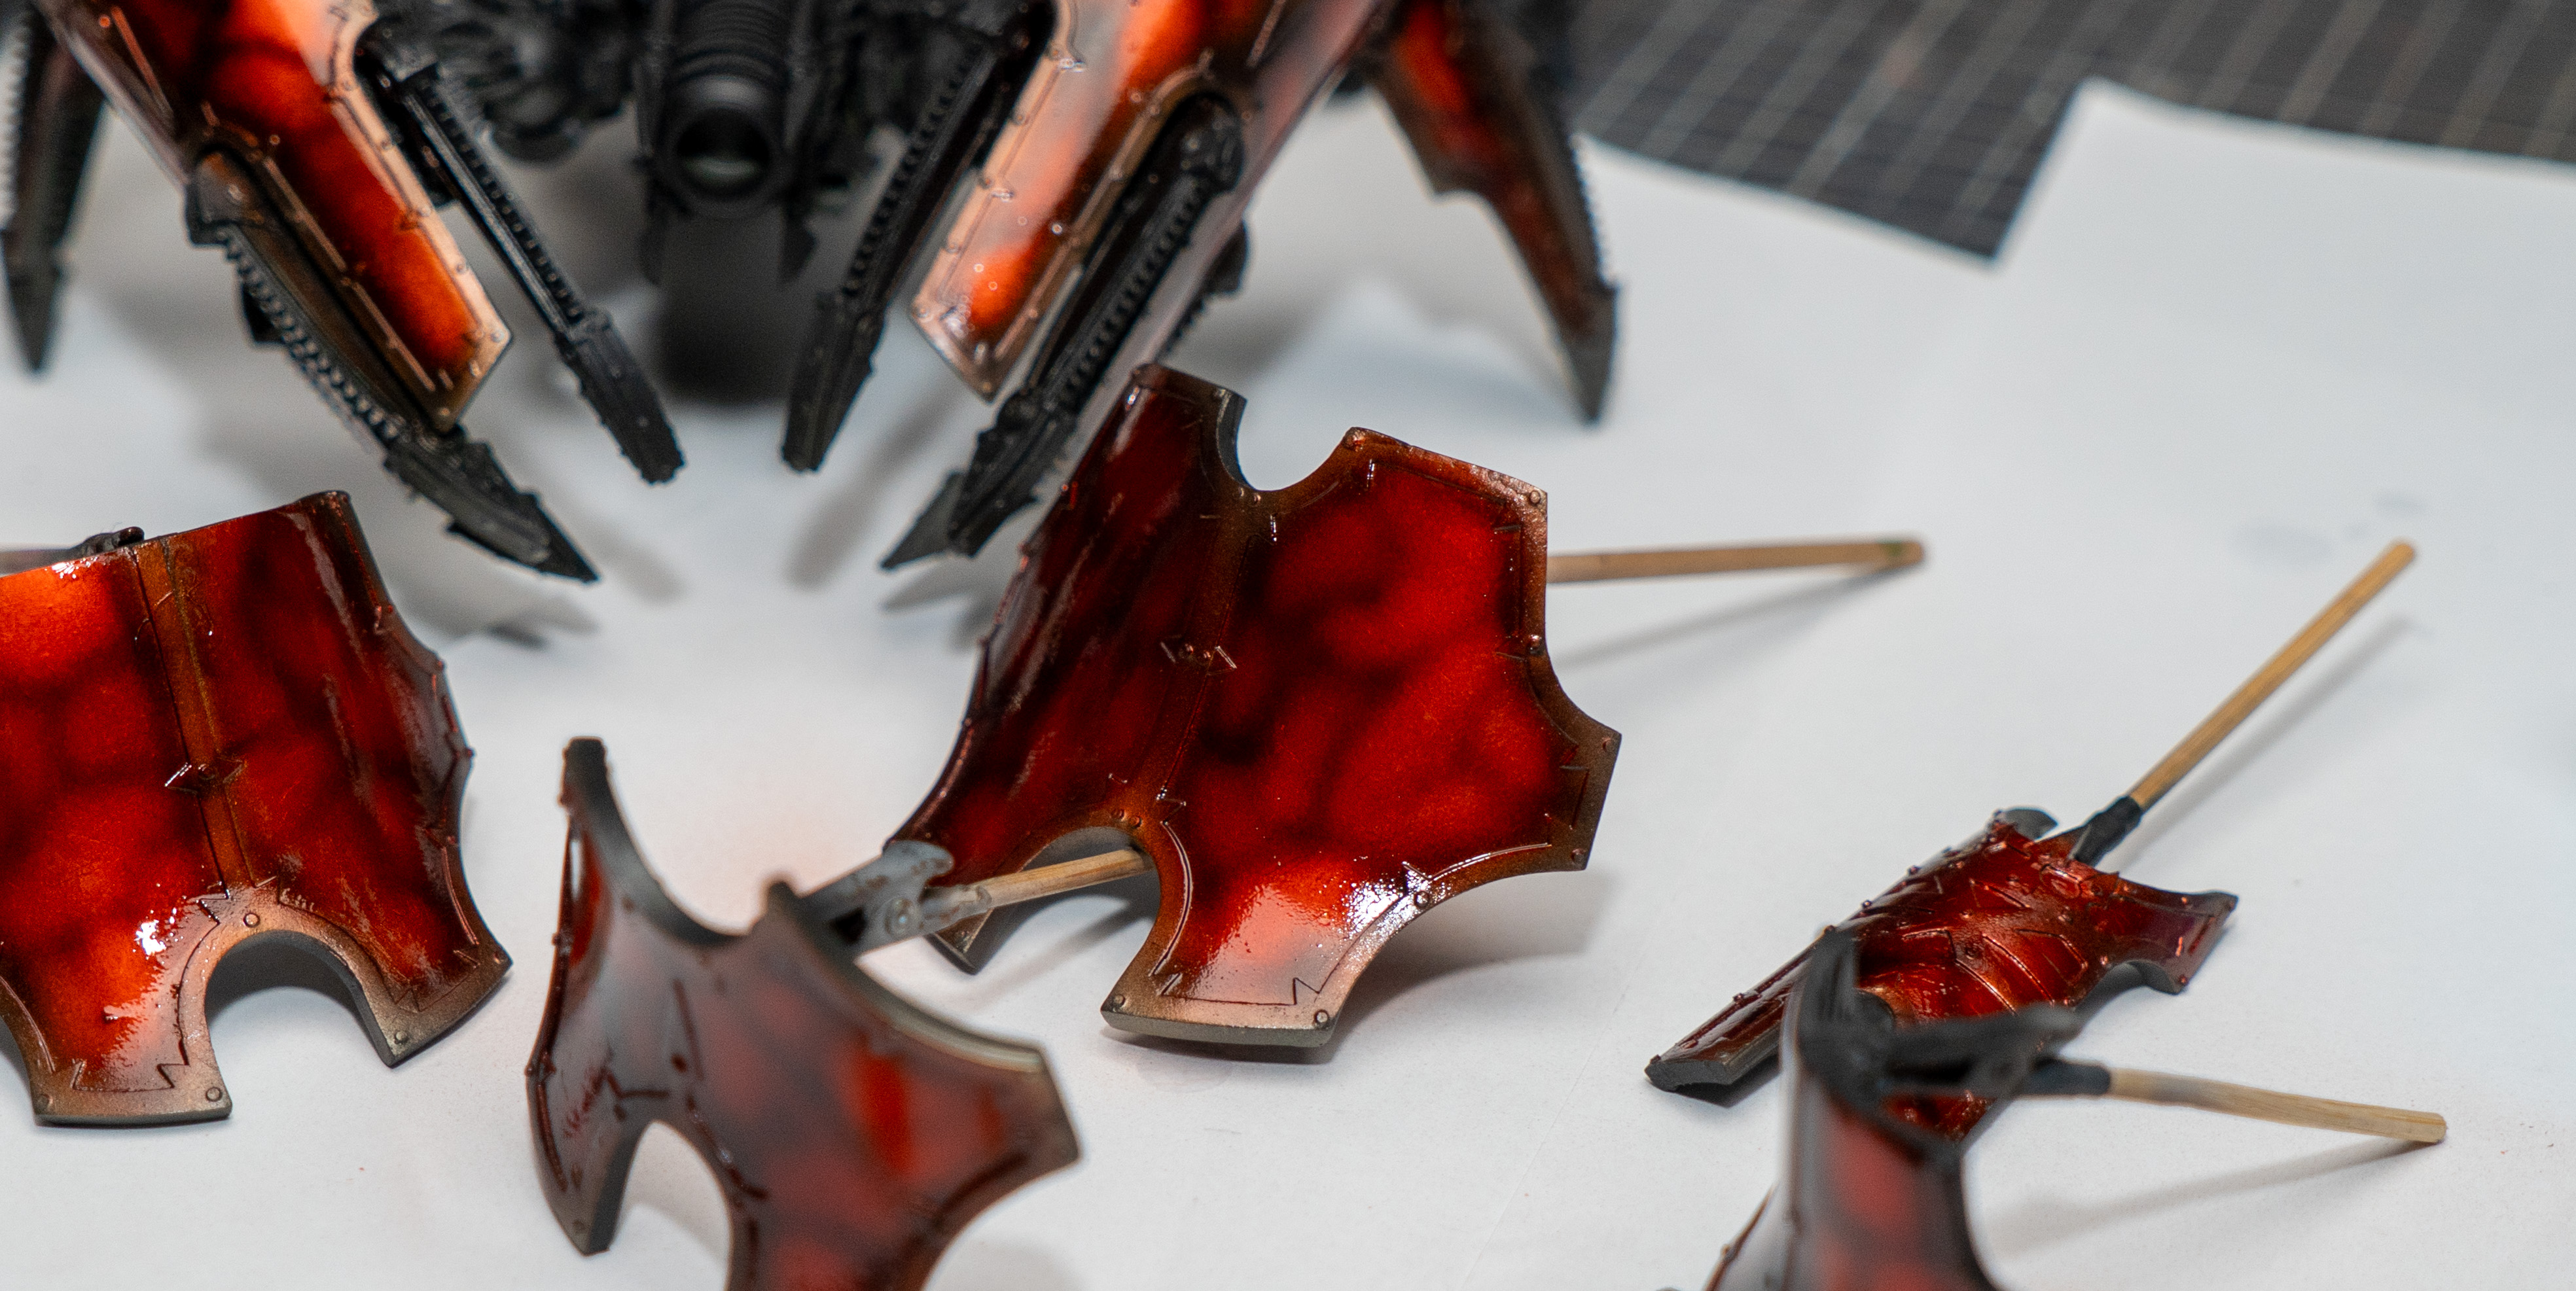
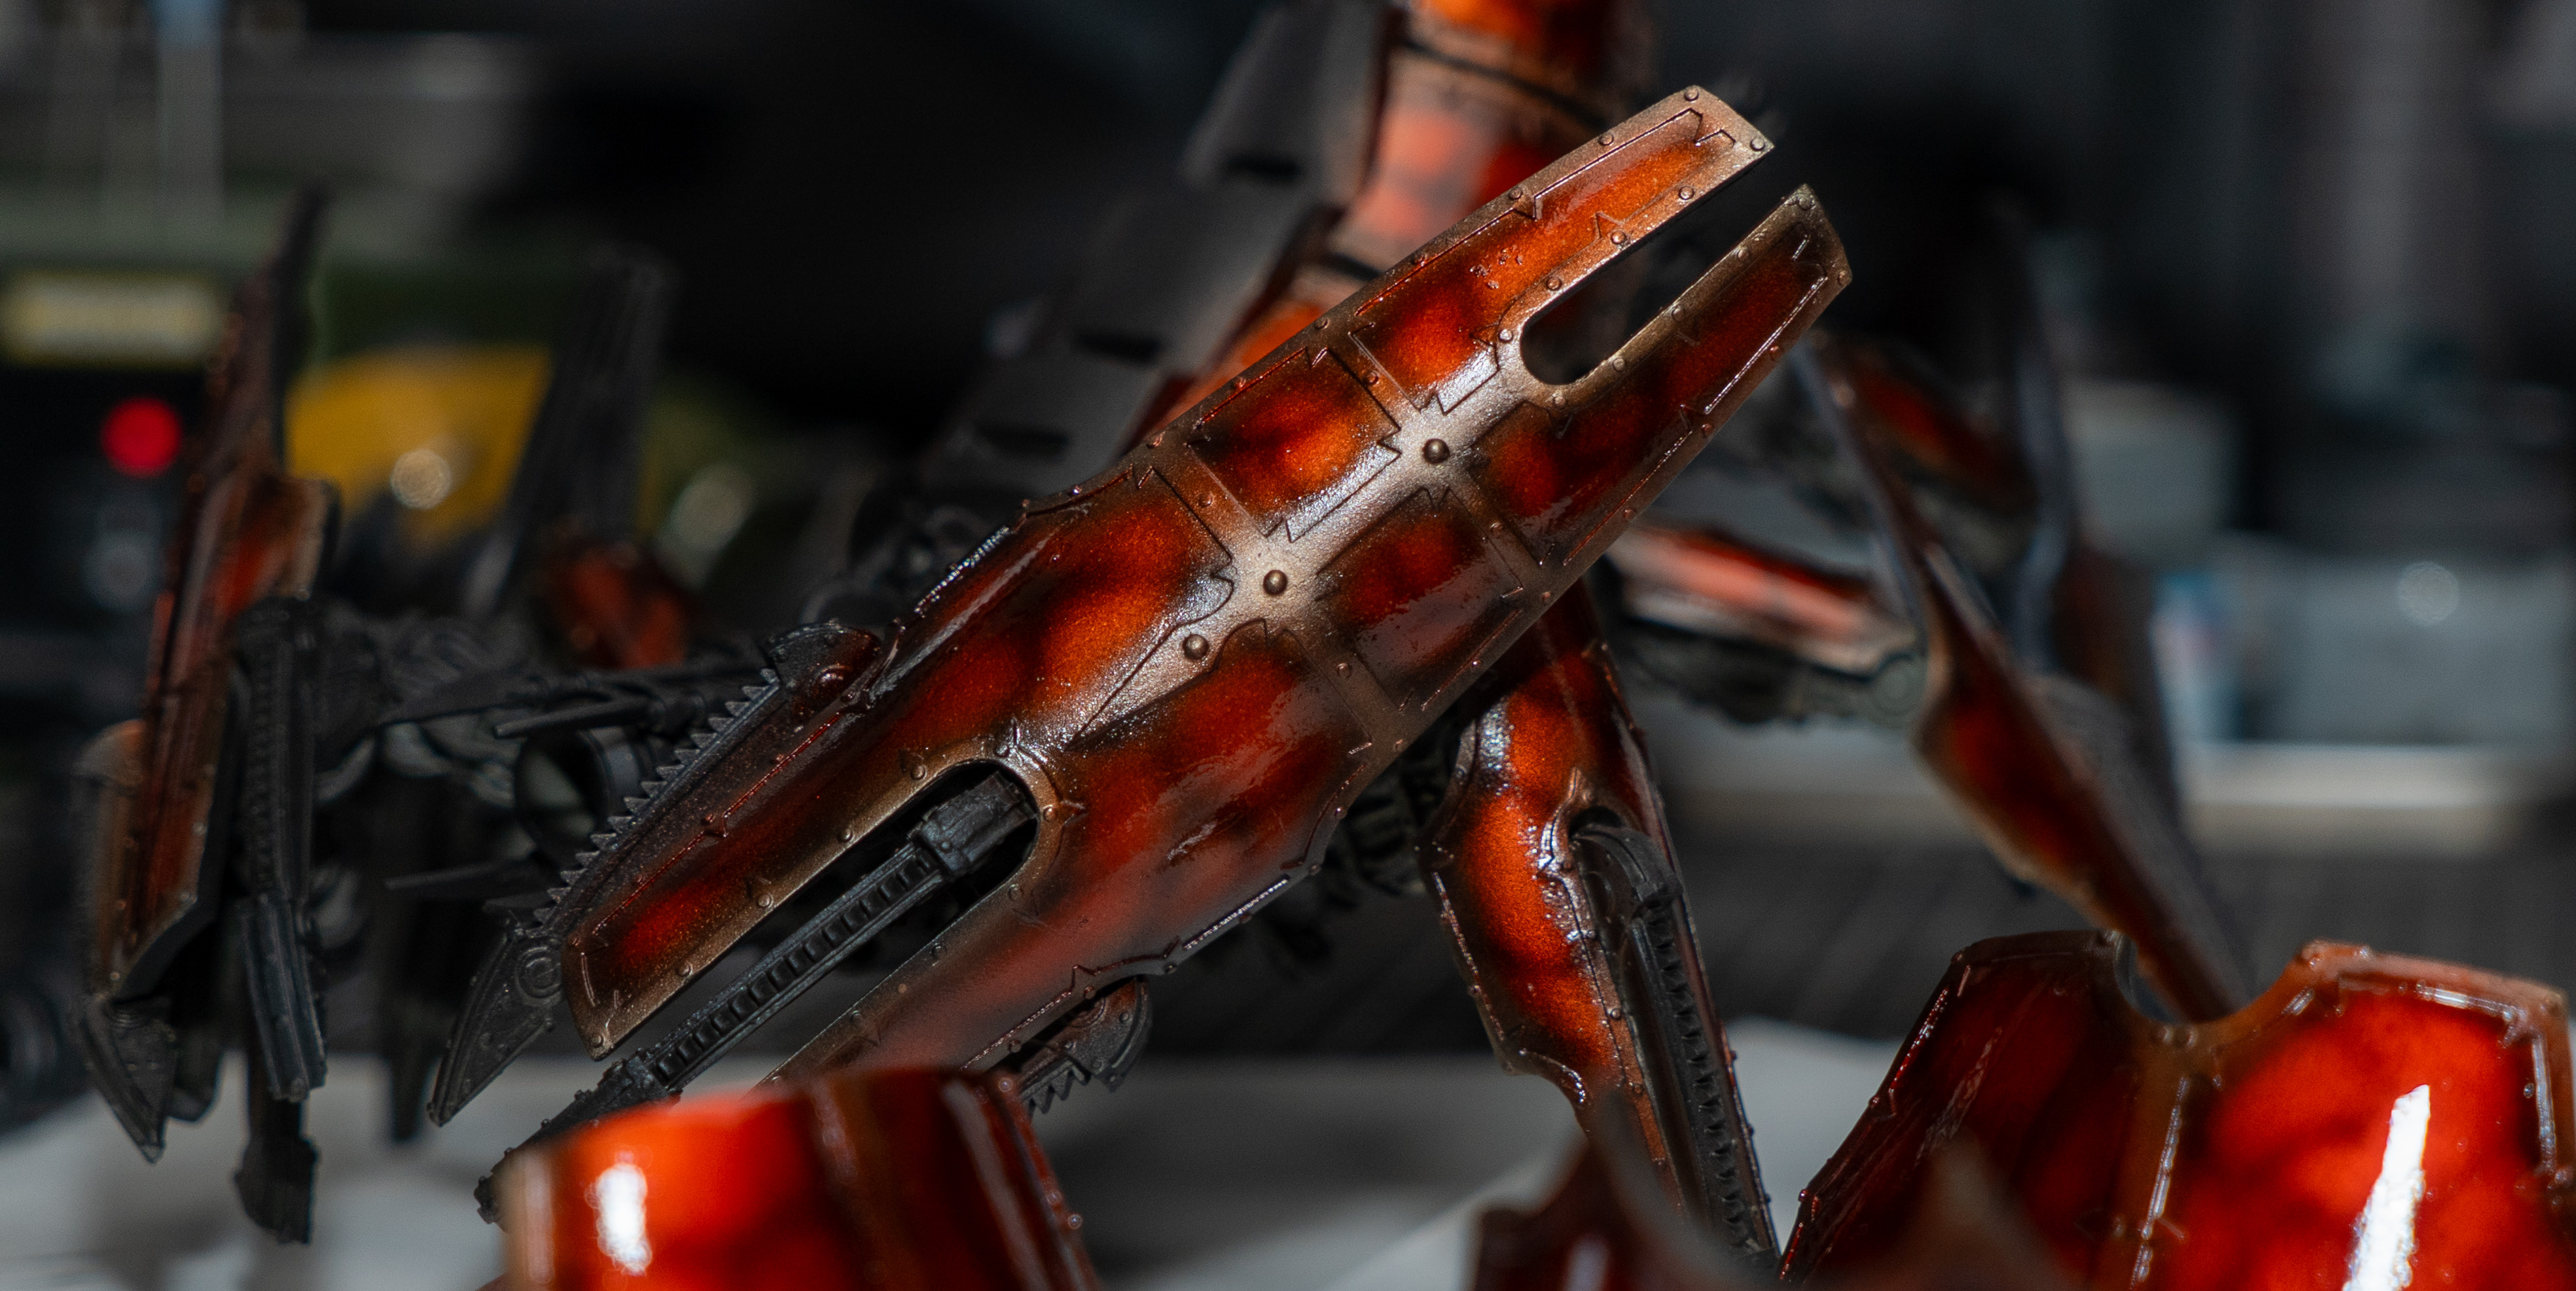
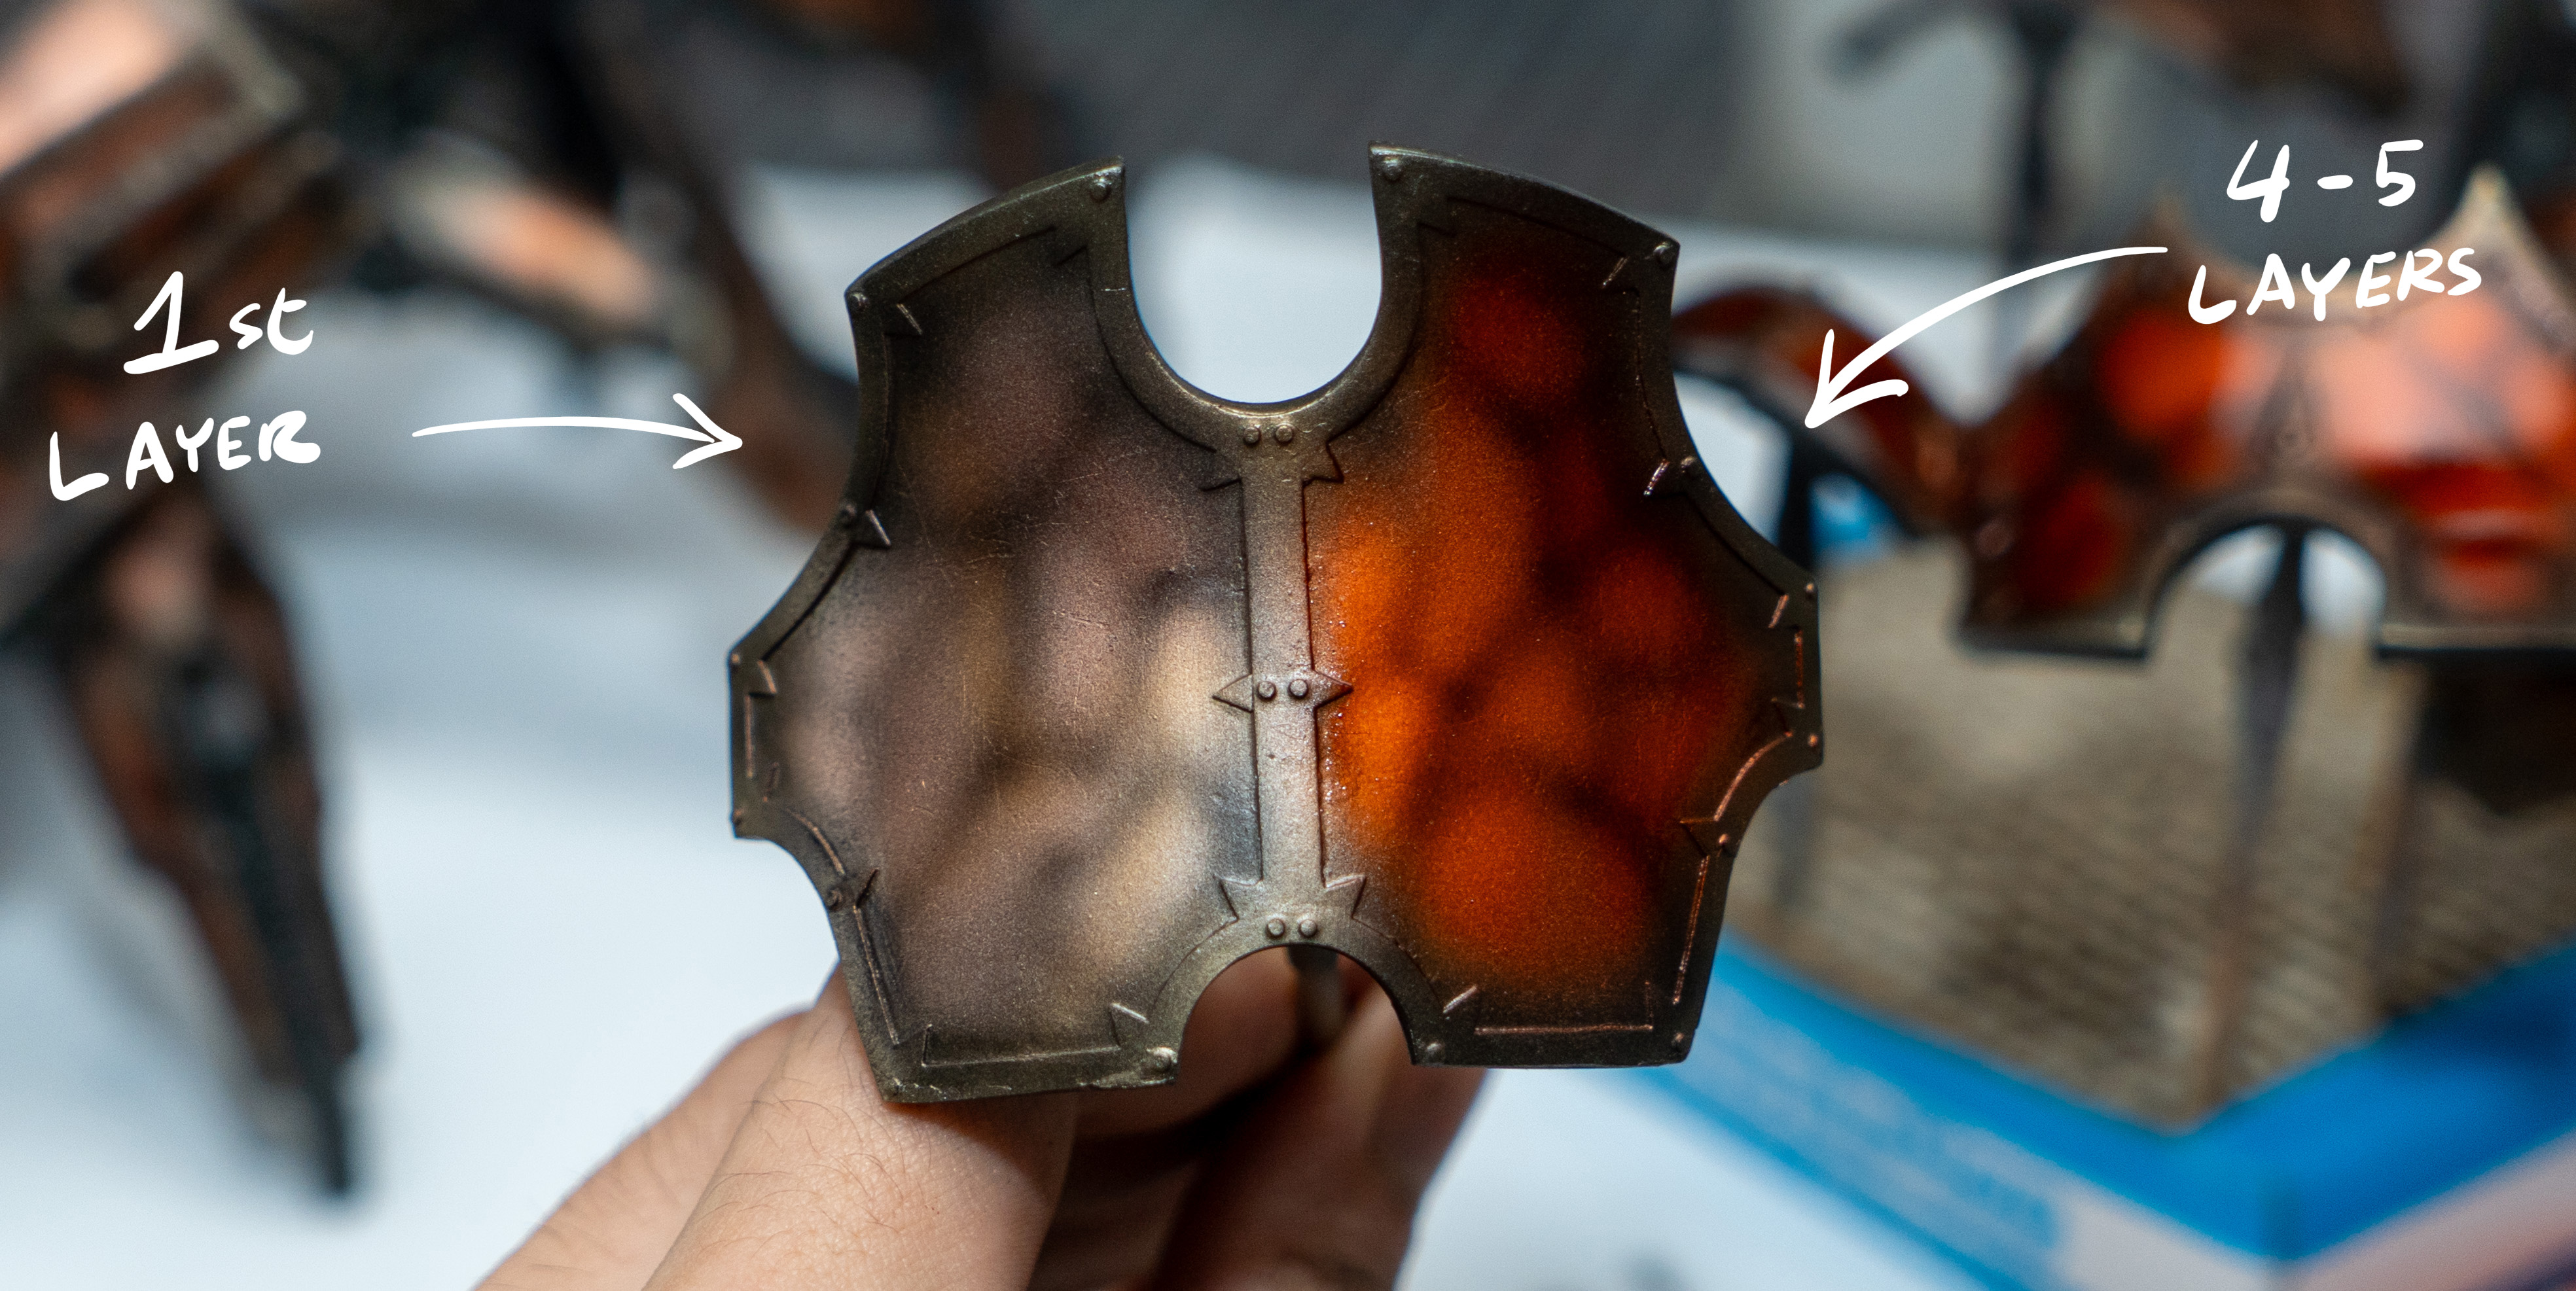
(1/6) Now it's time to begin the striking red gloss finish. I chose Tamiya X-27 Clear Red though any ink or transparent paint can be used. I thinned it for a basecoat finish with Mr. Levelling Thinner.
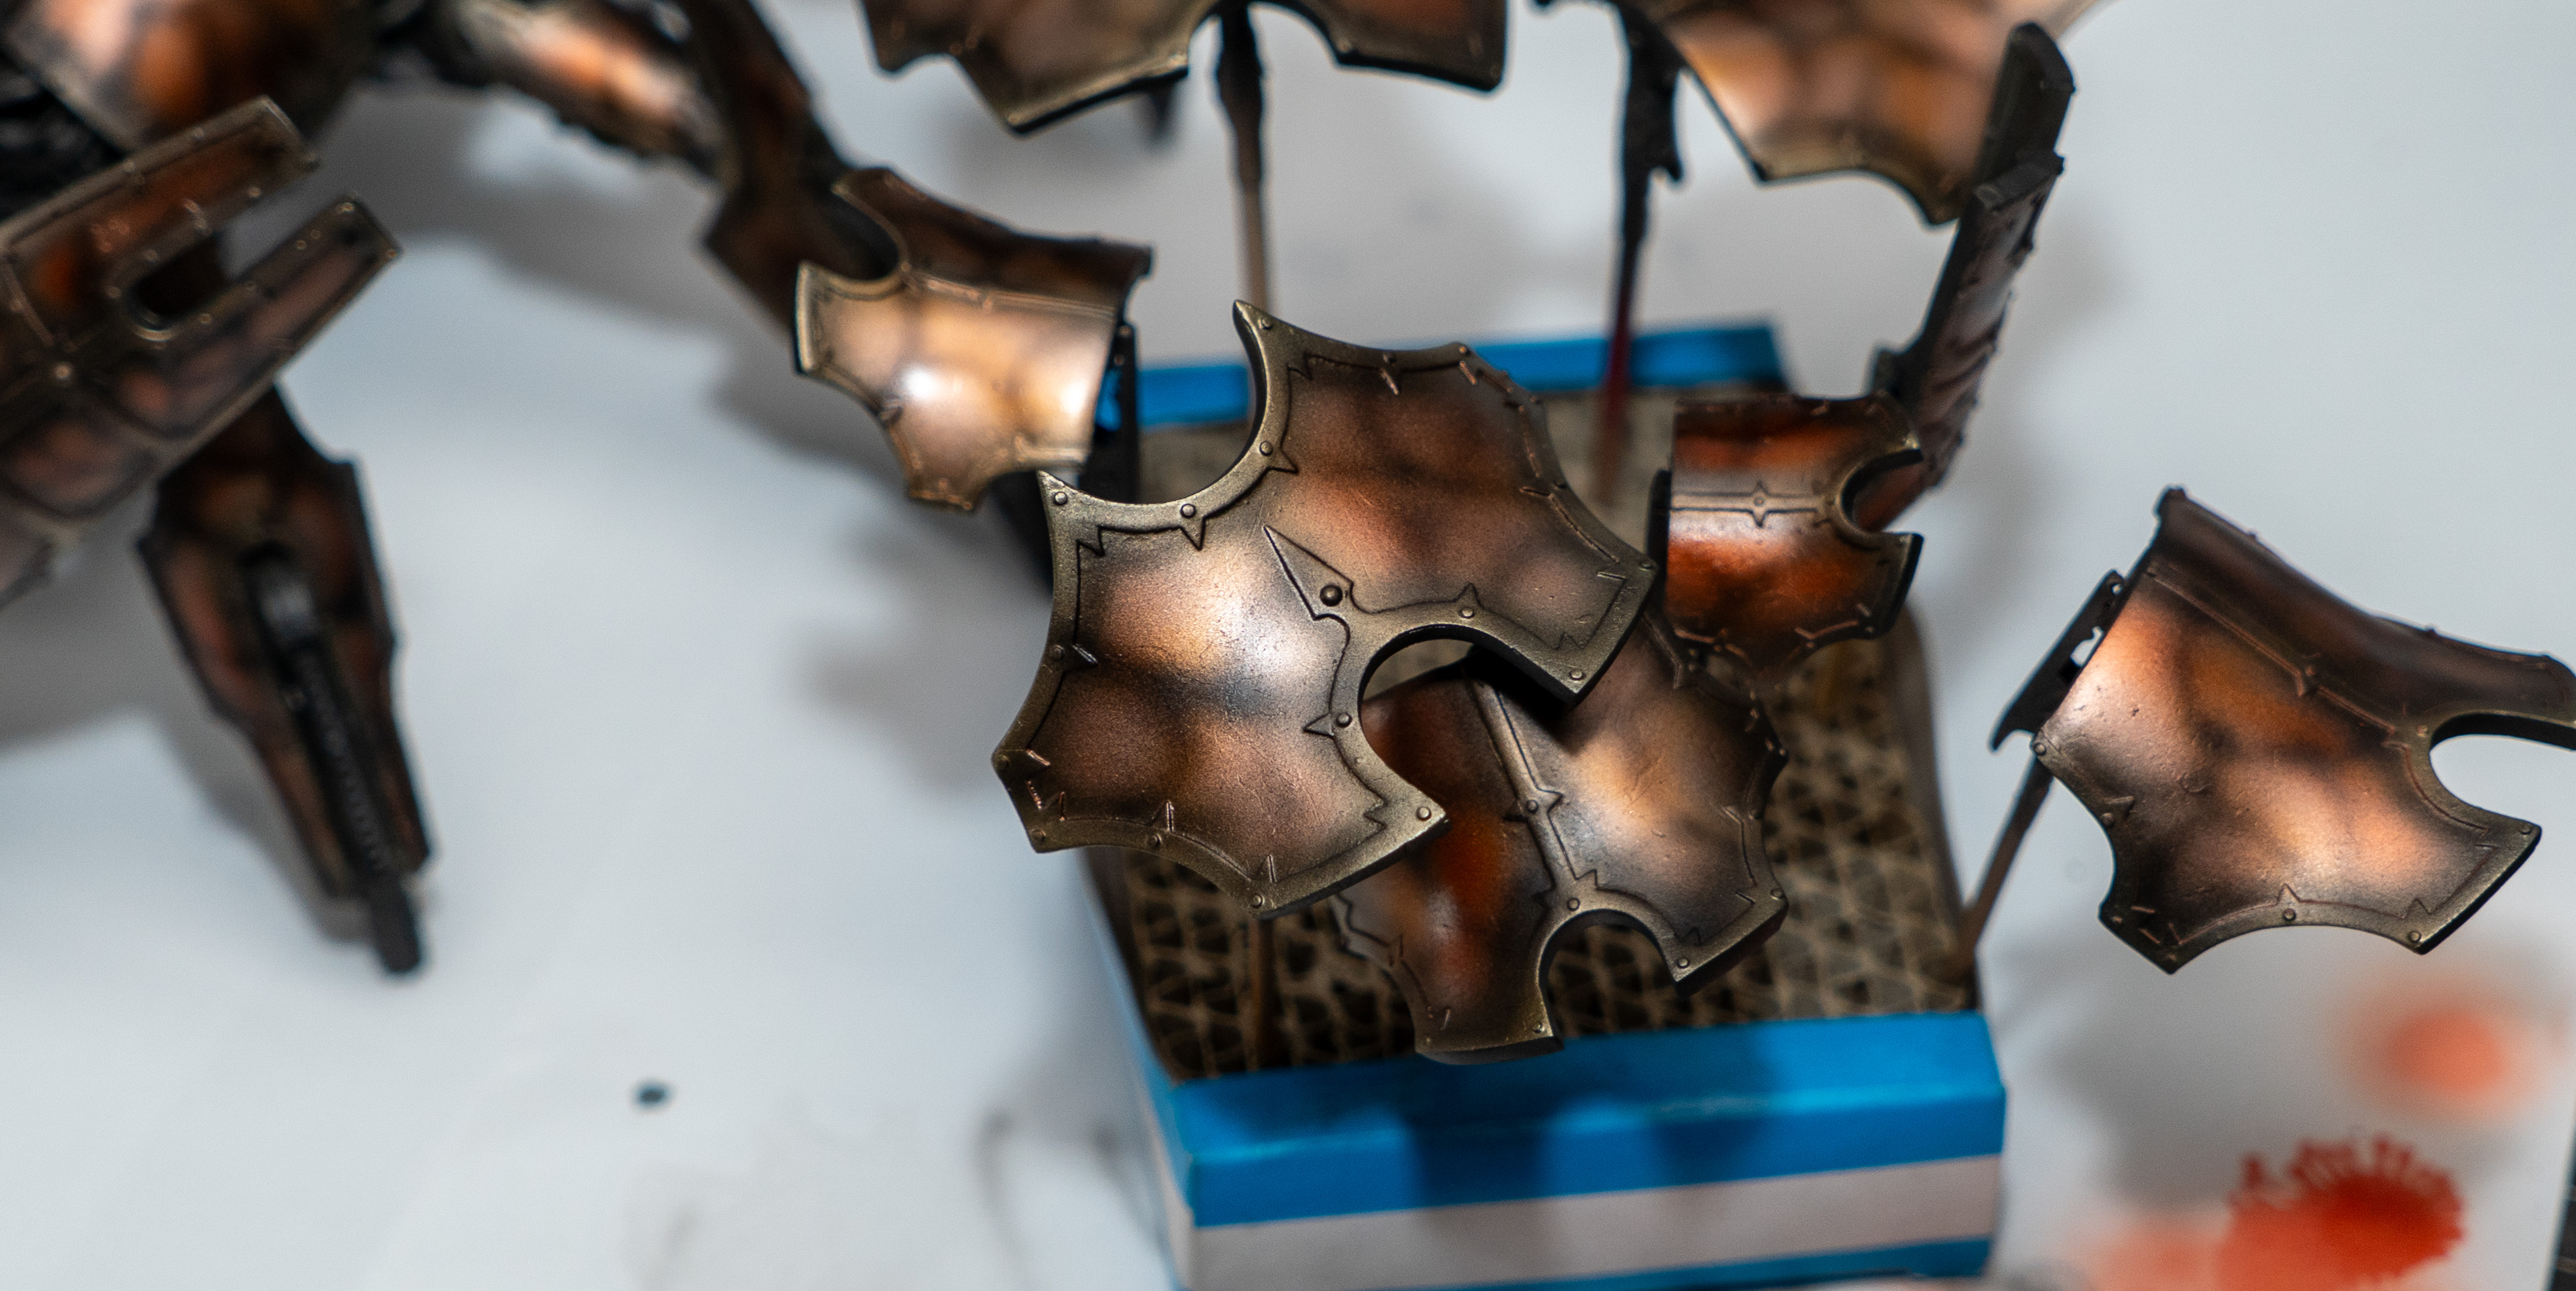
(2-3/6) At this stage, the result won't be immediately apparent and the solution is to apply a few more successive layers on top to help build the opacity of the color. It is recommended to wait until the previous layer appears dry before applying the next.
(4-5/6) After a few more layers the result becomes more apparent.
(6/6) The difference between the start and progressive layers. I applied more layers until I achieved the result i enjoyed which was a more chromatic red.
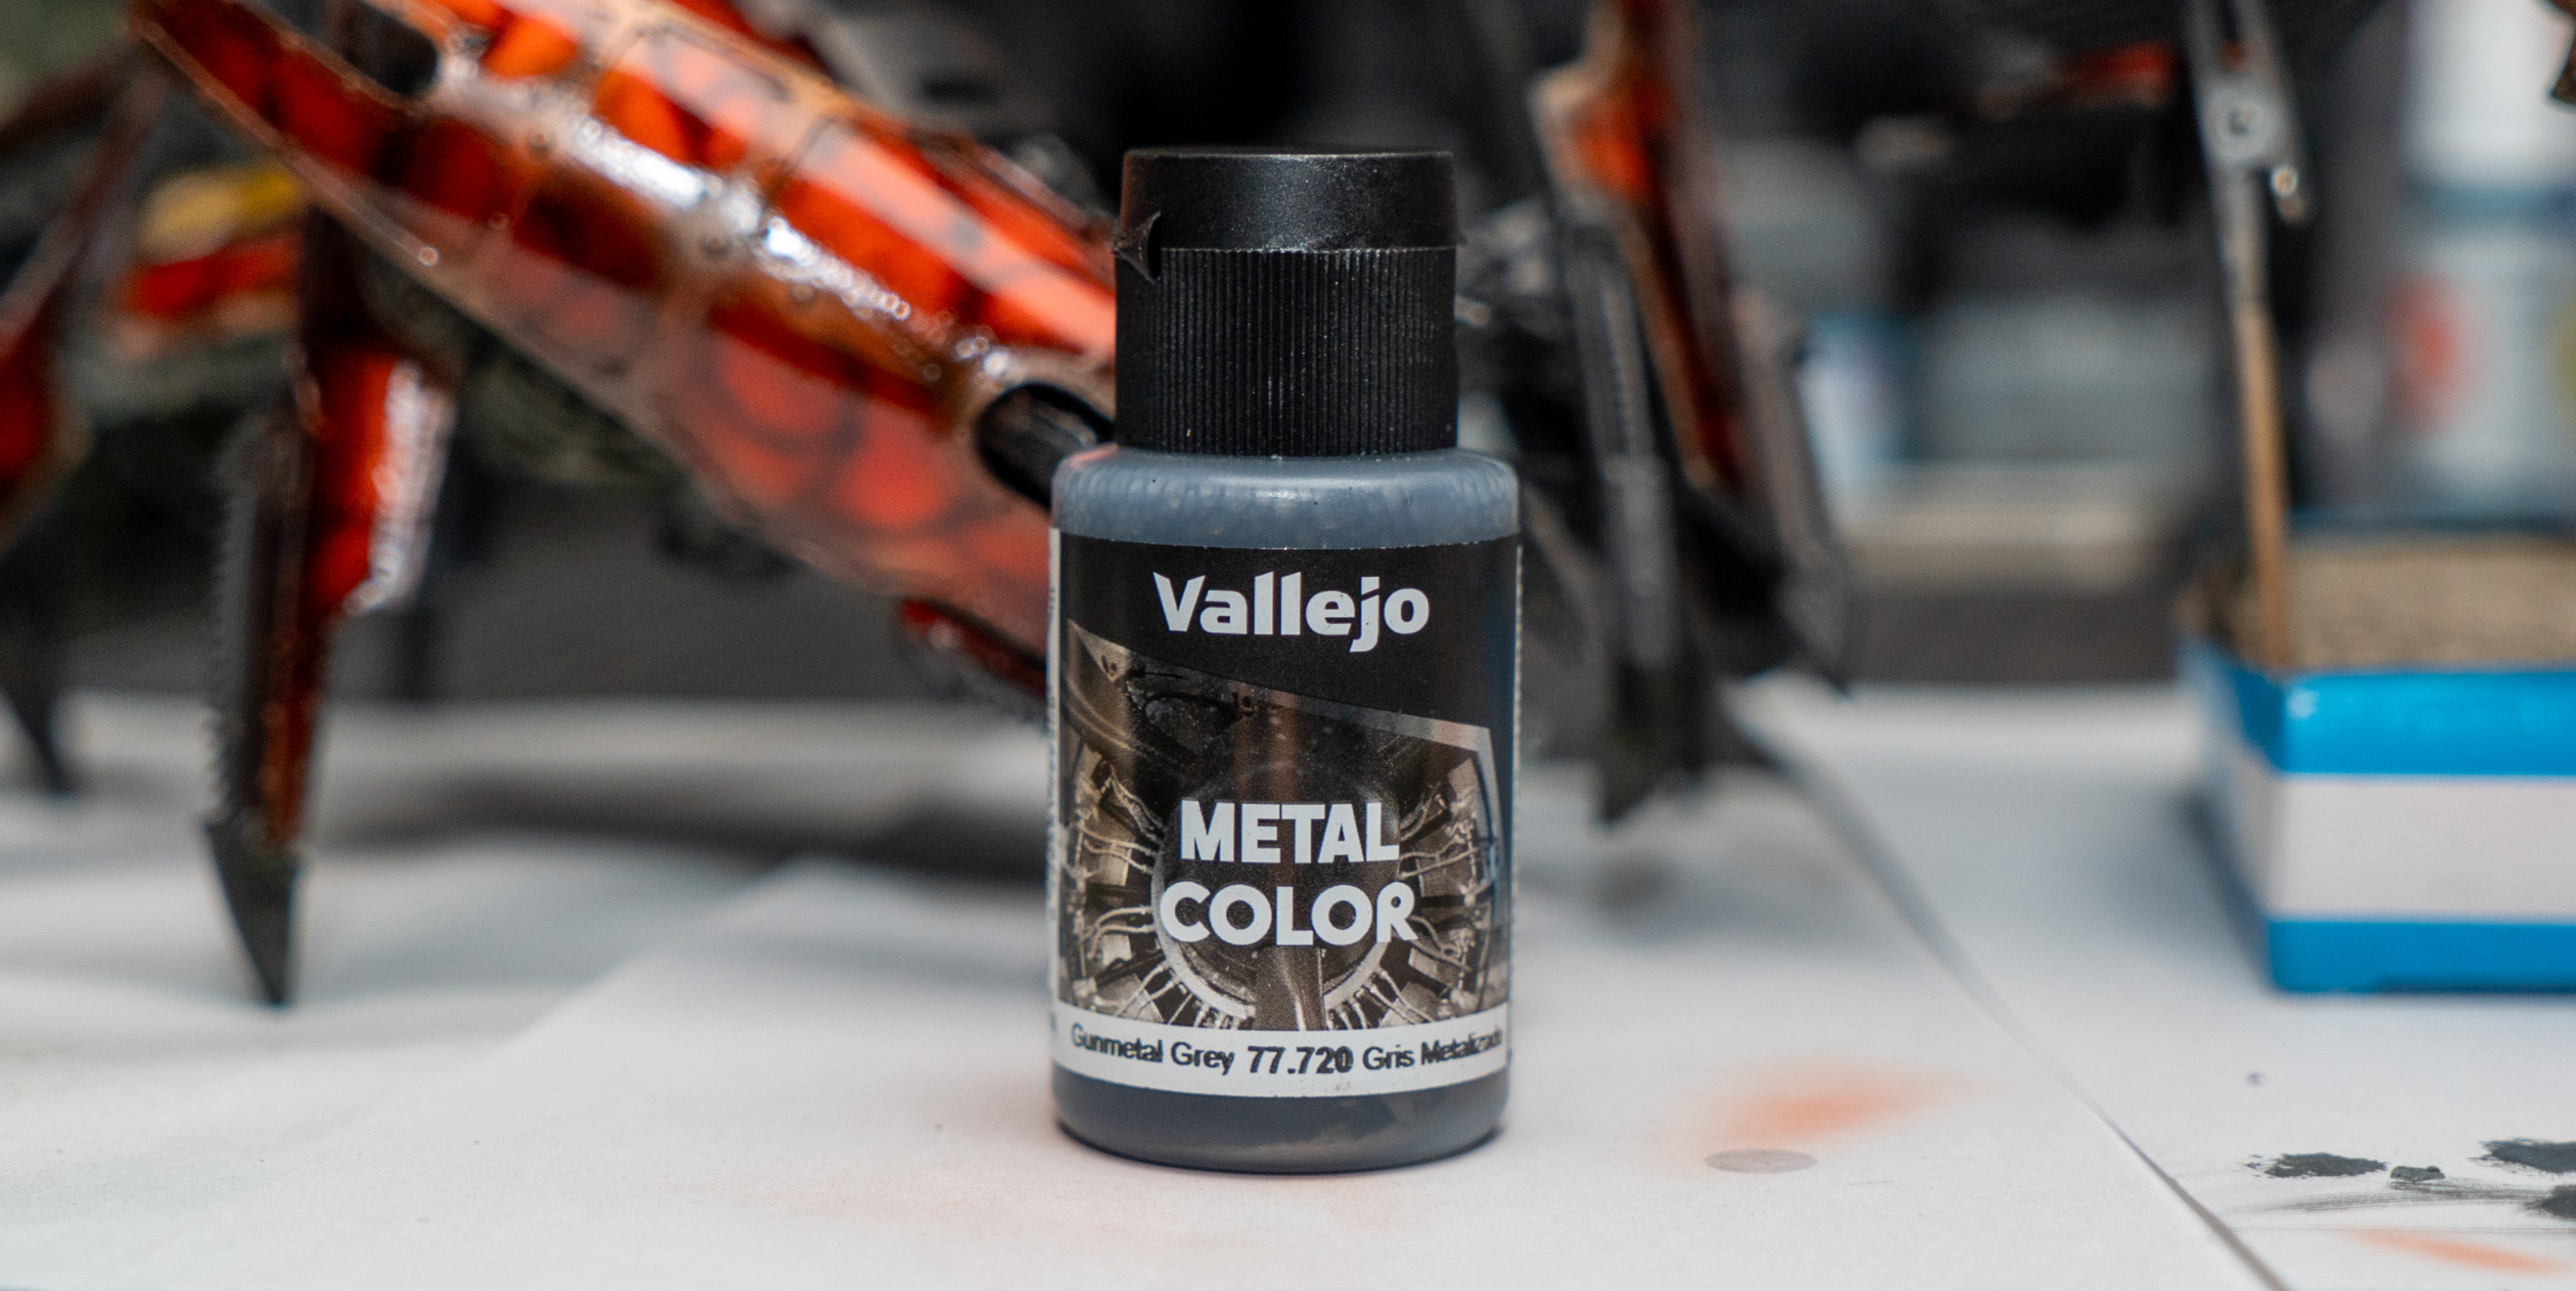
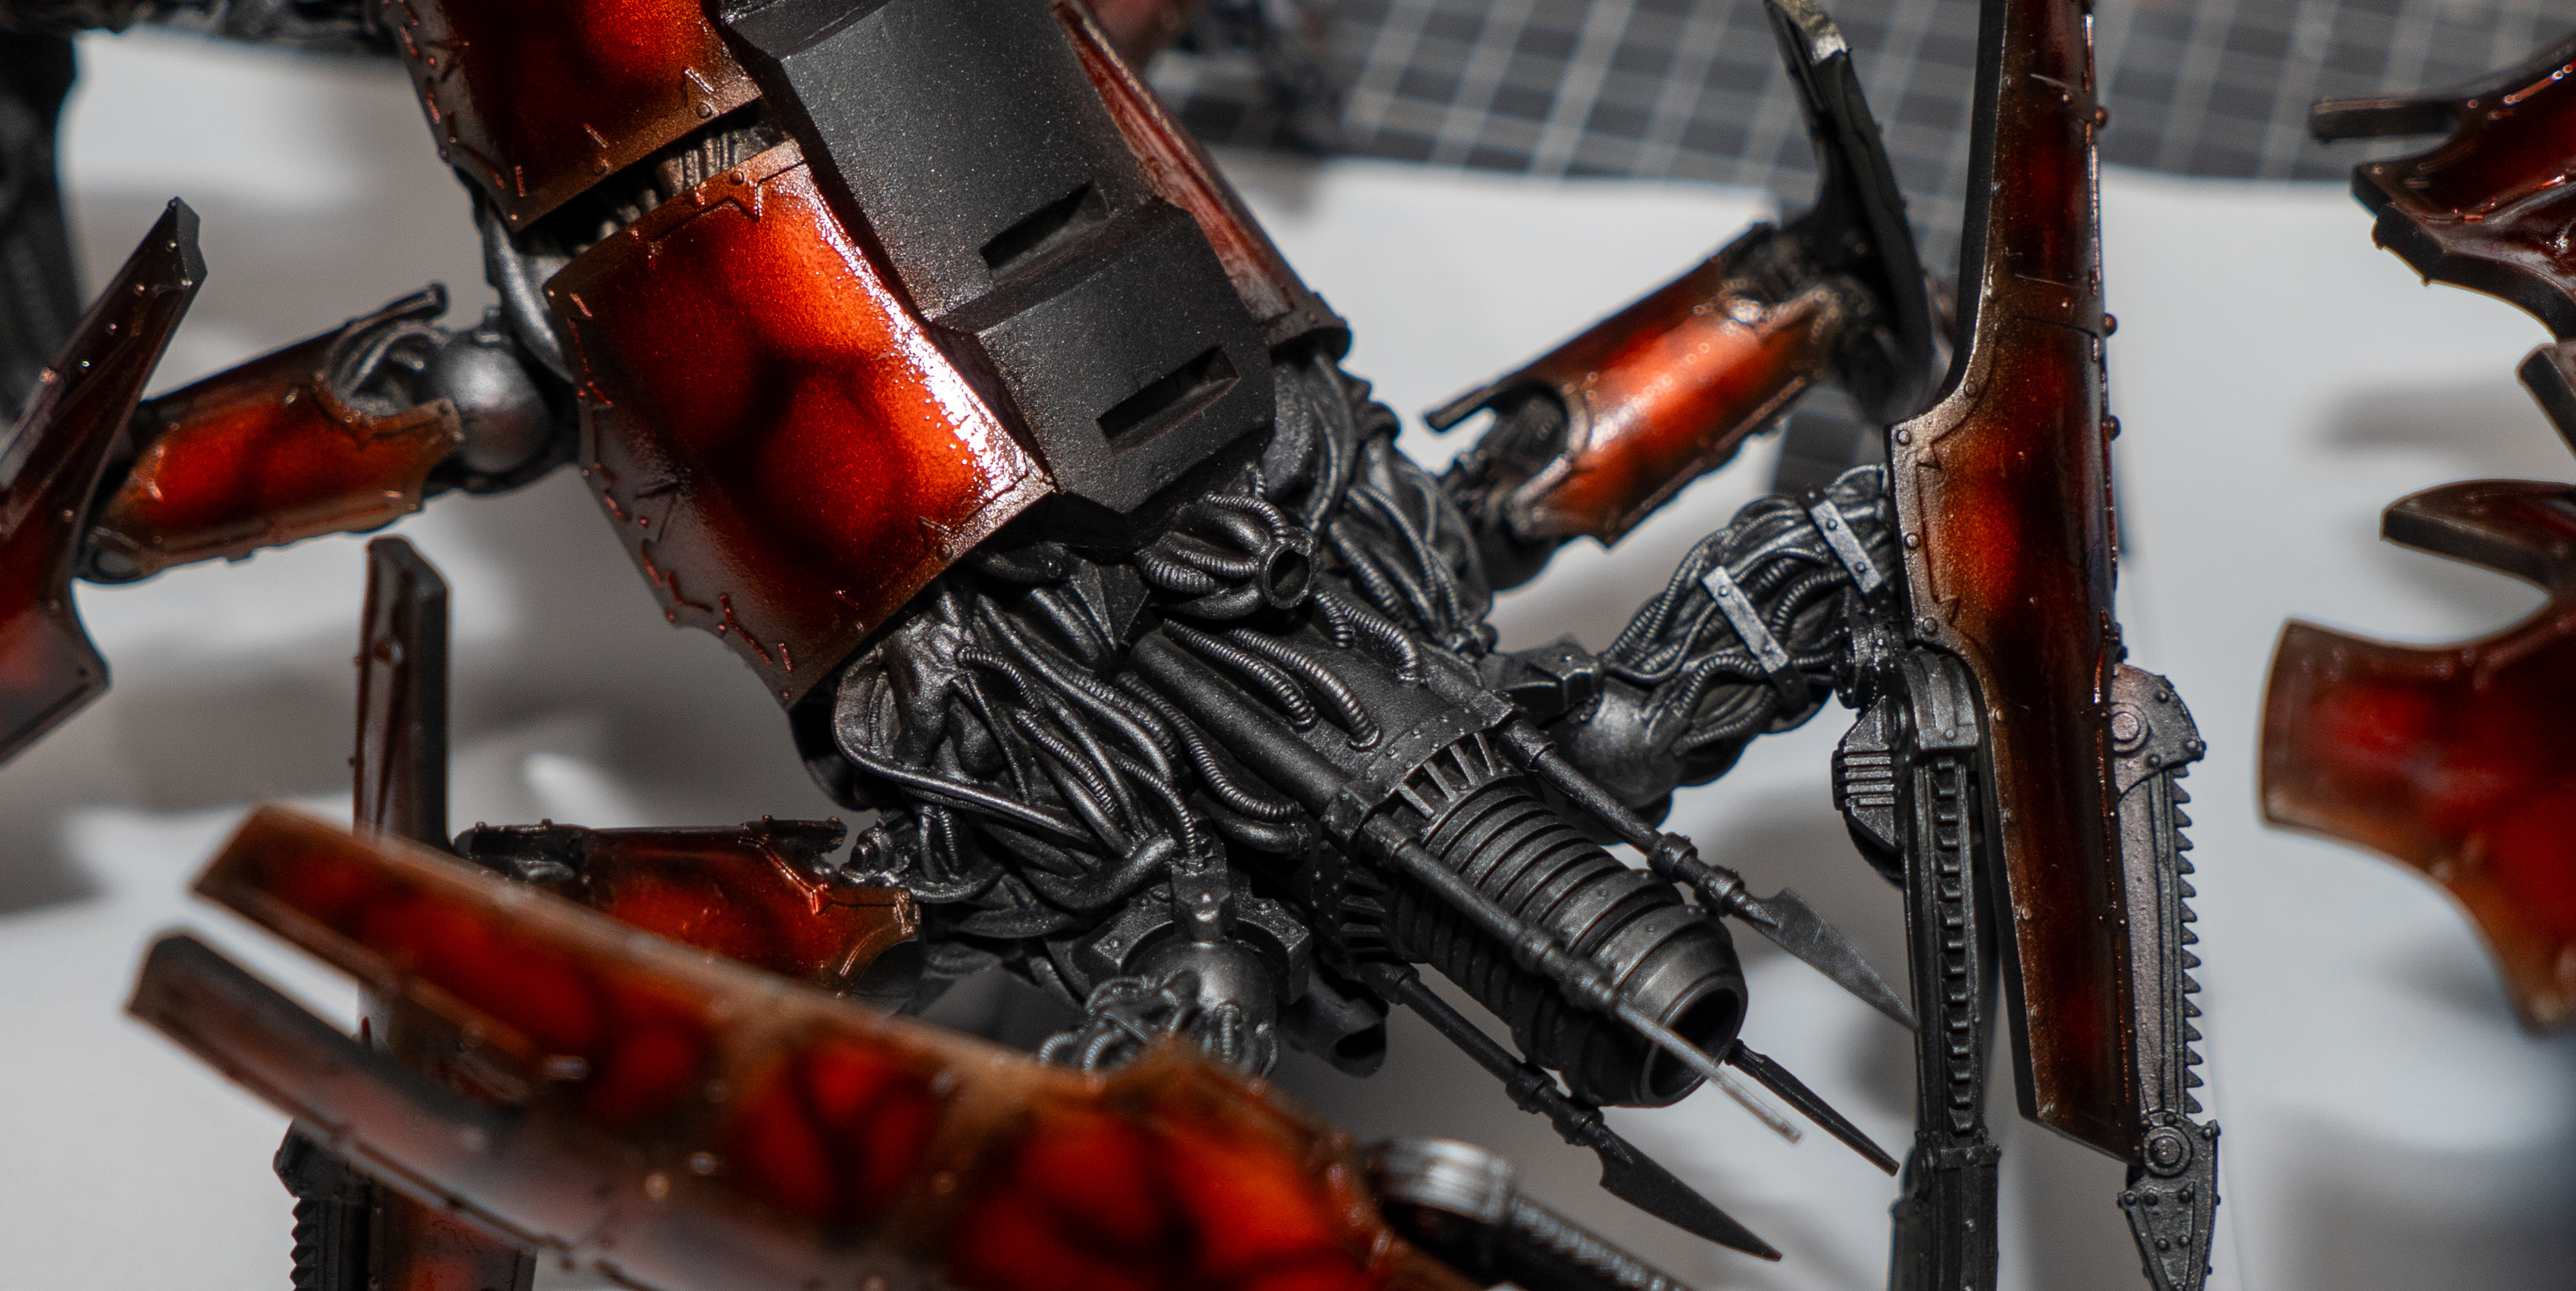
(1/2) For the initial basecoat of the internals, I drybrushed a dark metallic on top of the semigloss black that won't clash in terms of value with the red. I found Vallejo Metal Color (VMC) suitable for brush application due to its extremely pleasant flow and coverage. I used VMC Gunmetal Gray 77.728
(2/2) The second image shows the result after a liberal drybrush of the paint
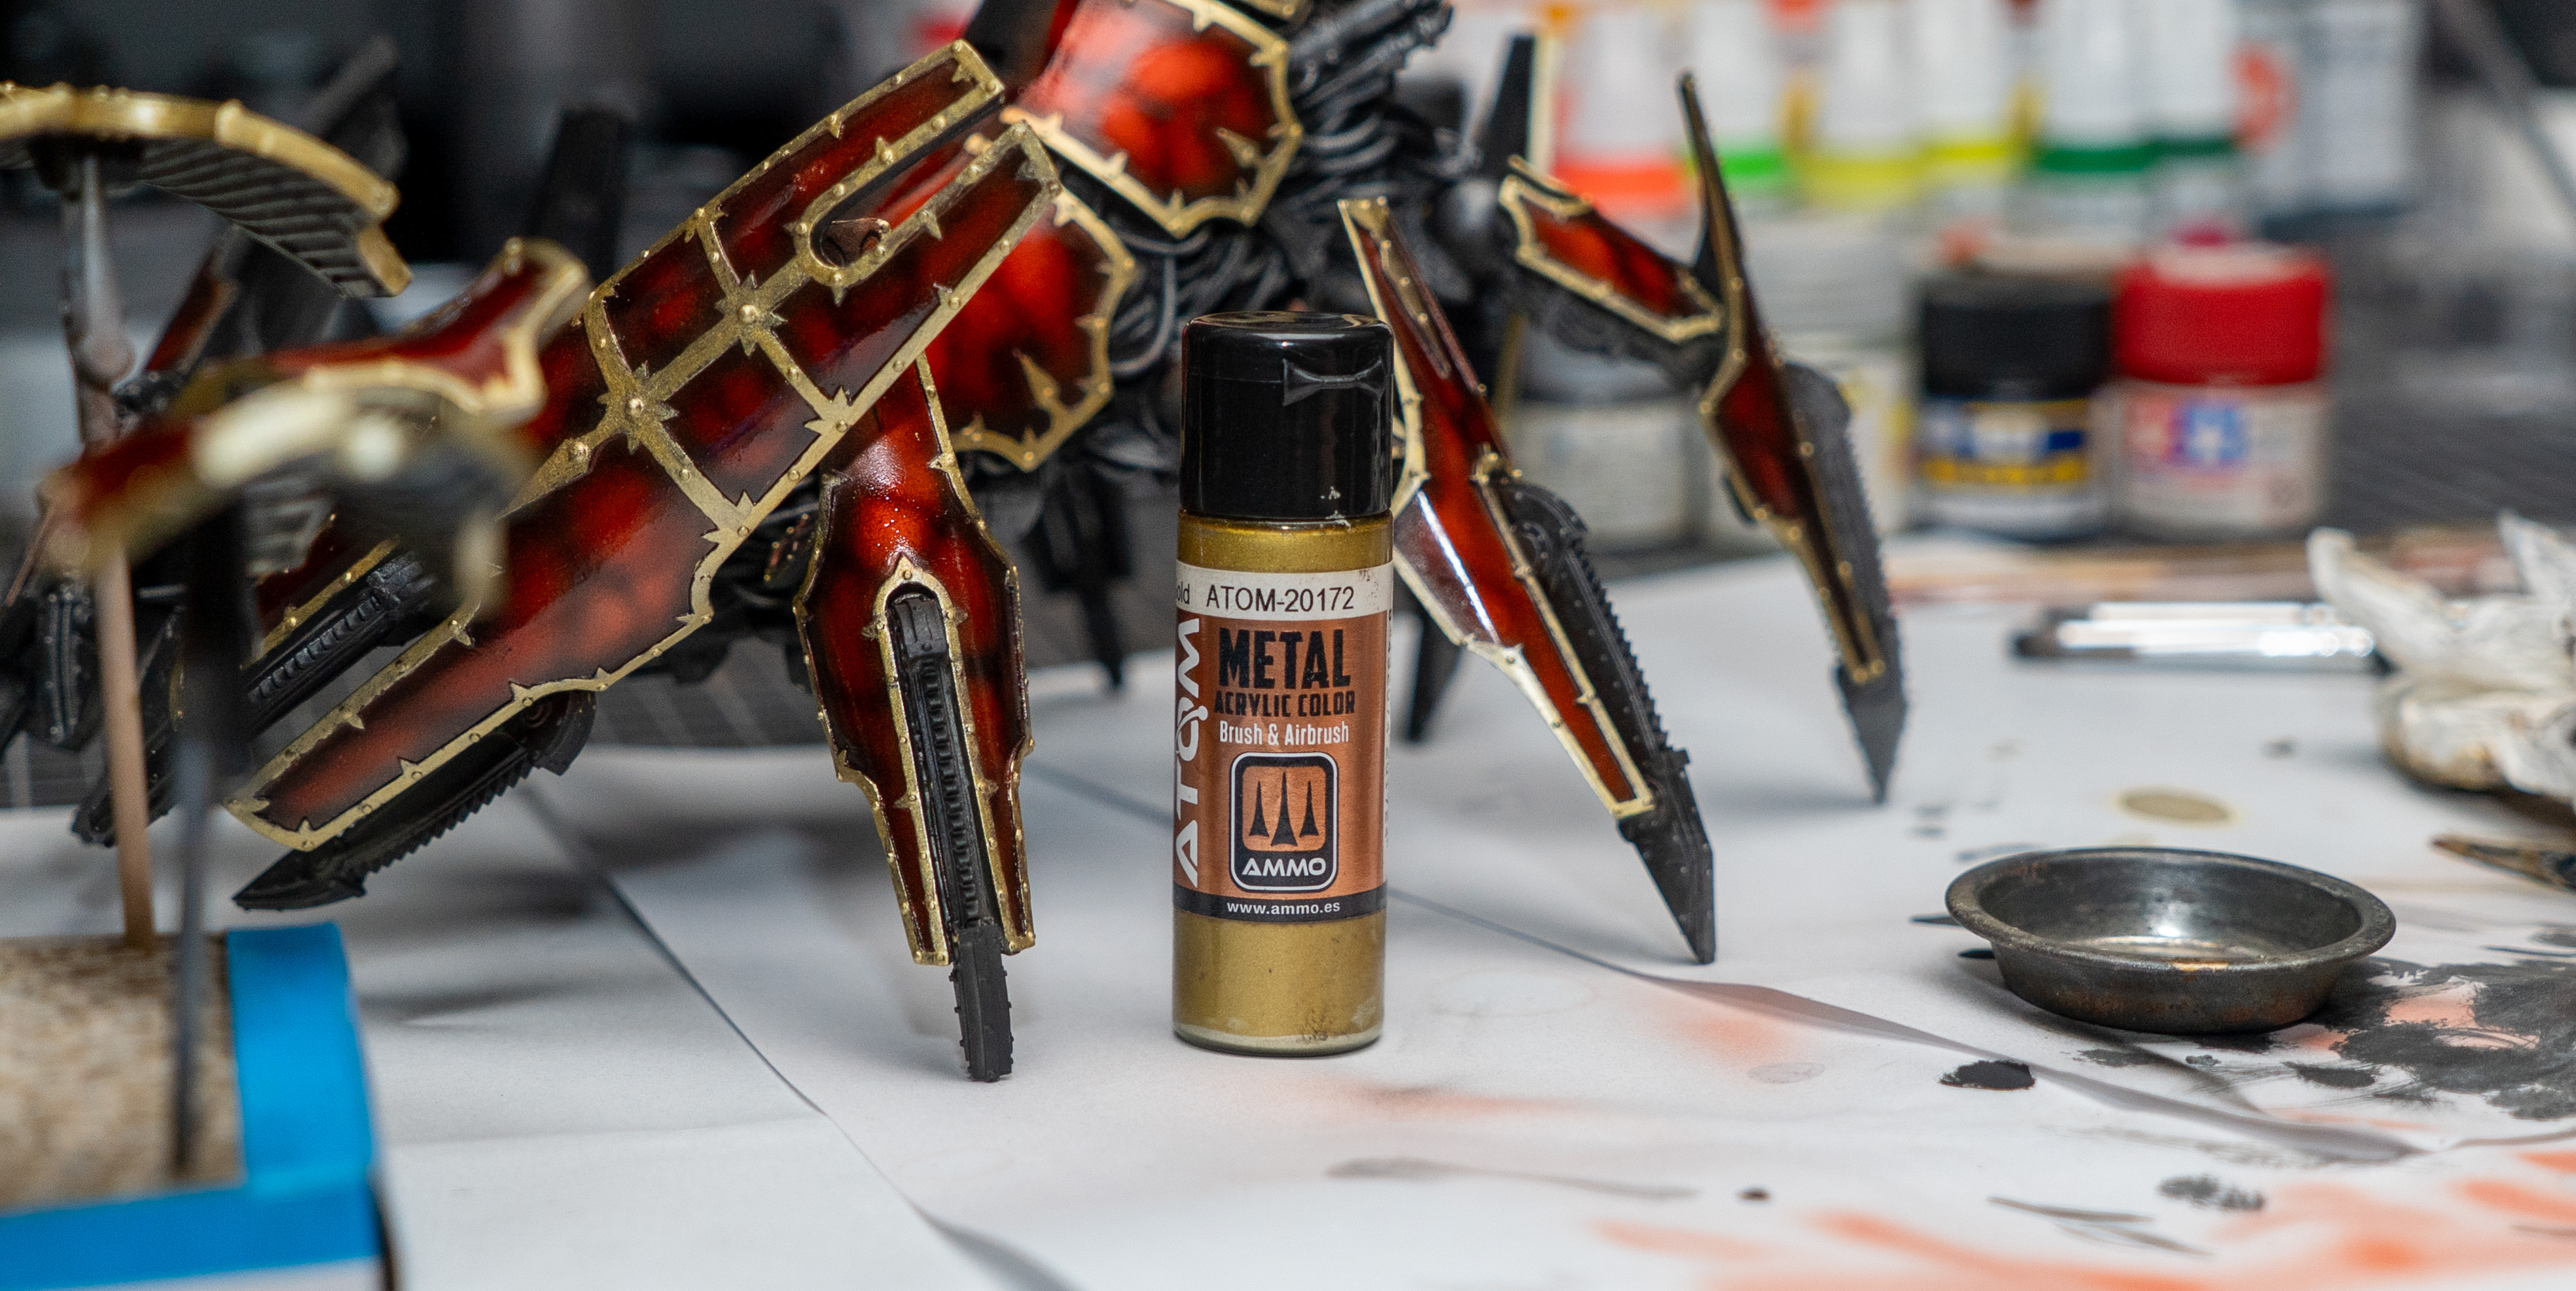
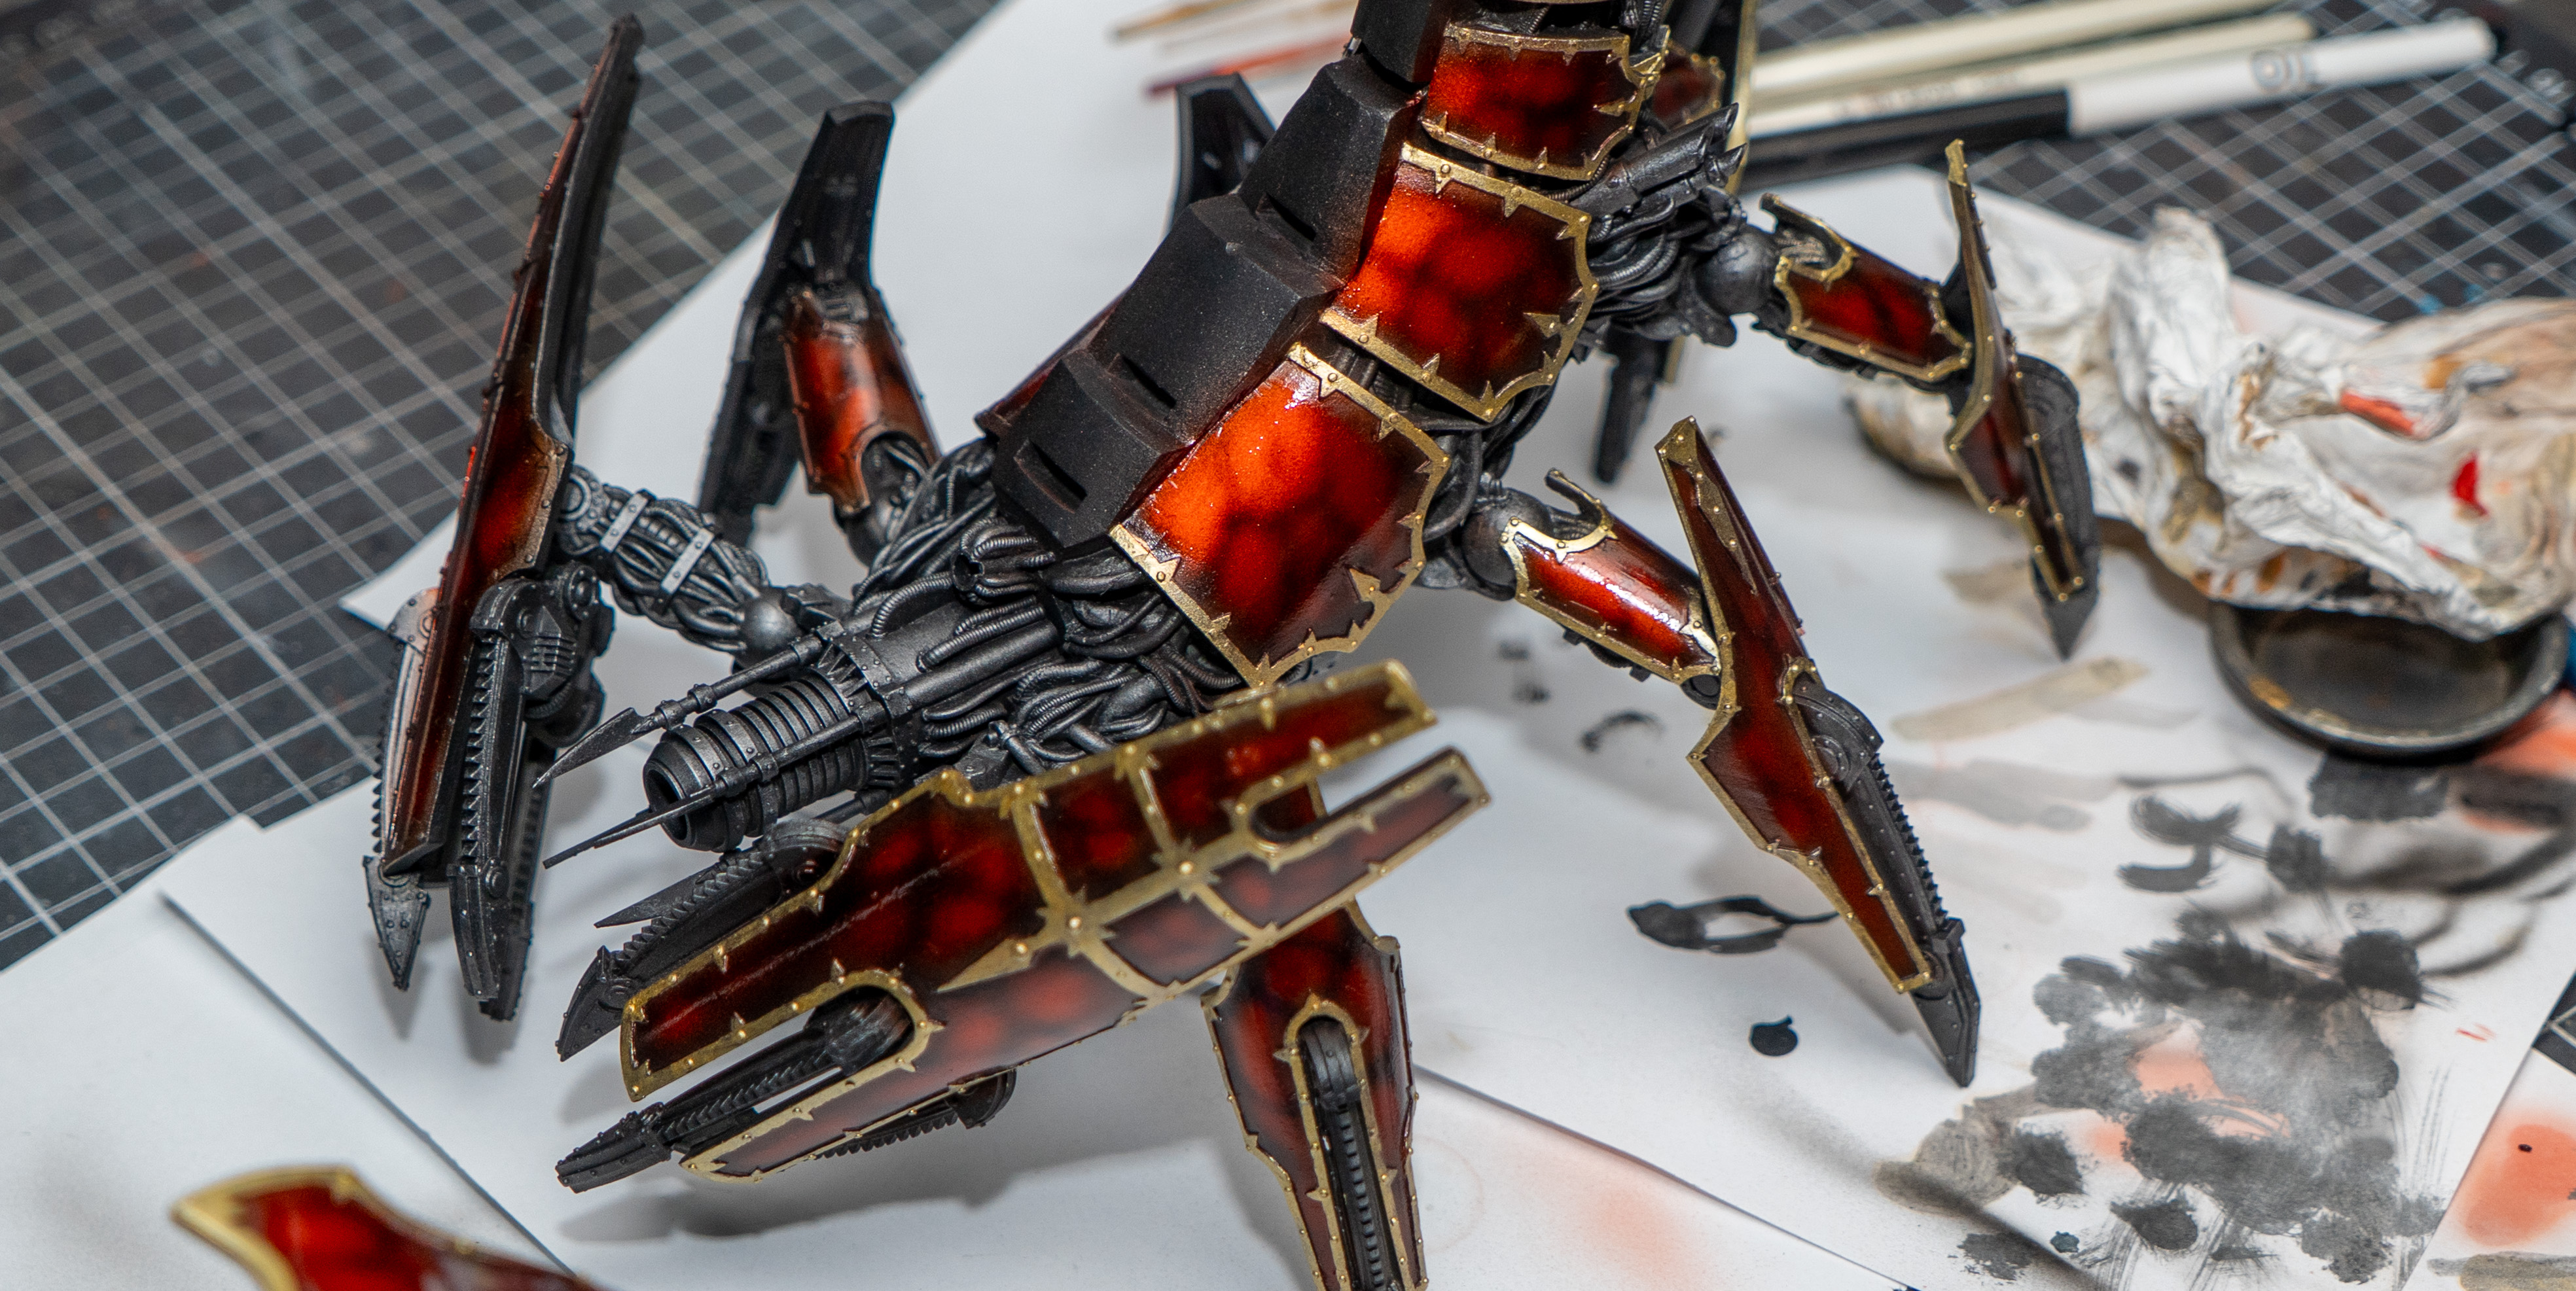
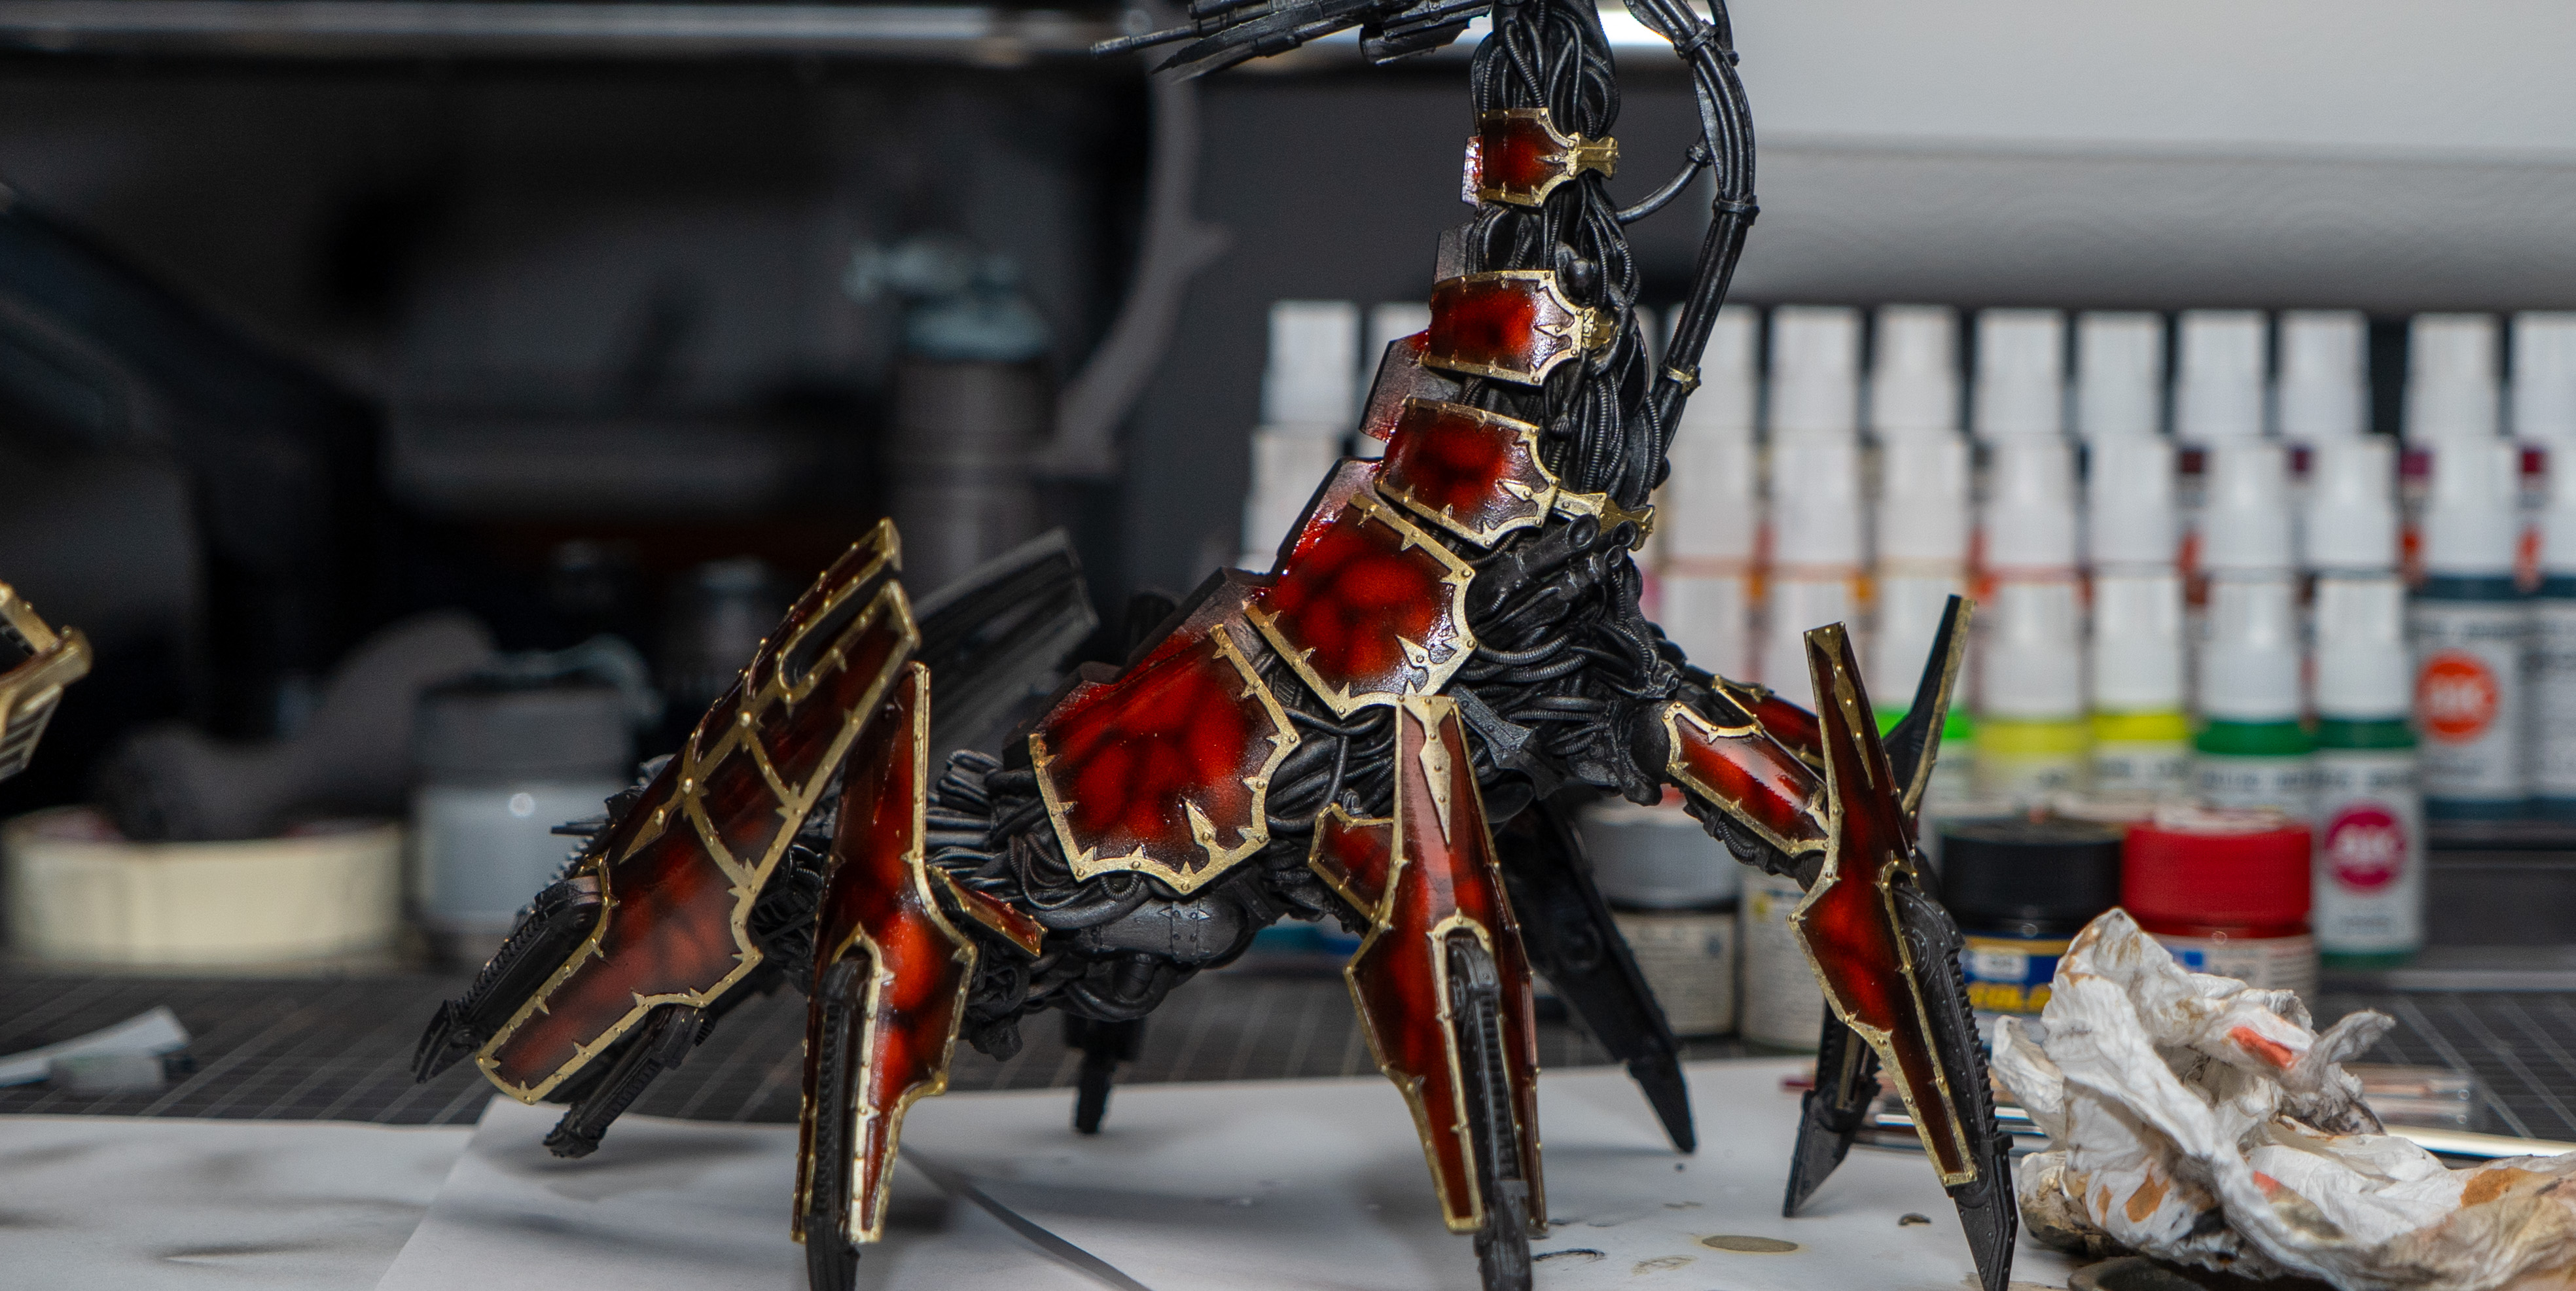
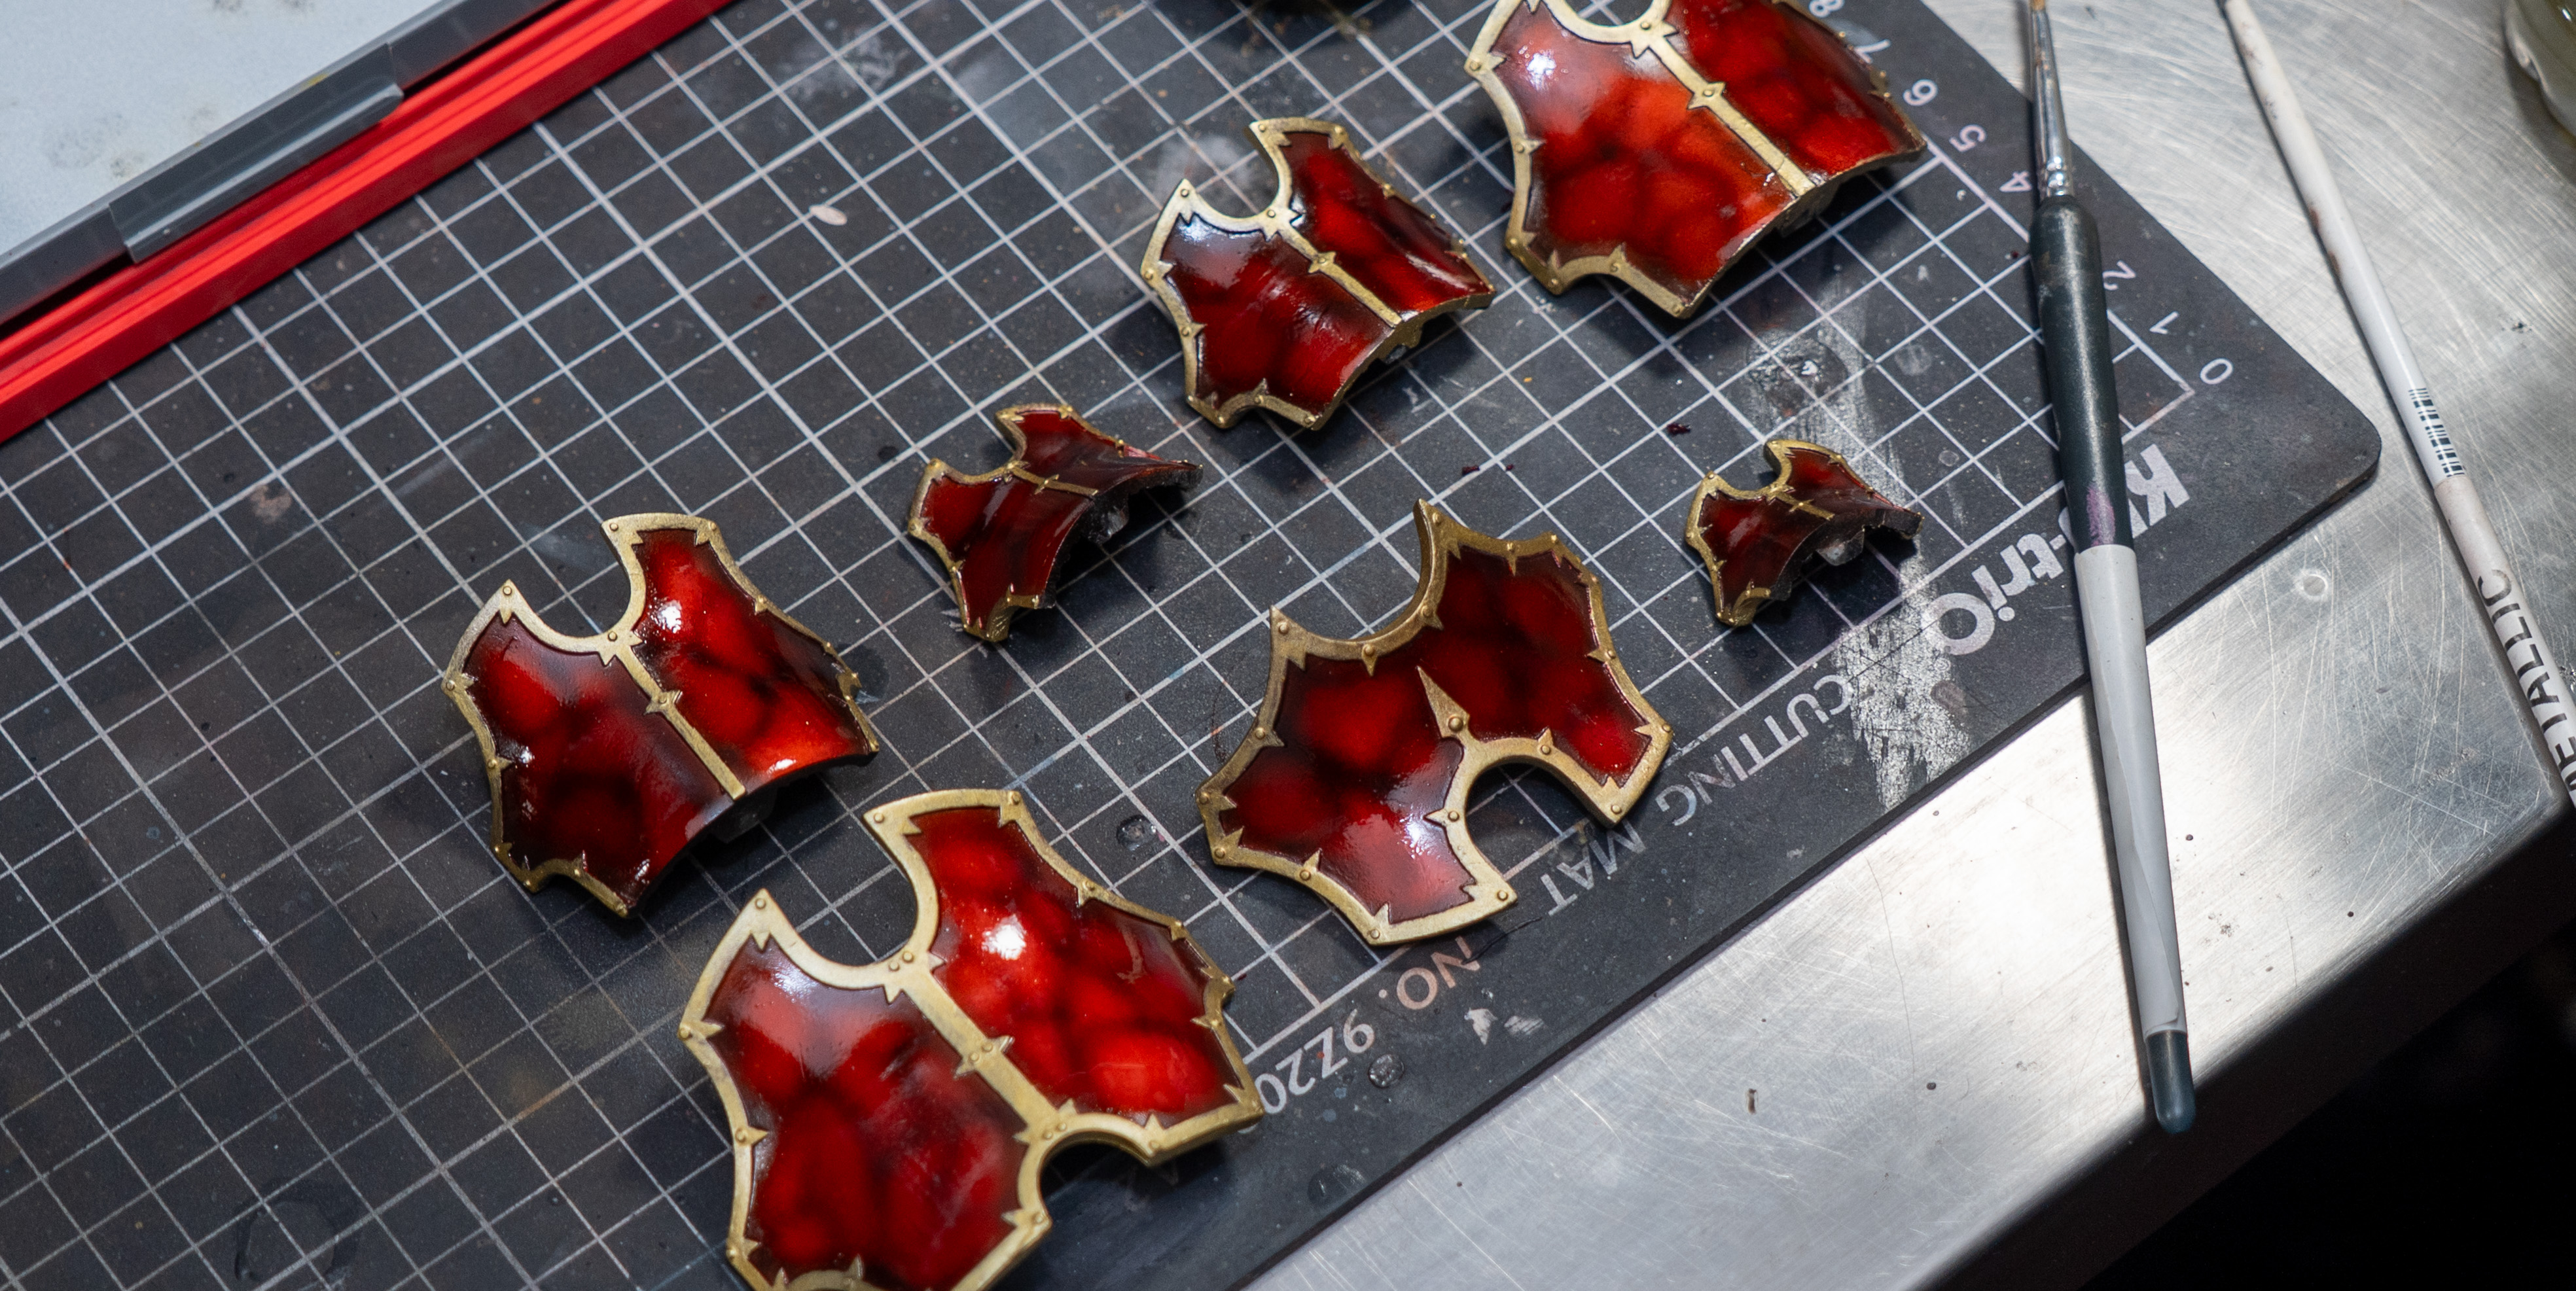
(1/4) This next step is the most time intensive part of the project. Take your time to do the trim carefully. Pick a metallic you trust and know will be reliable. I have only recently started using it, but aside from VMC which can be difficult to find specific shades for, I find the Atom Metal Acrylic Color series similar in quality. ATOM-20172 Metallic Gold for the initial basecoat. Search for a metallic that's brighter than intended, as after weathering its brightness in value will be toned down considerably.
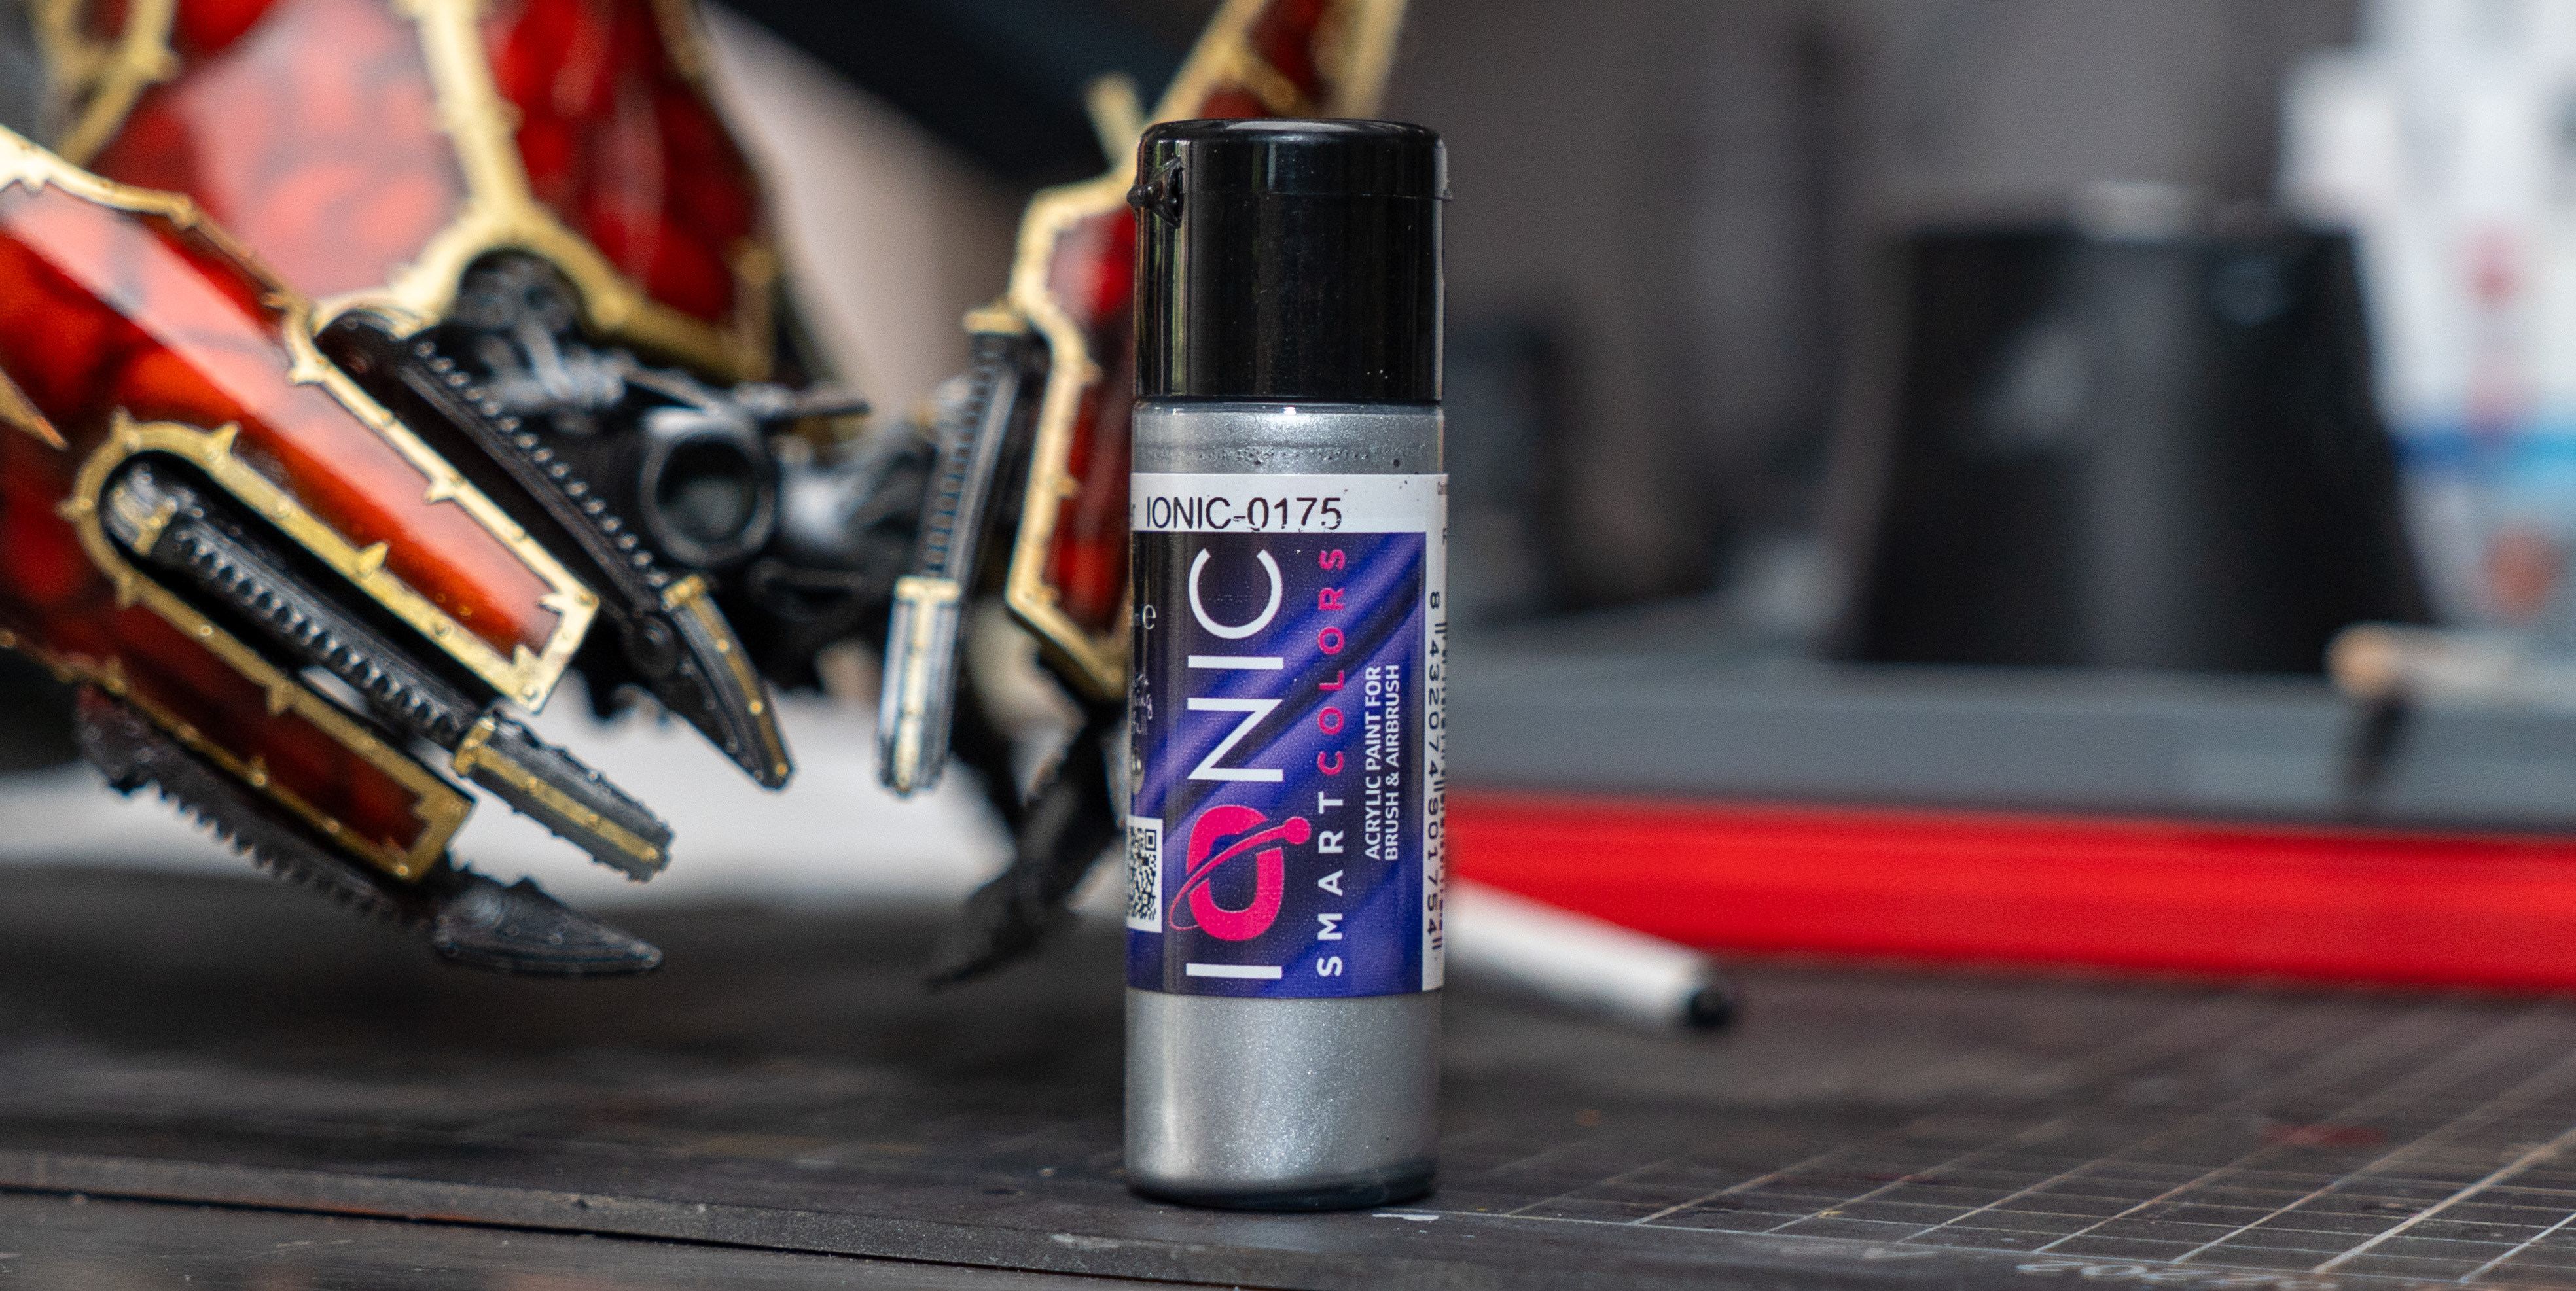
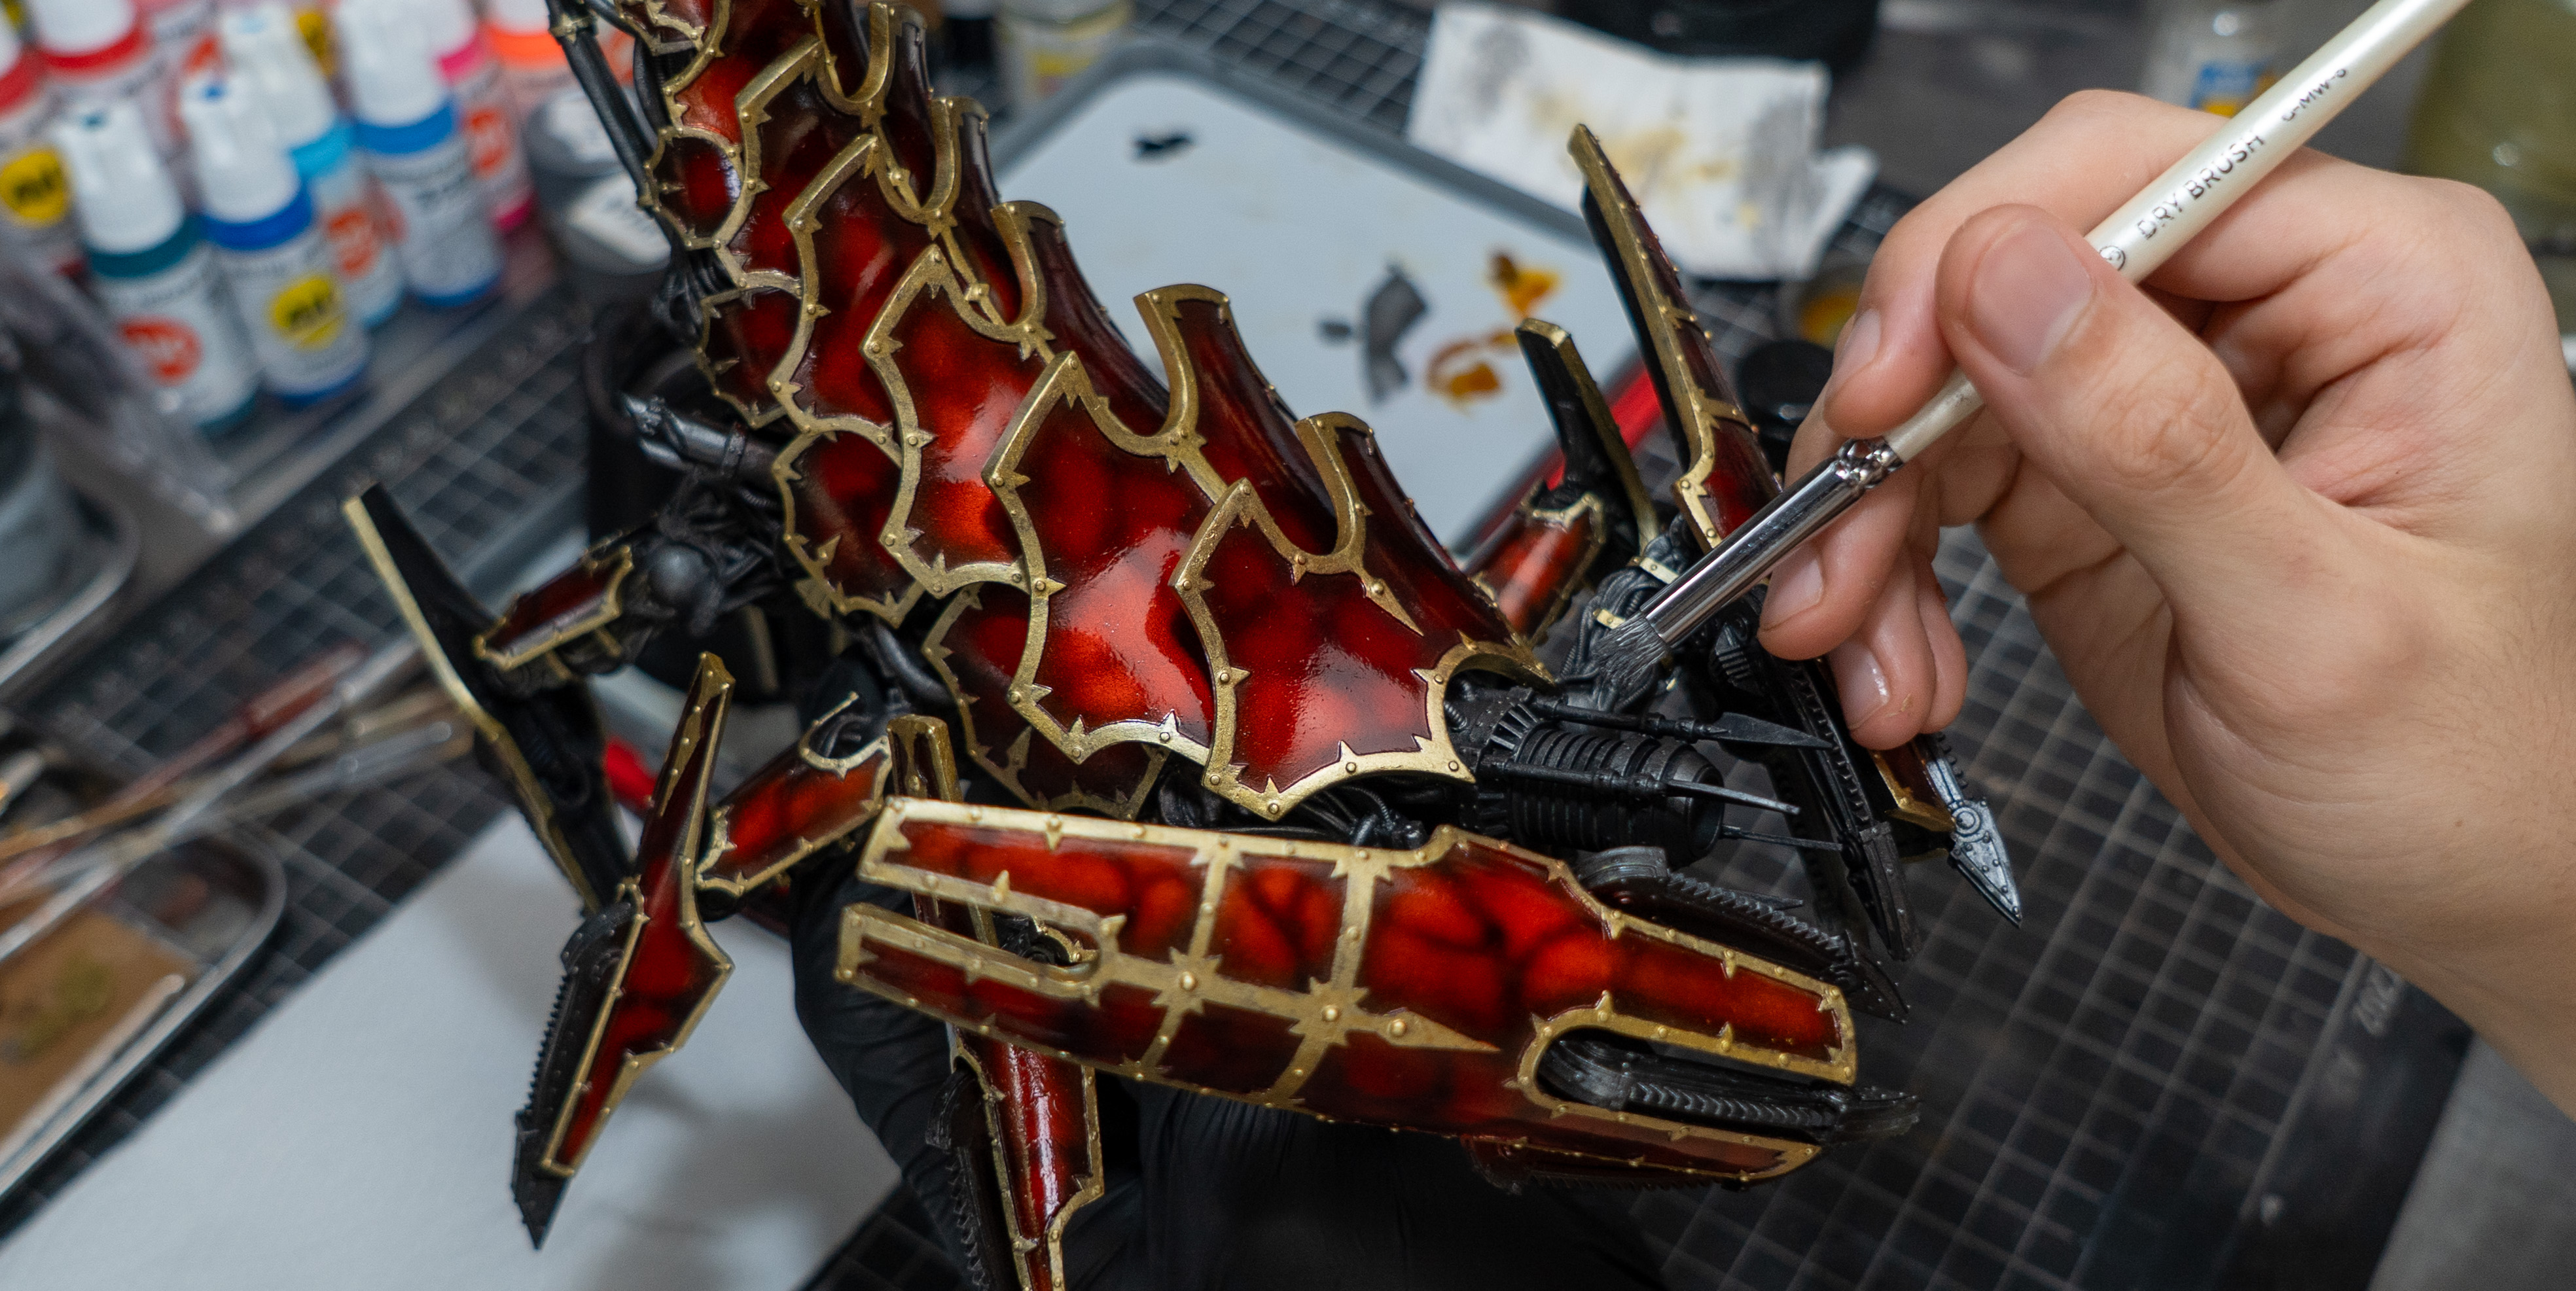
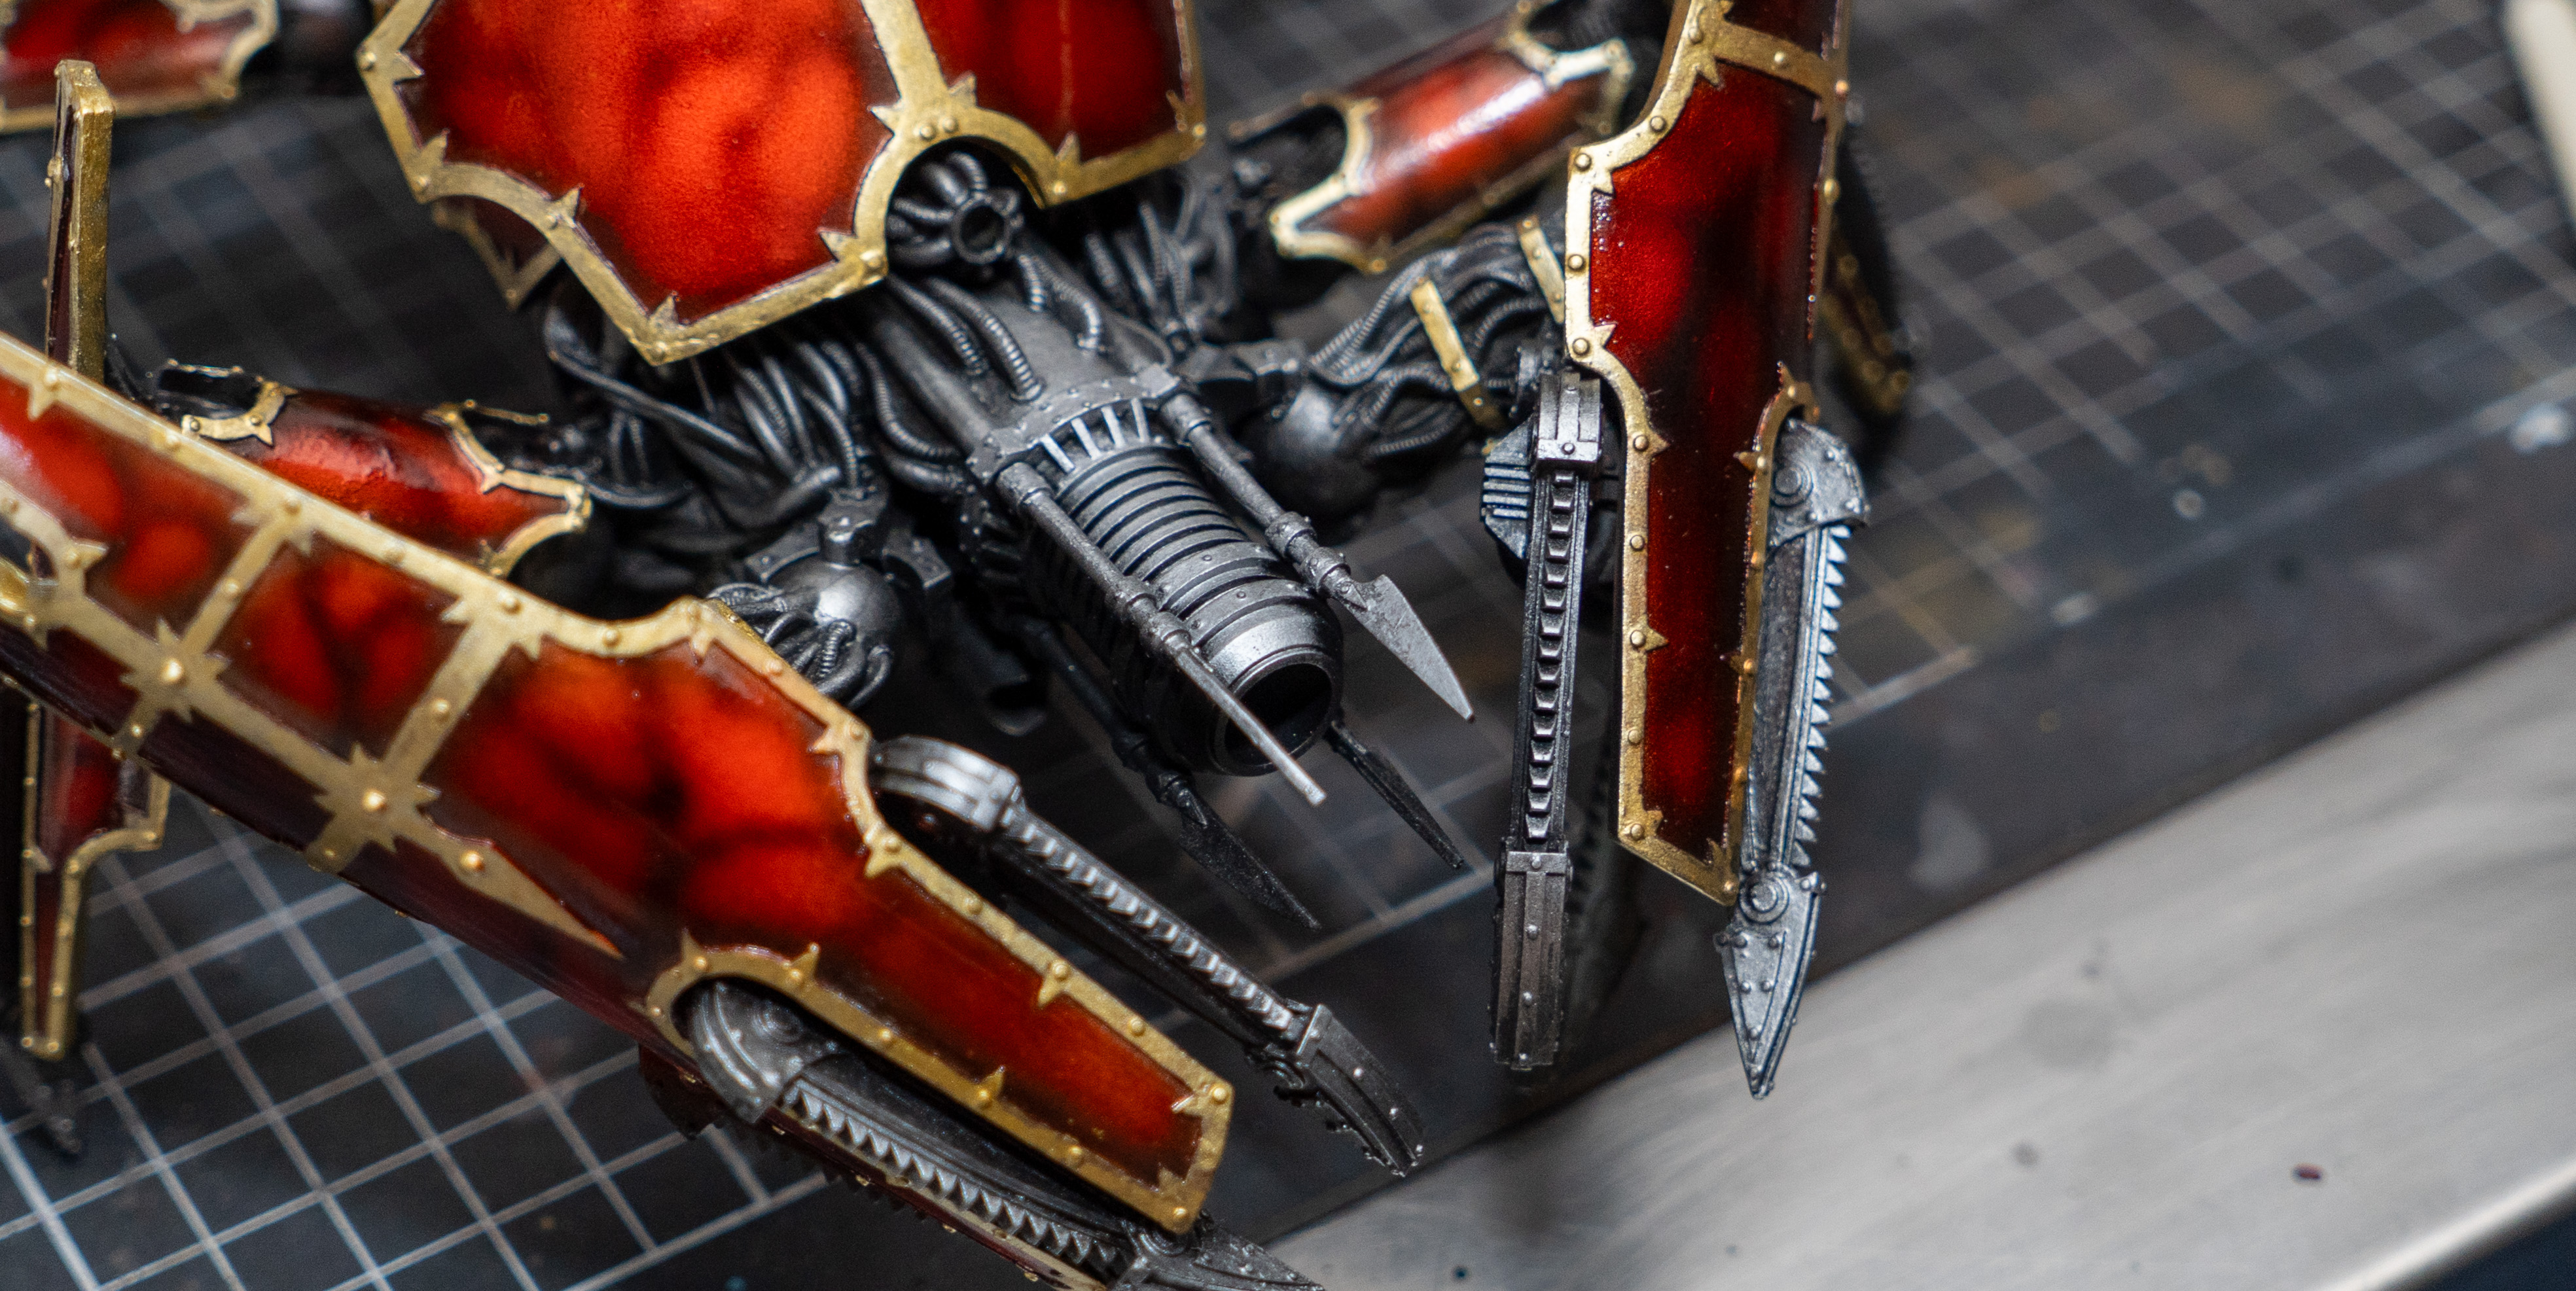
(1/3) I then drybrushed IONIC-0175 Silver on the raised internals of the model and applied more opacity on the cannon.
(2-3/3) Shows the final result after application.
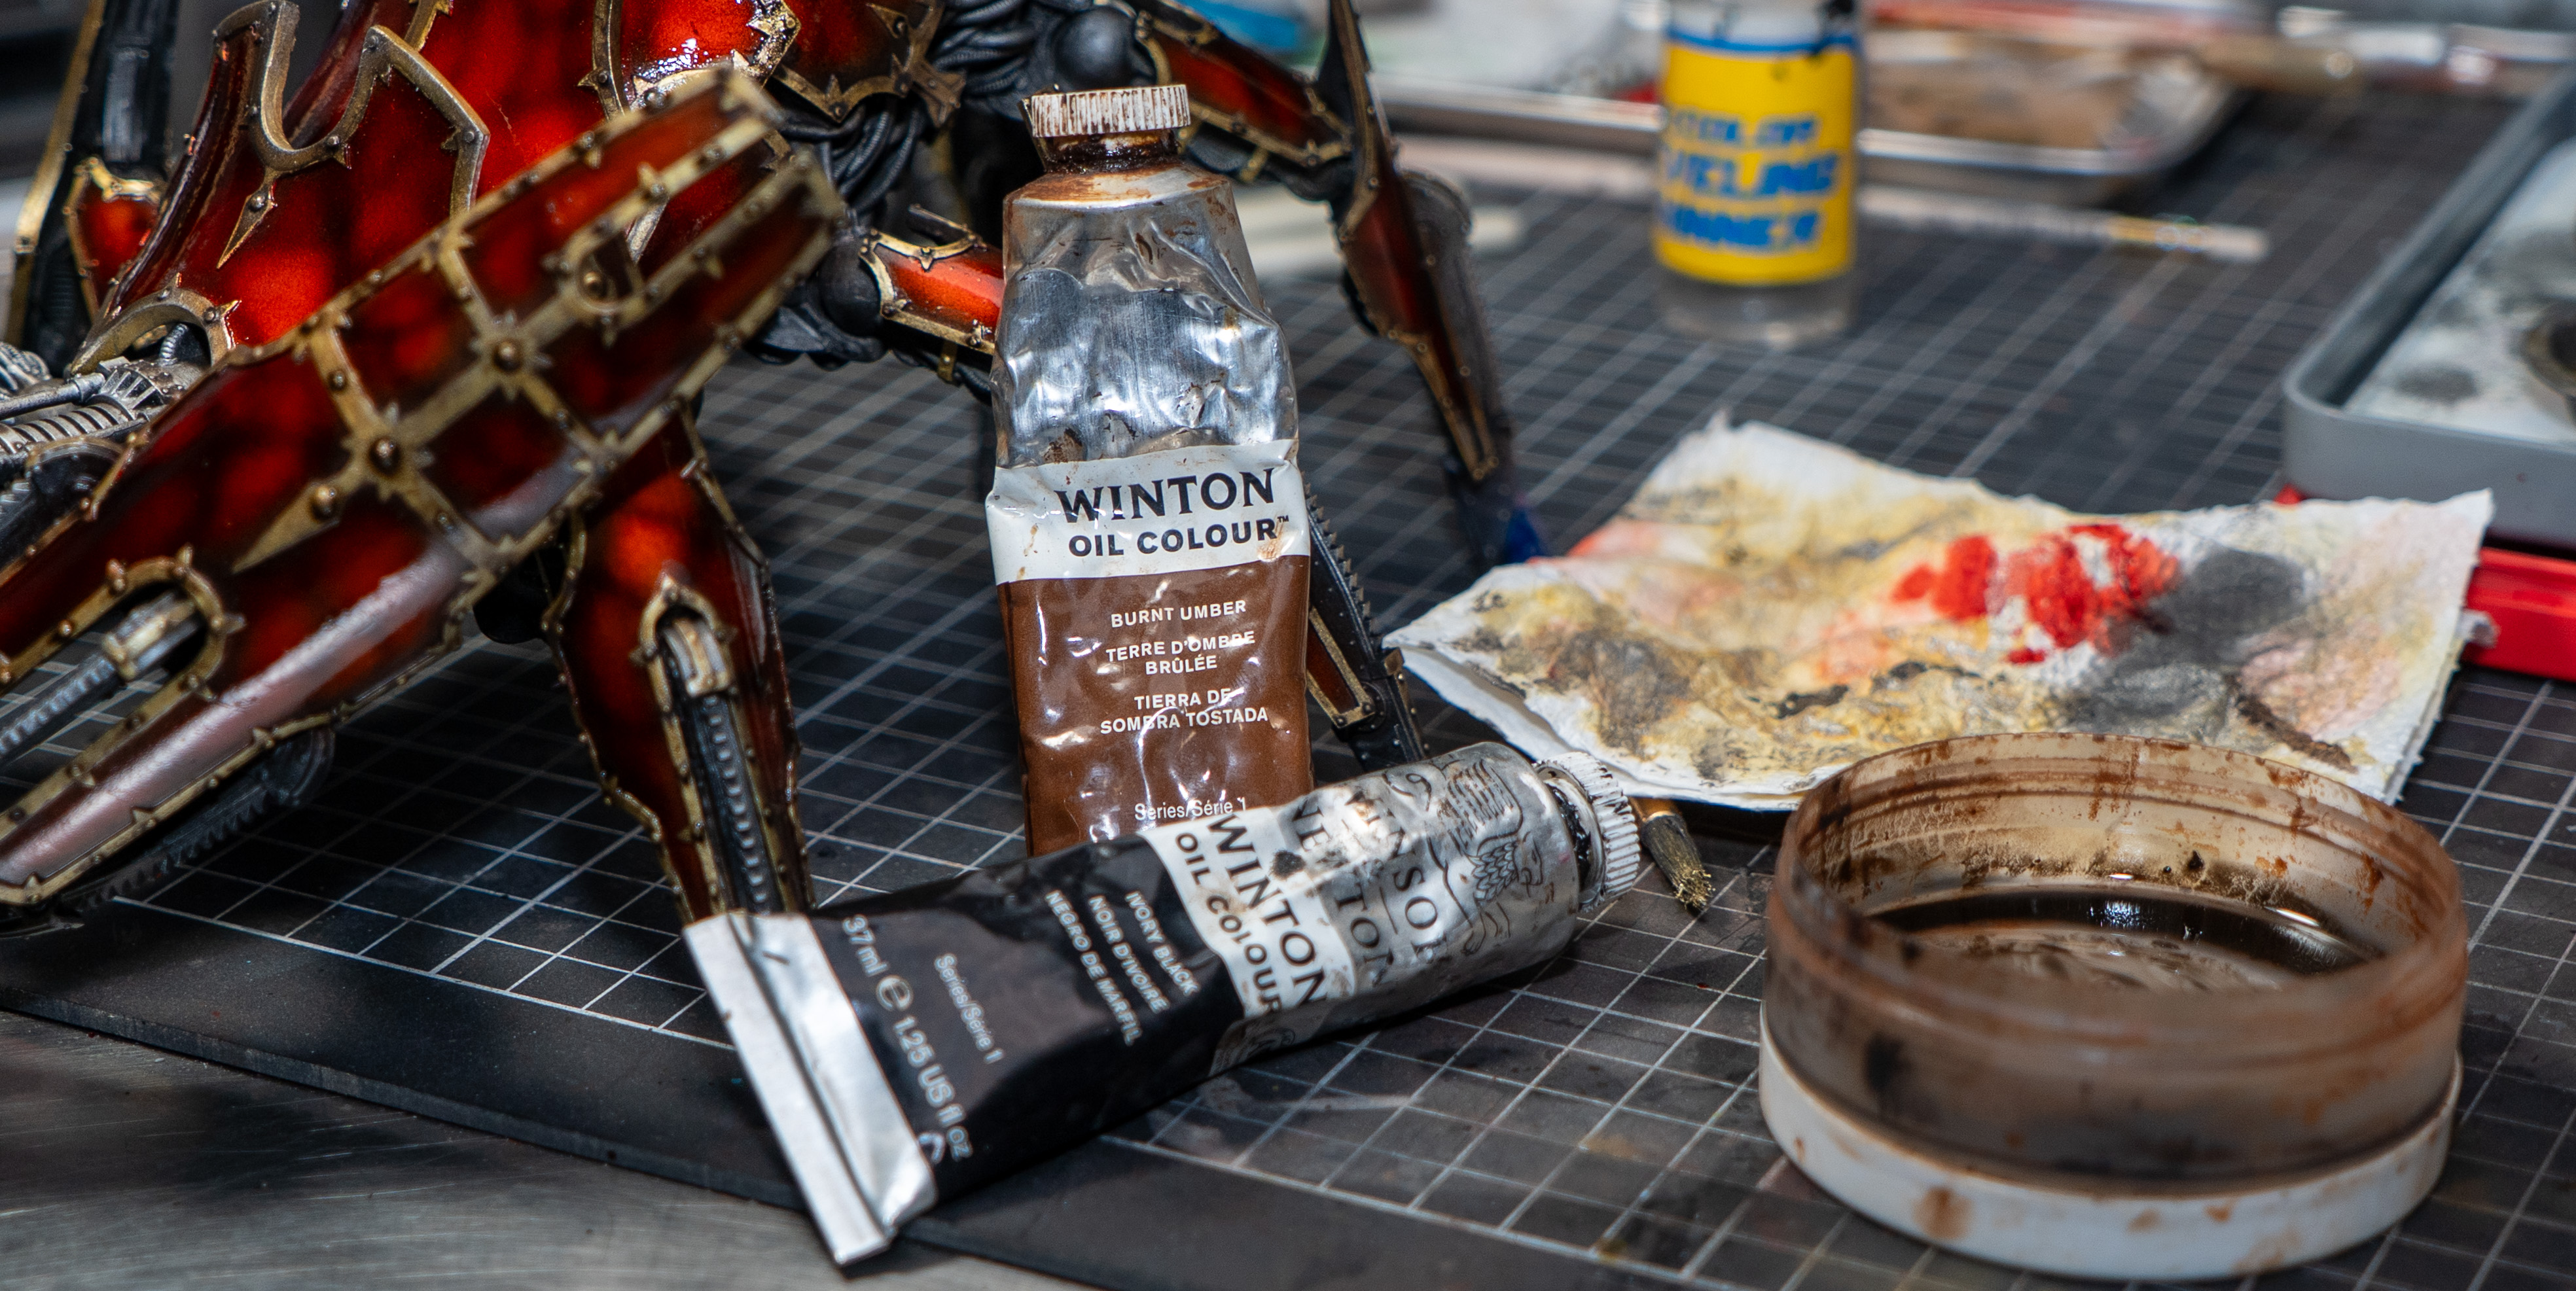
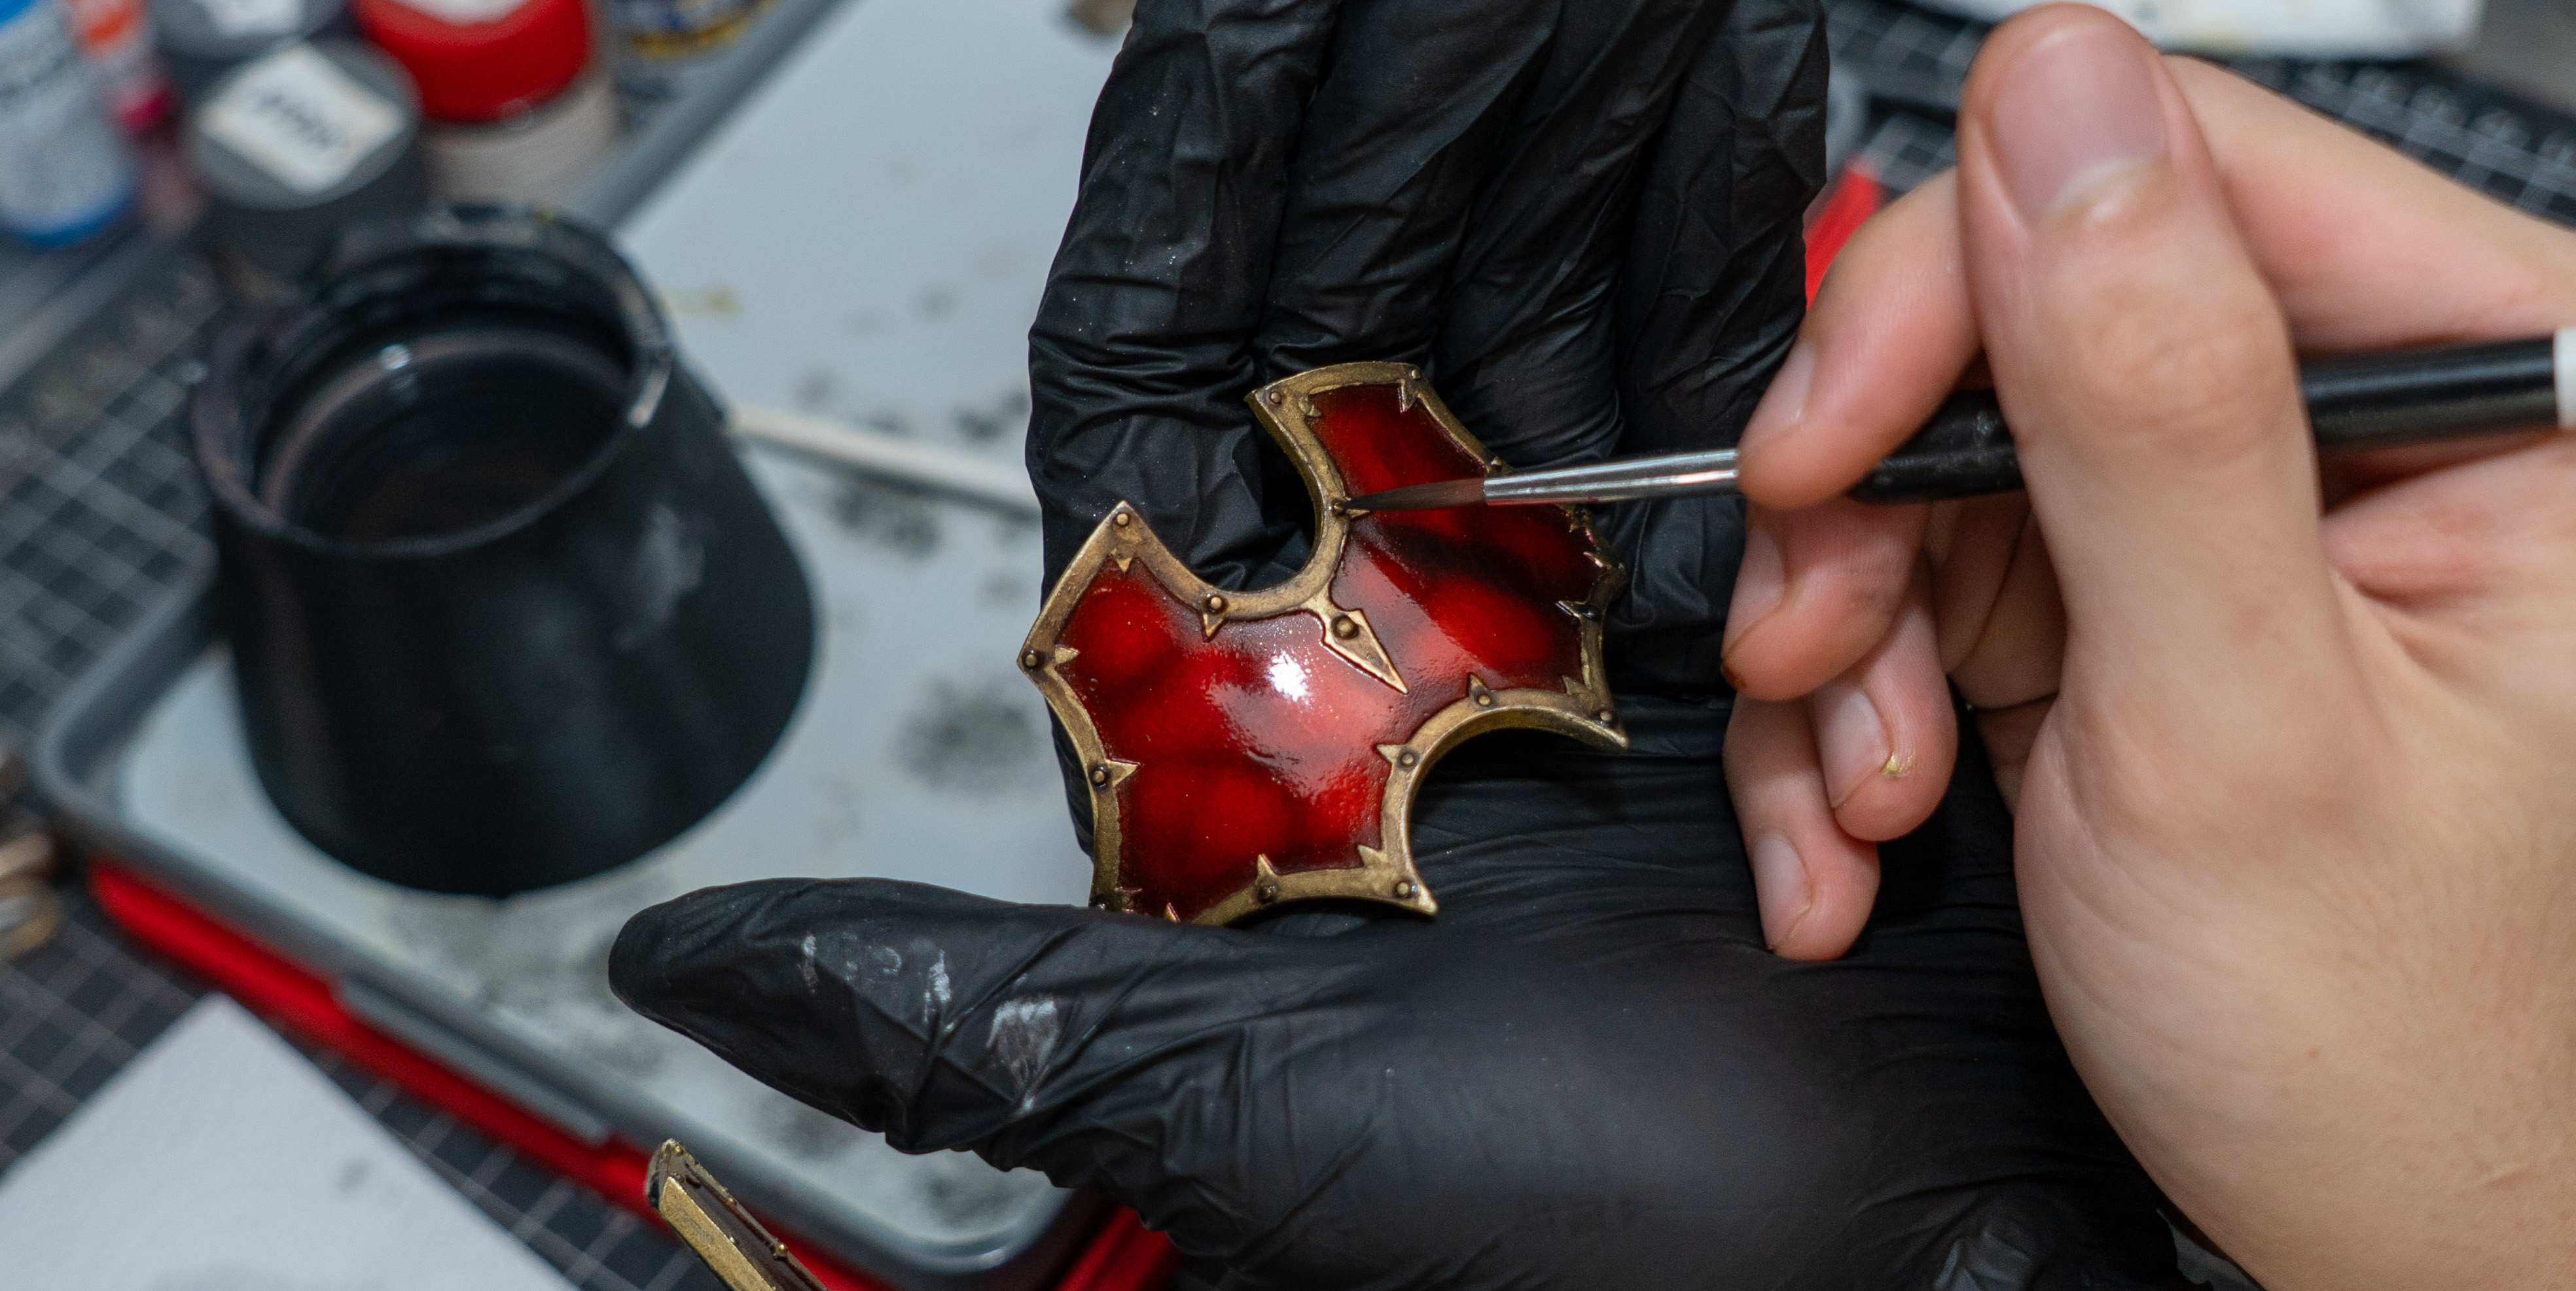
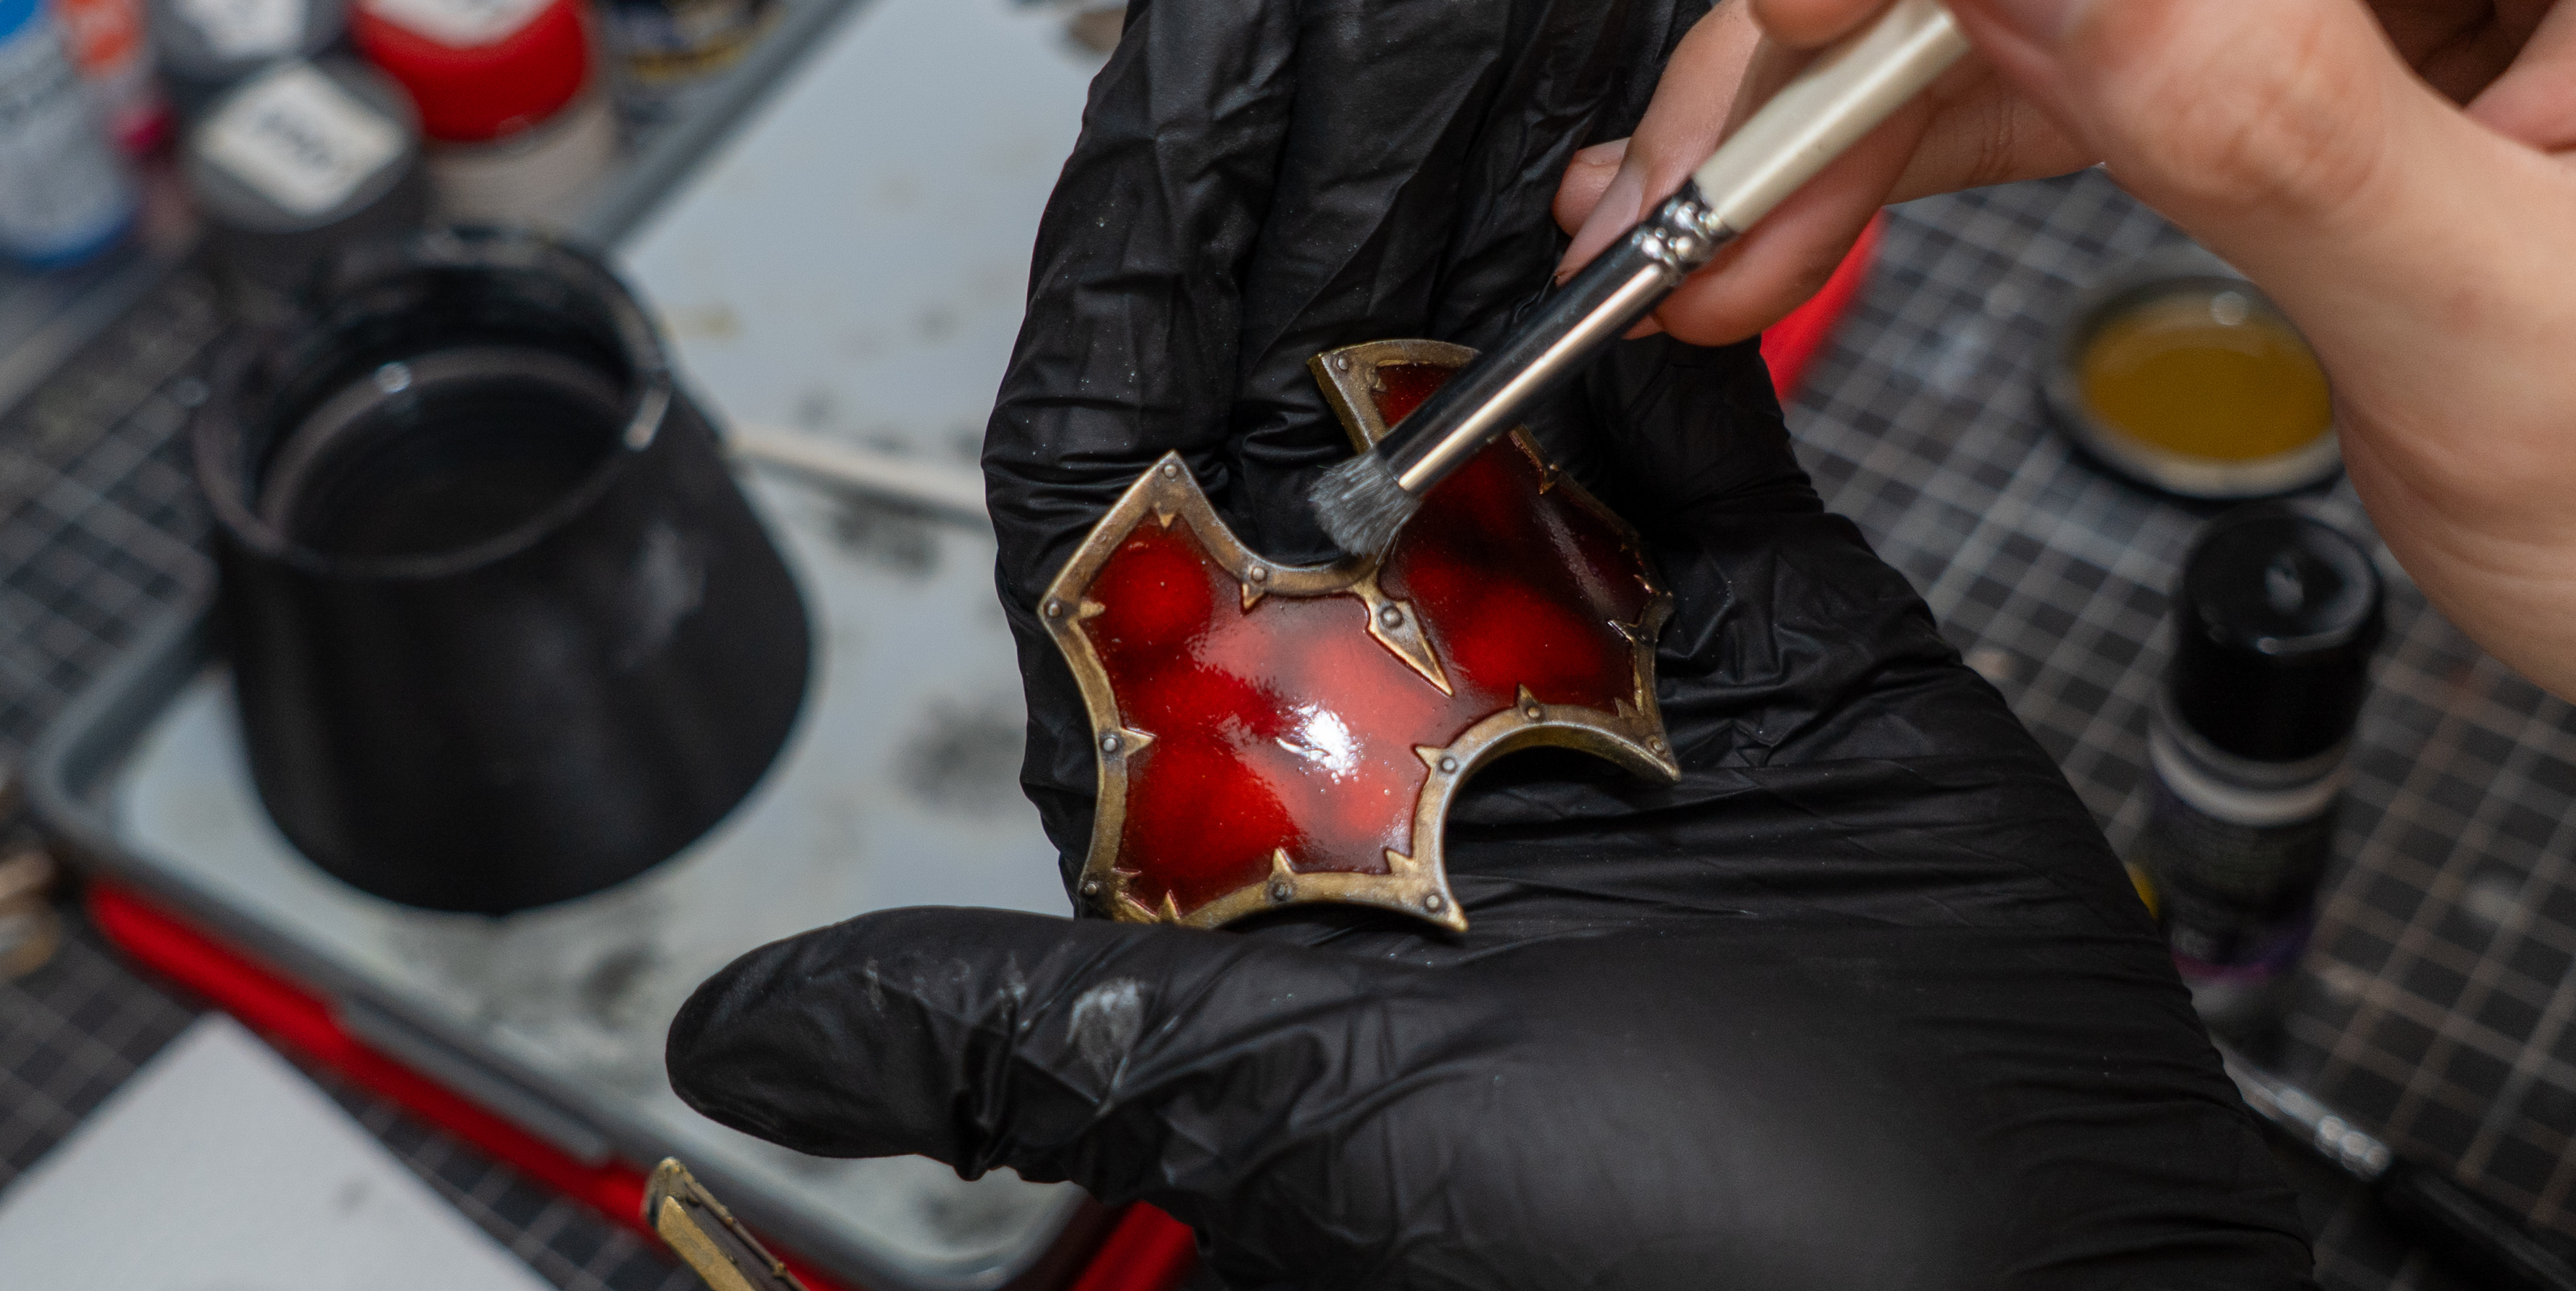
(1/3) Now comes time to weather the trim. Oil paints serve as a much more forgiving albeit slower way to acquire the result intended. I start with an initial mix of W&N Burnt Umber and Ivory Black with W&N Sansodor, a low odor thinner to be washed uniformly across the surface of the trim, before waiting a day and applying another layer of Burnt Umber mixed with Sansodor
(2/3) Shows the pin-washing movement of the Burnt Umber layer
(3/3) A light drybrush of IONIC-0175 over edges and raised bolts
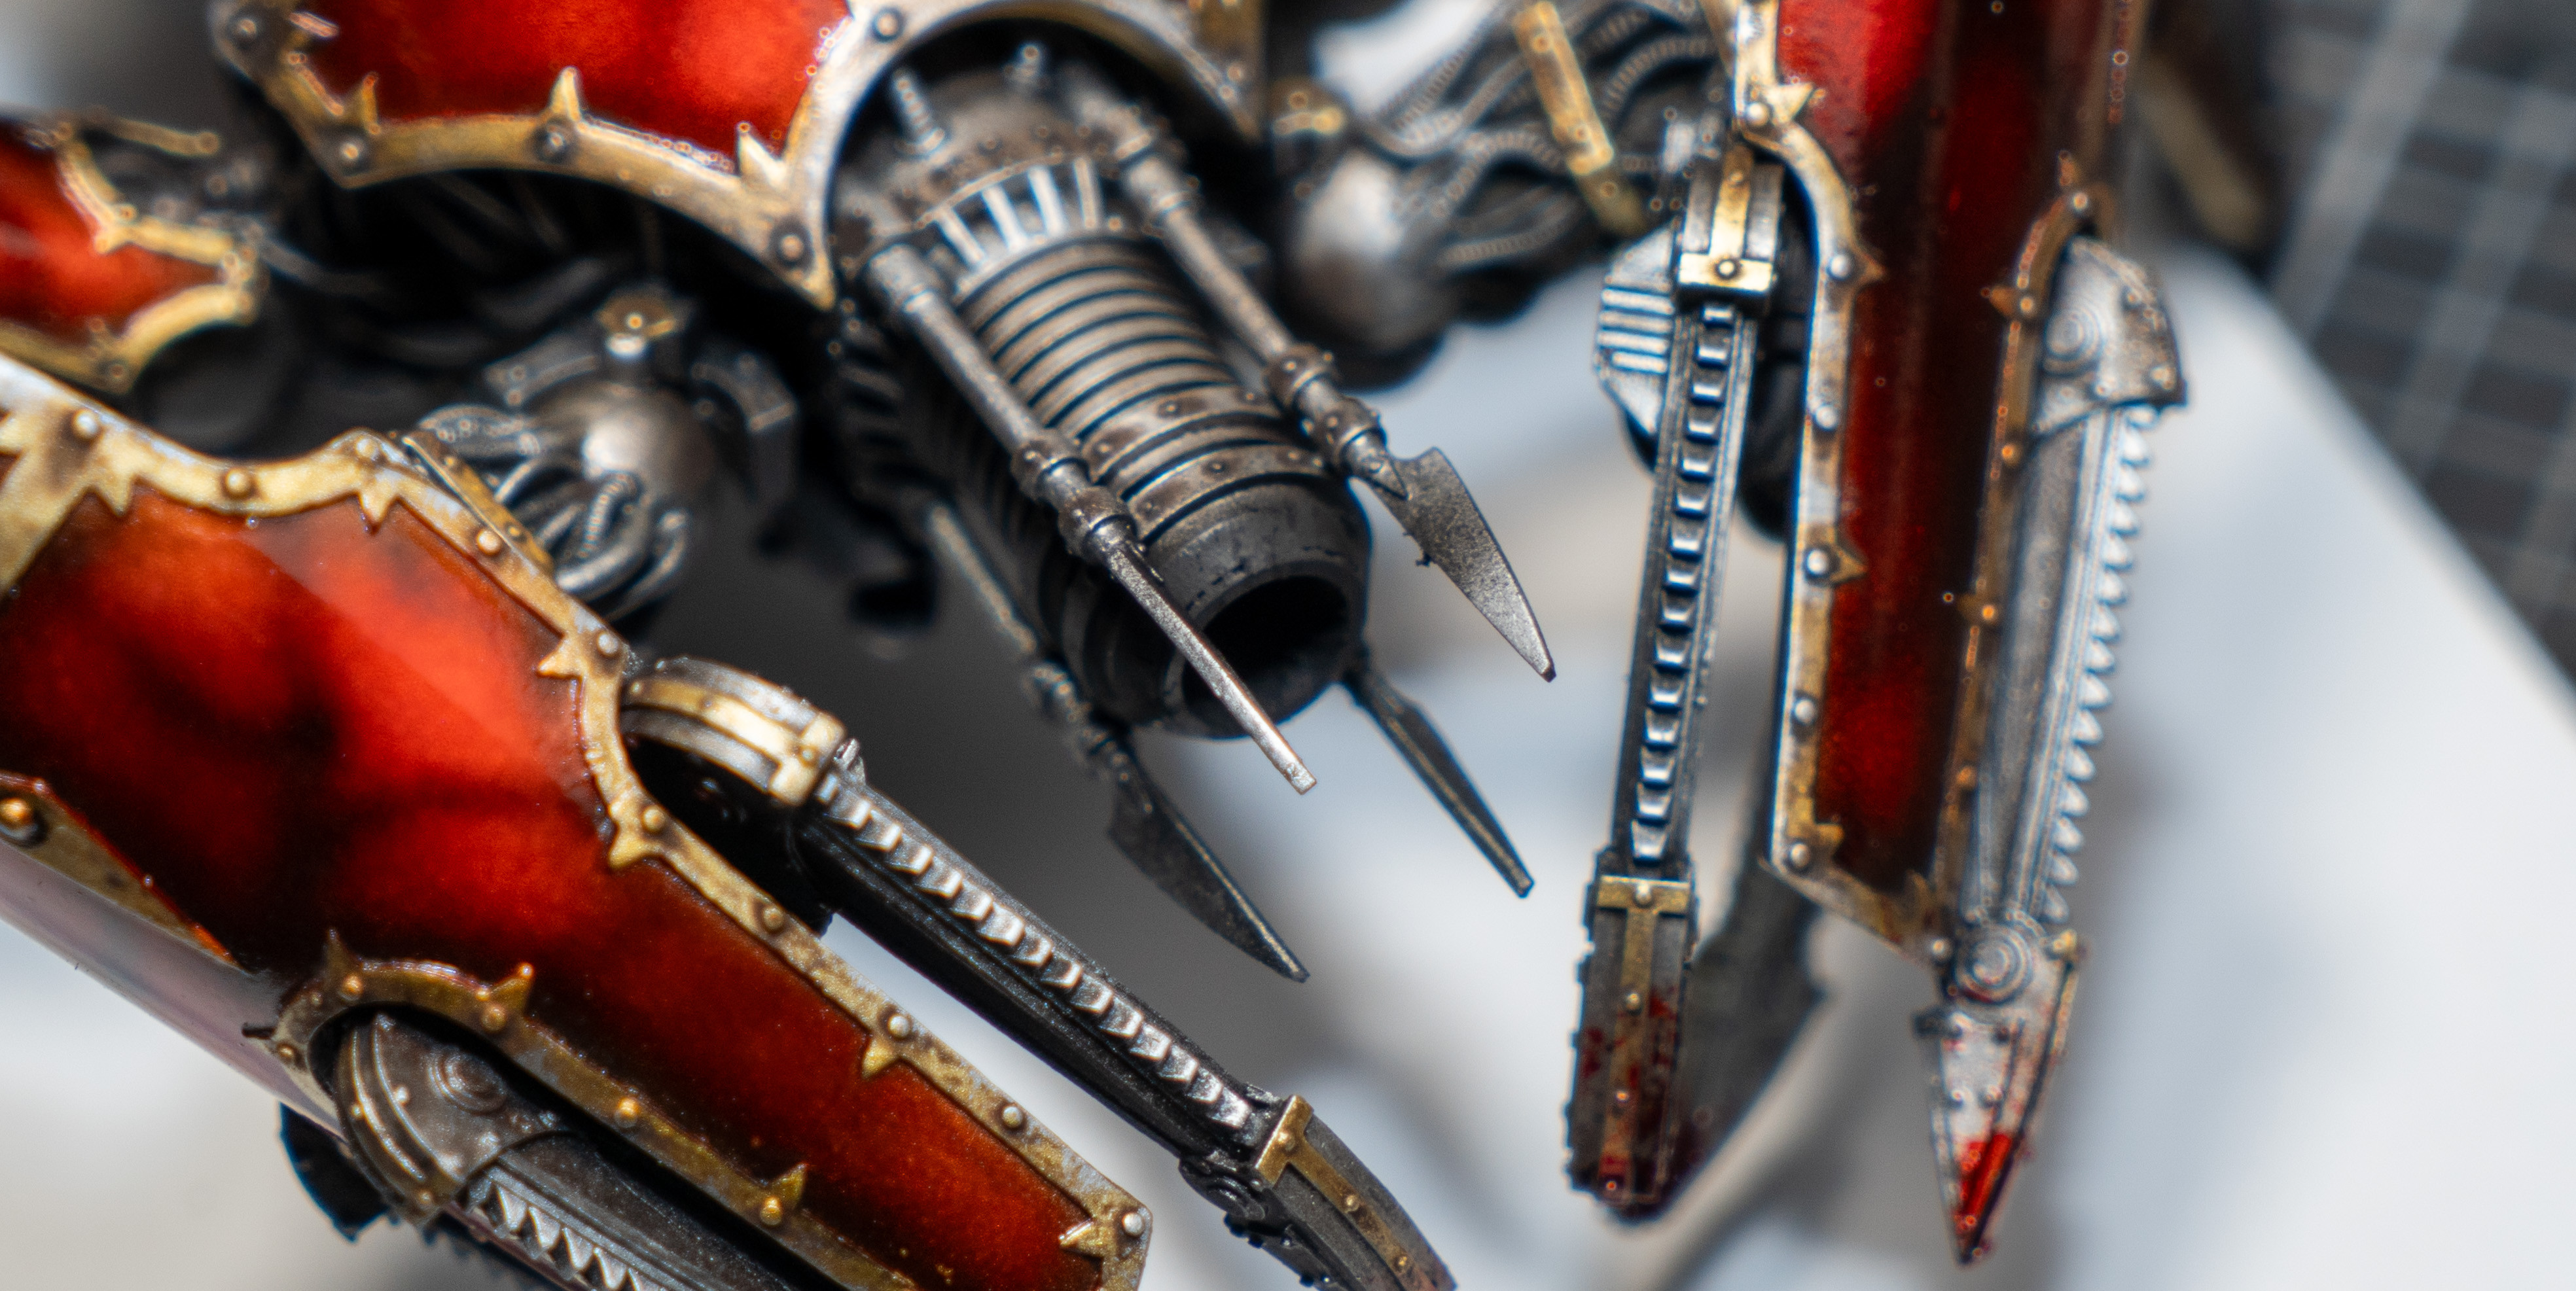
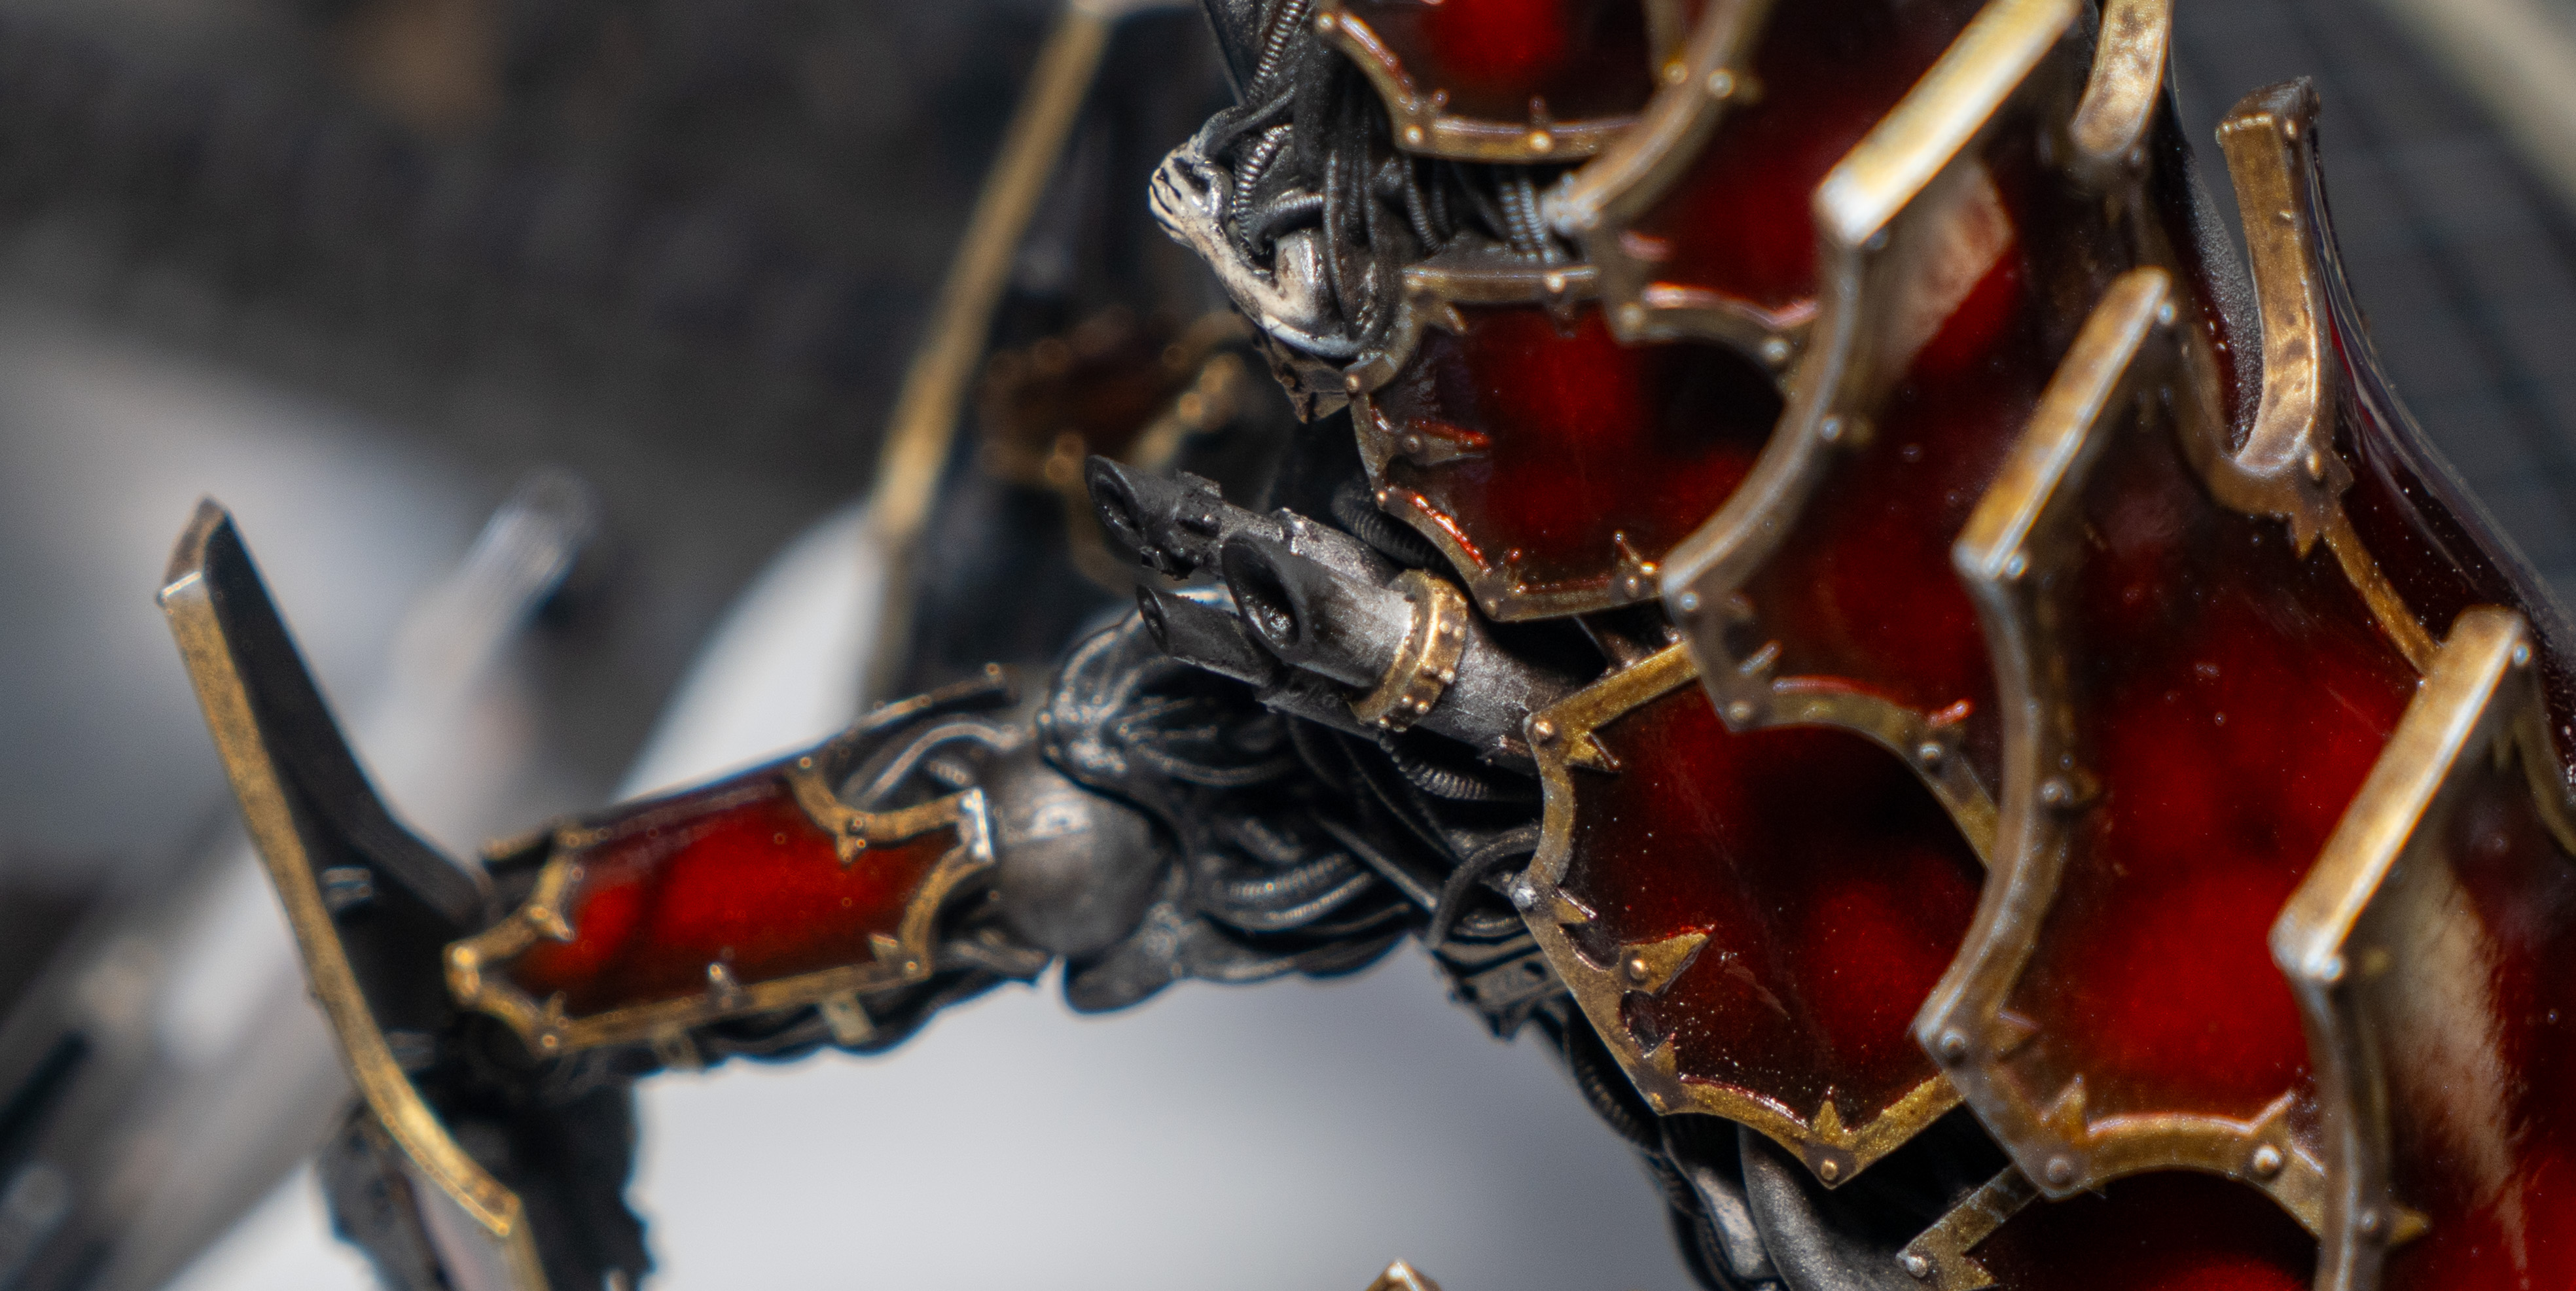
(1-2/2) Heading to the finale of the project, Black pigment was applied to the cannon and the exhaust tips of the scorpion. The strong dead-matte of the blacks contrasting against the bright silver pulls your eyes from the front to rear of the subject.
These elements can be expressed in different ways, a titanium fade with inks or transparent fade provides even more color to the piece if you choose, or perhaps they can be rendered with different metallics. Express yourself freely.
Lastly, but with no pictures included, is an initial thinned and light coat of GX112 Super Clear III UV Cut sprayed on the red areas of the model. After waiting 10-15 minutes, apply an extremely thick coat until almost runny. Lastly, after waiting 30 minutes spray a mist of Mr. Levelling Thinner on the surface.
Troubleshooting
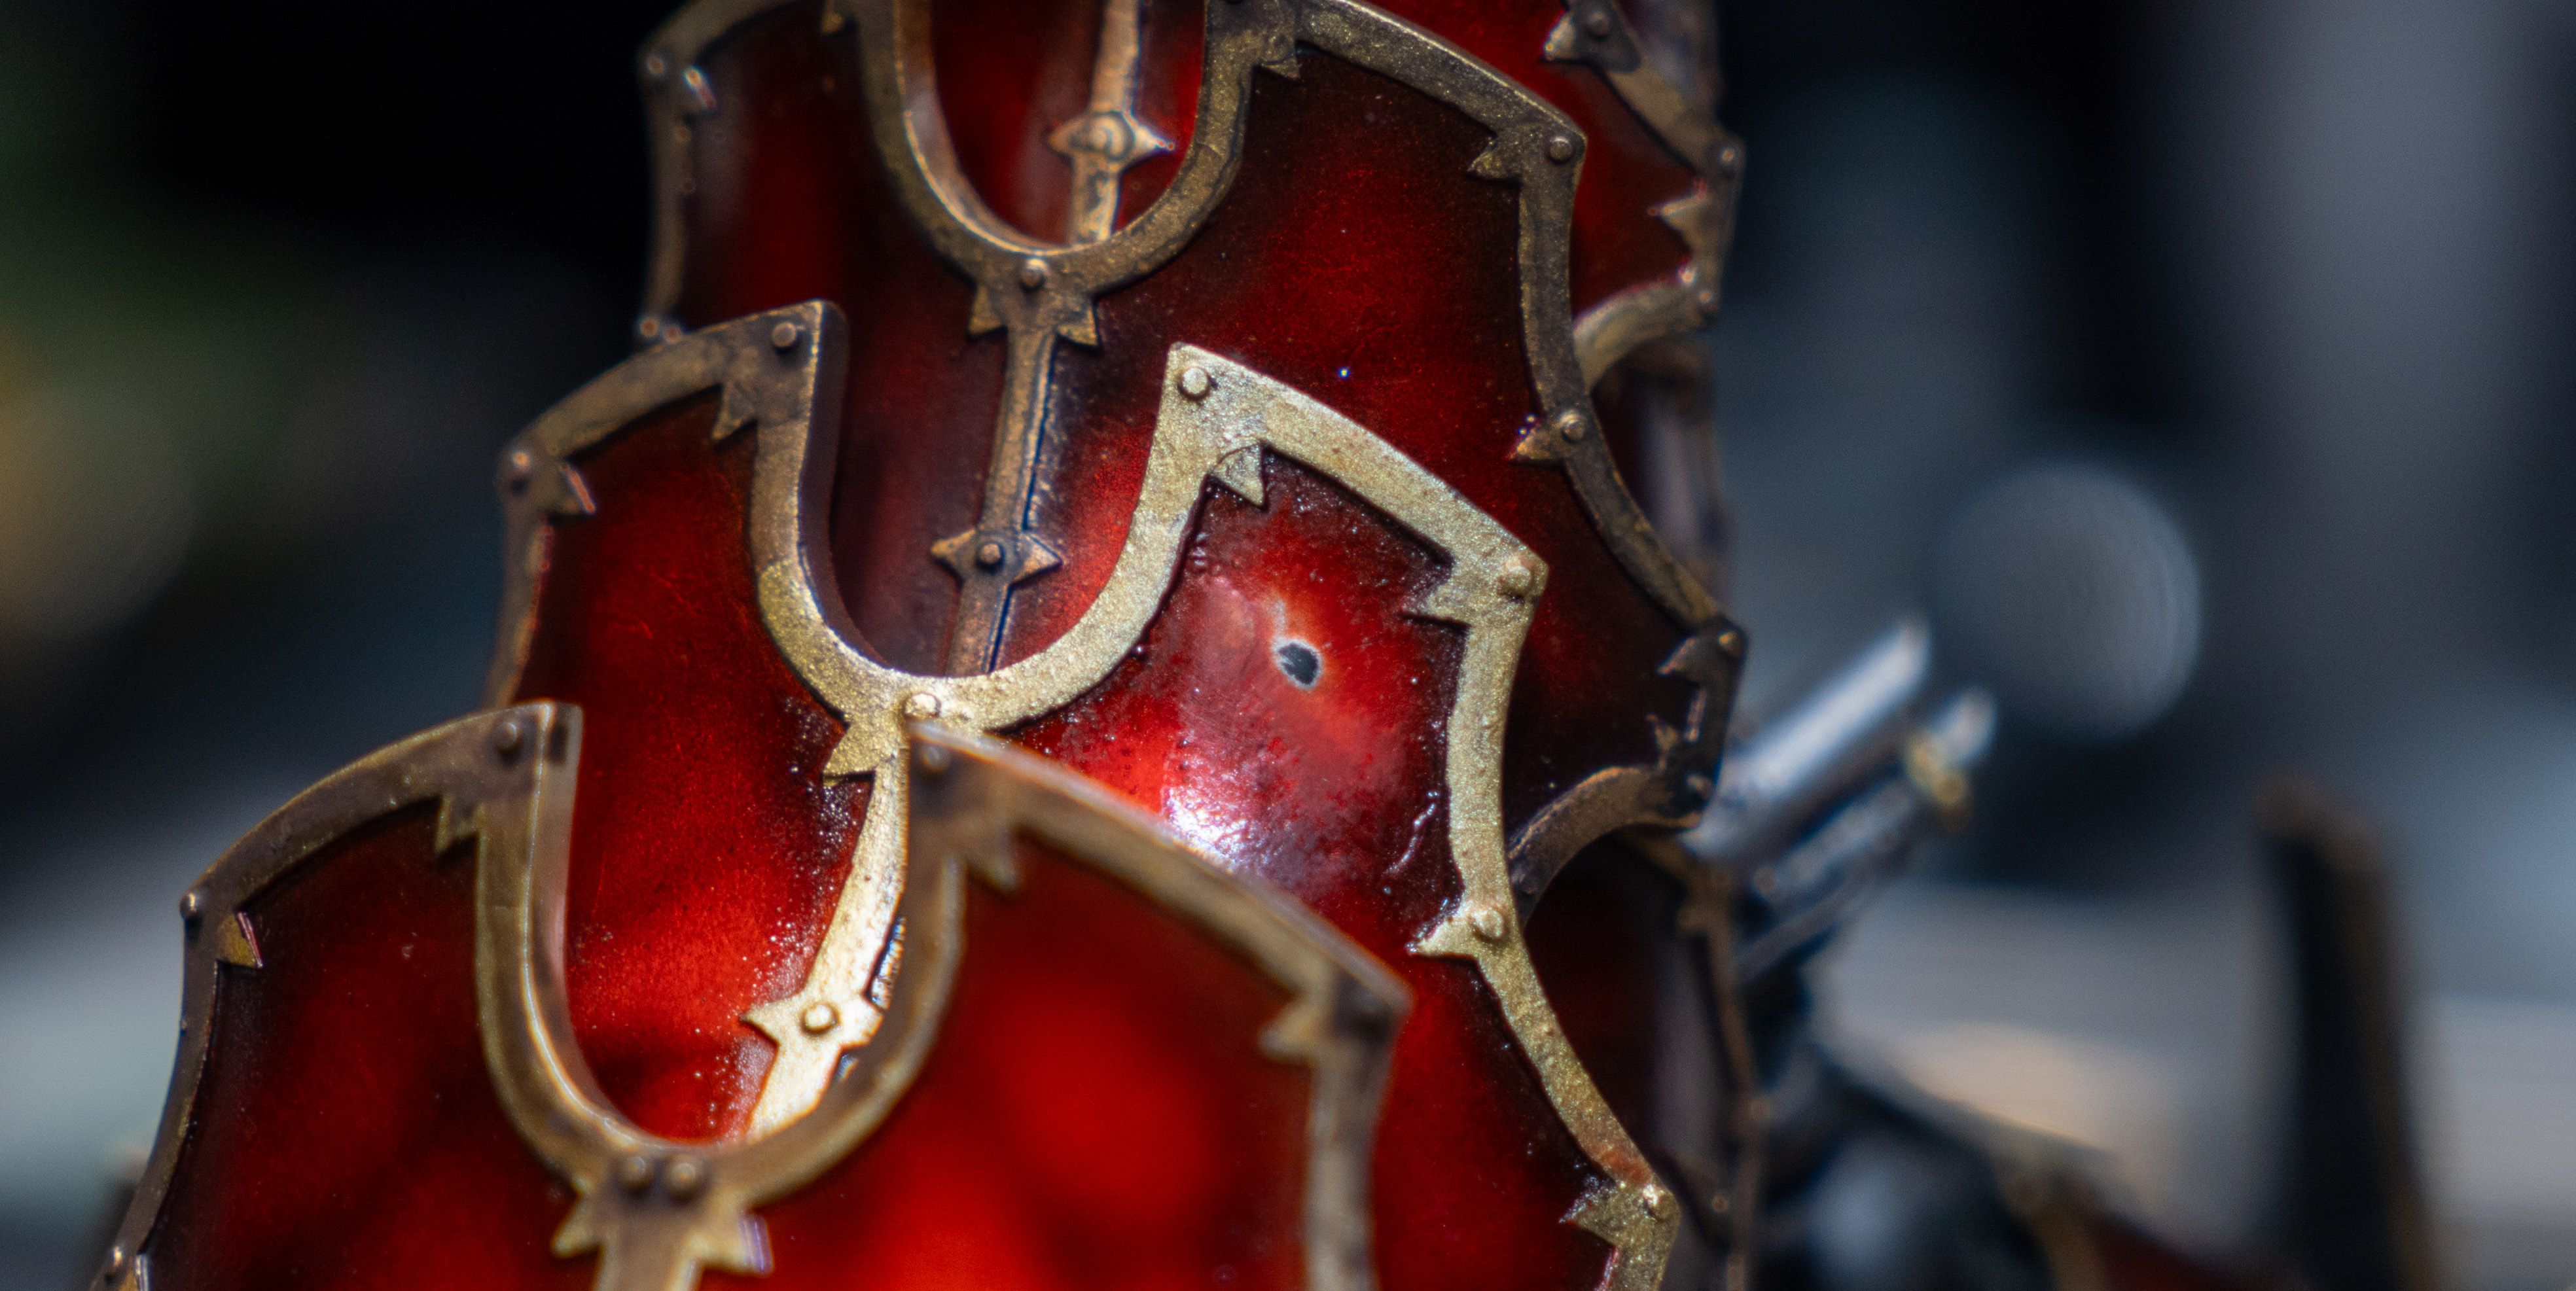
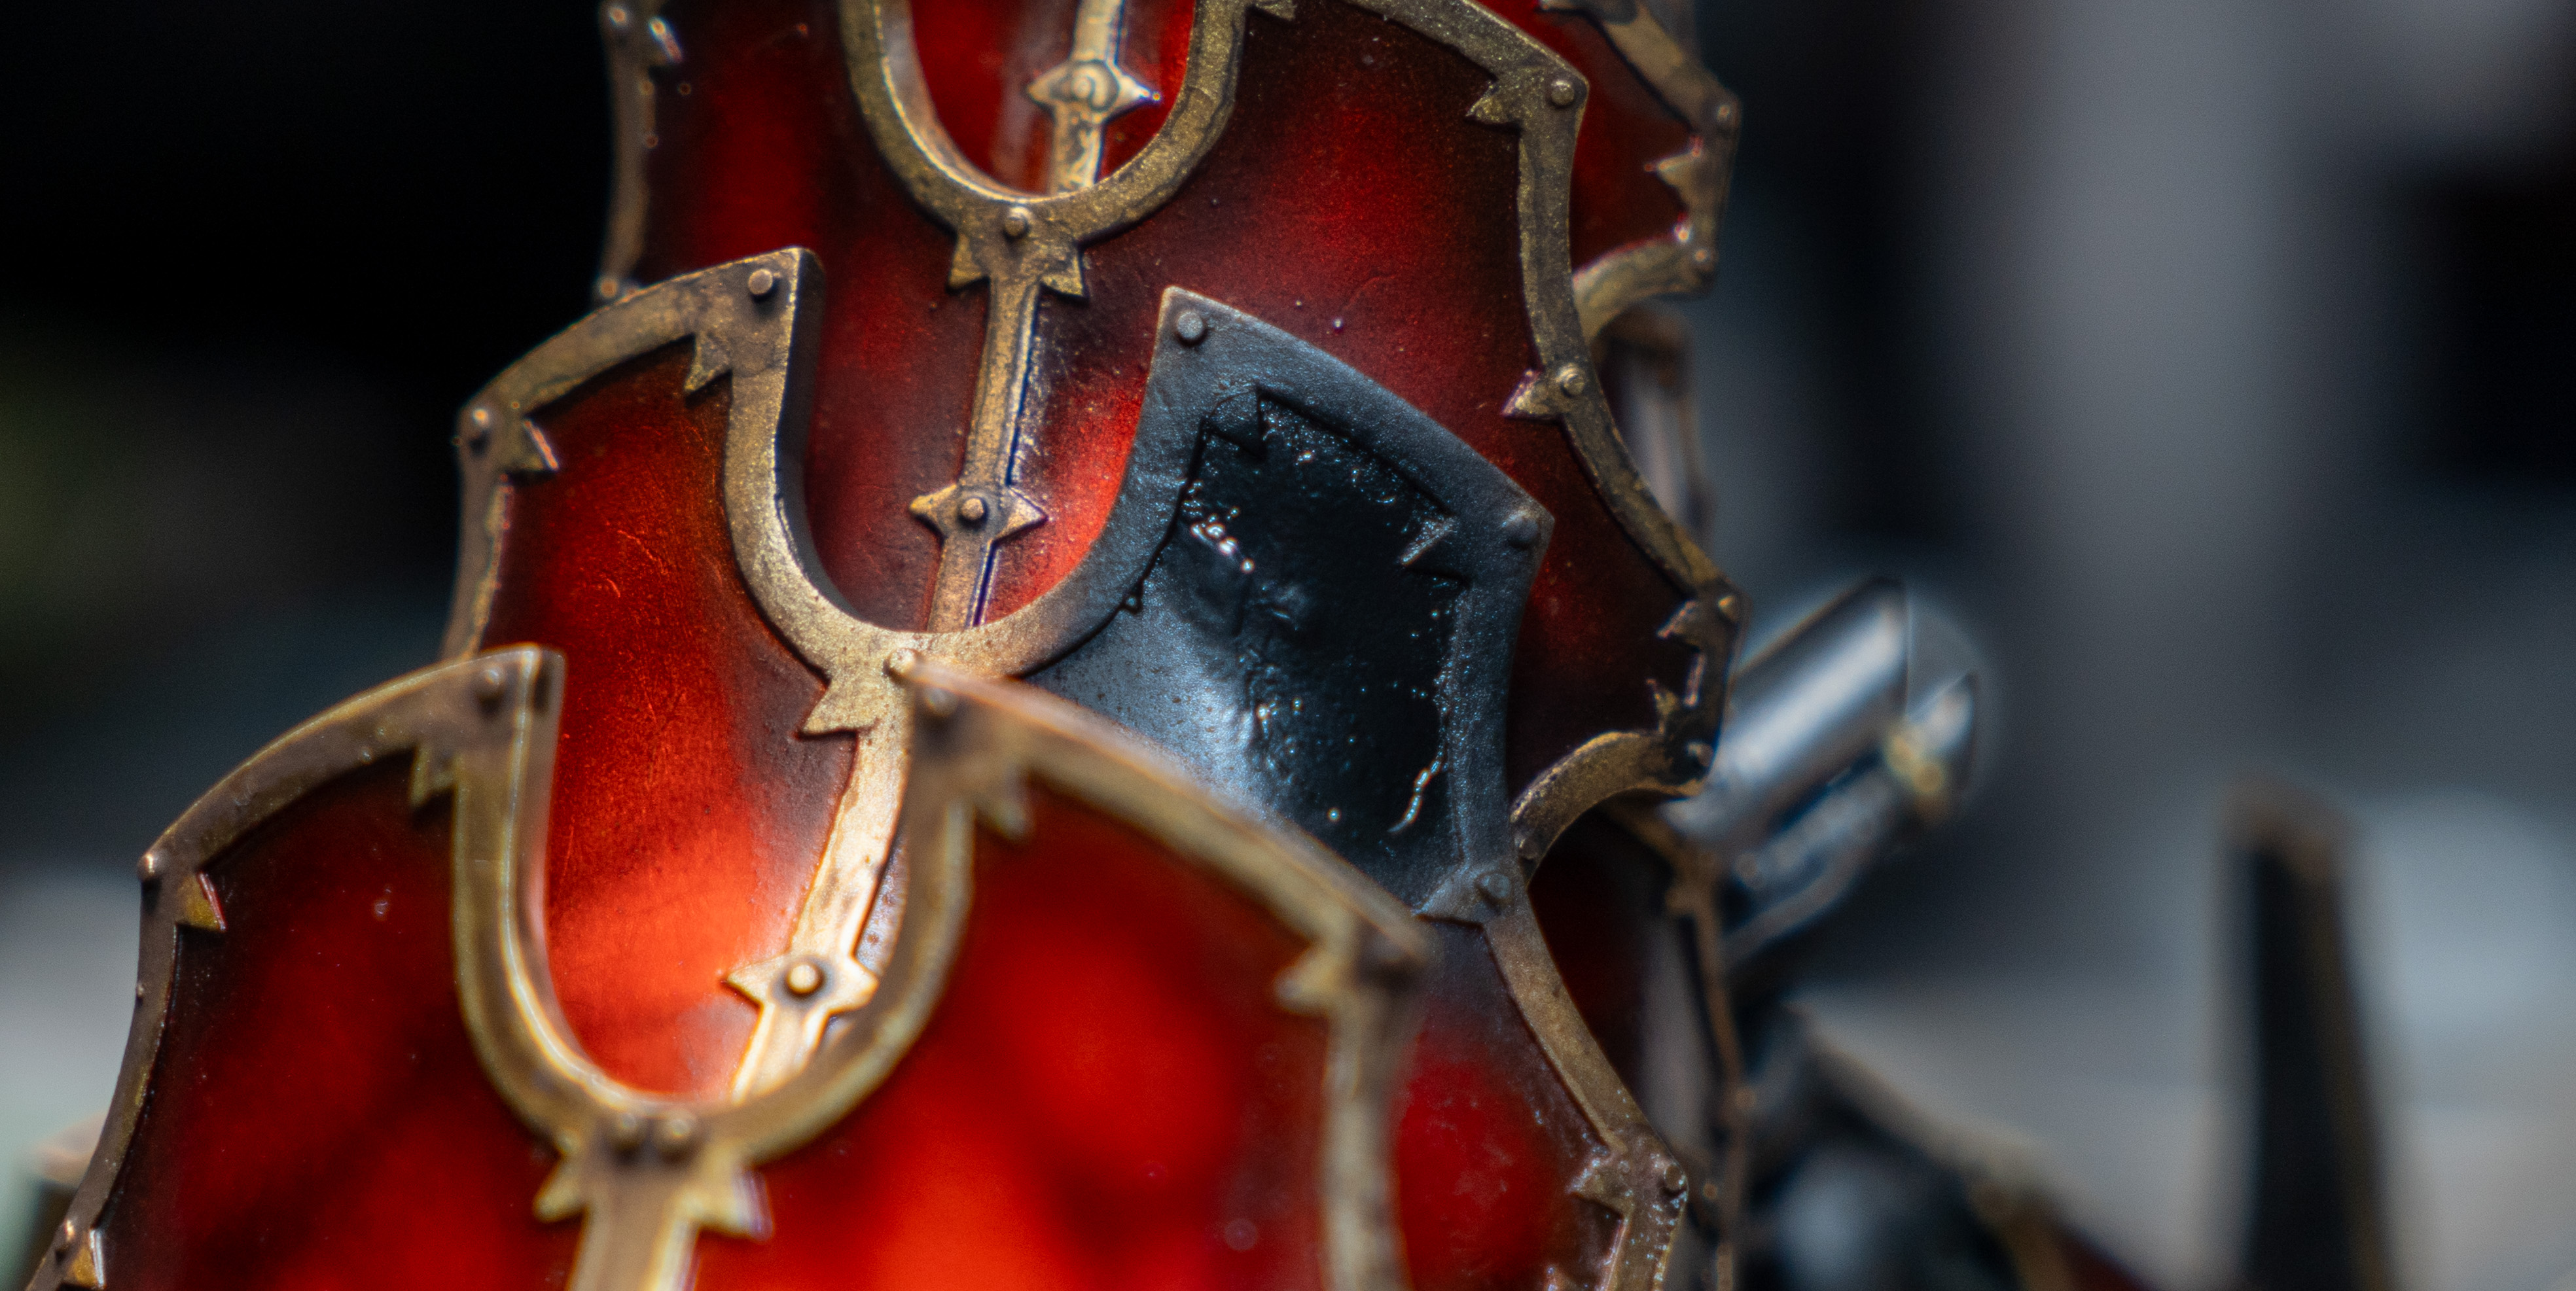
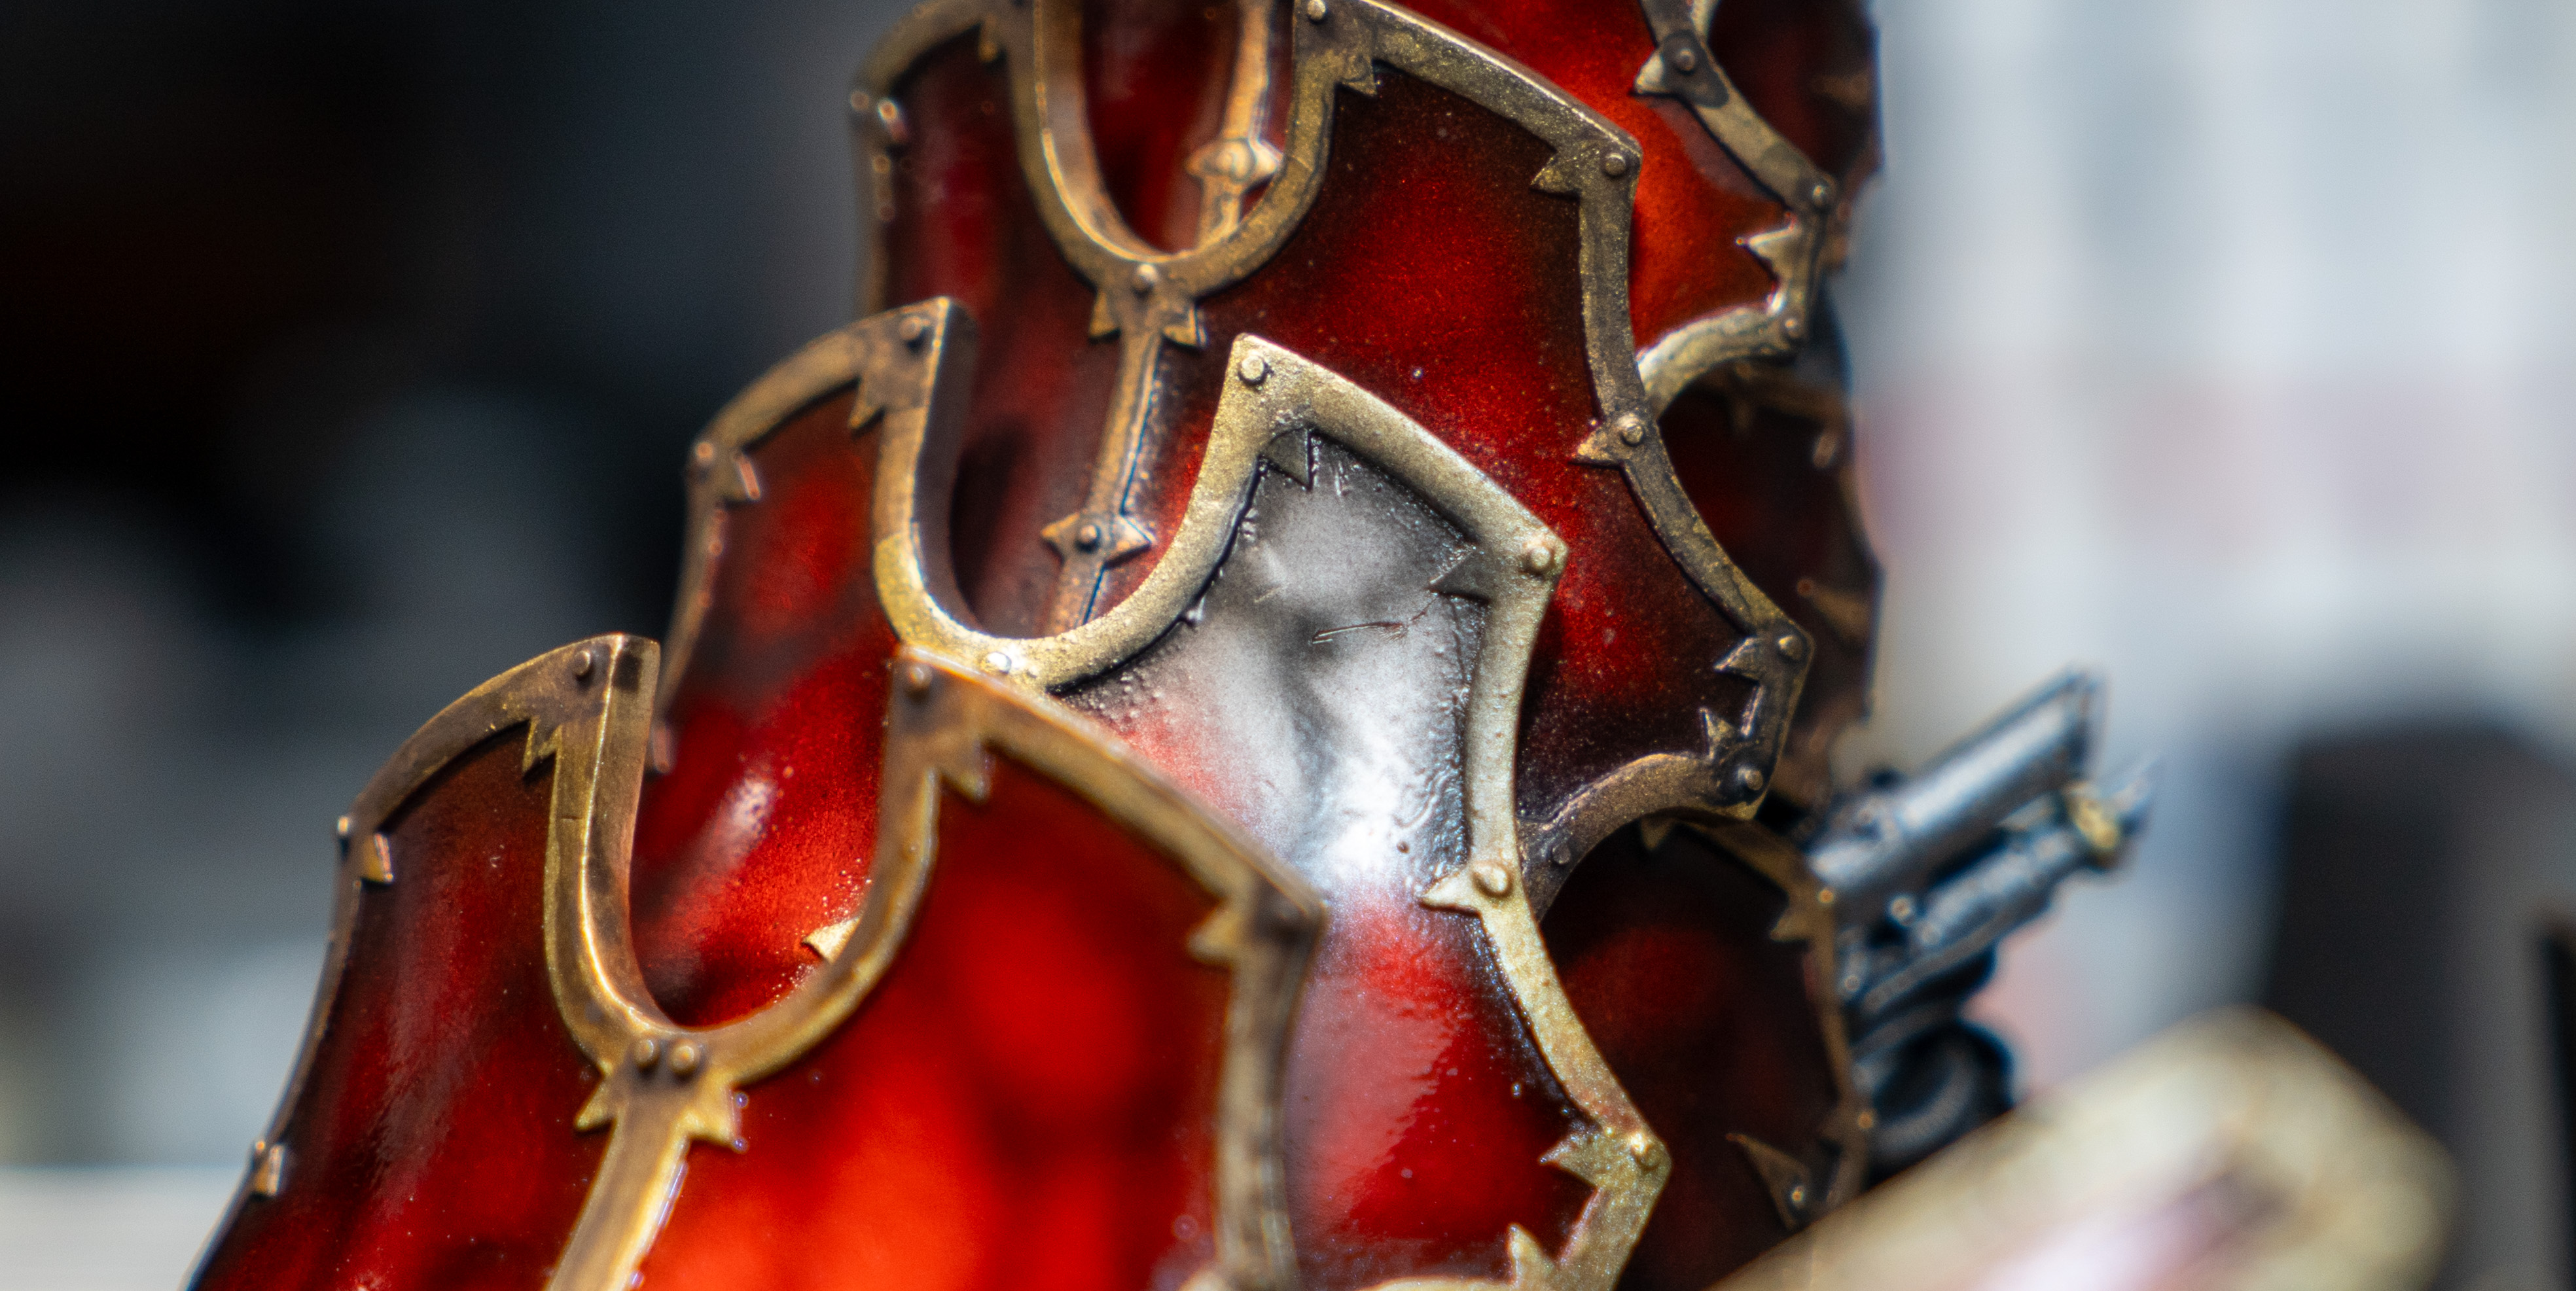
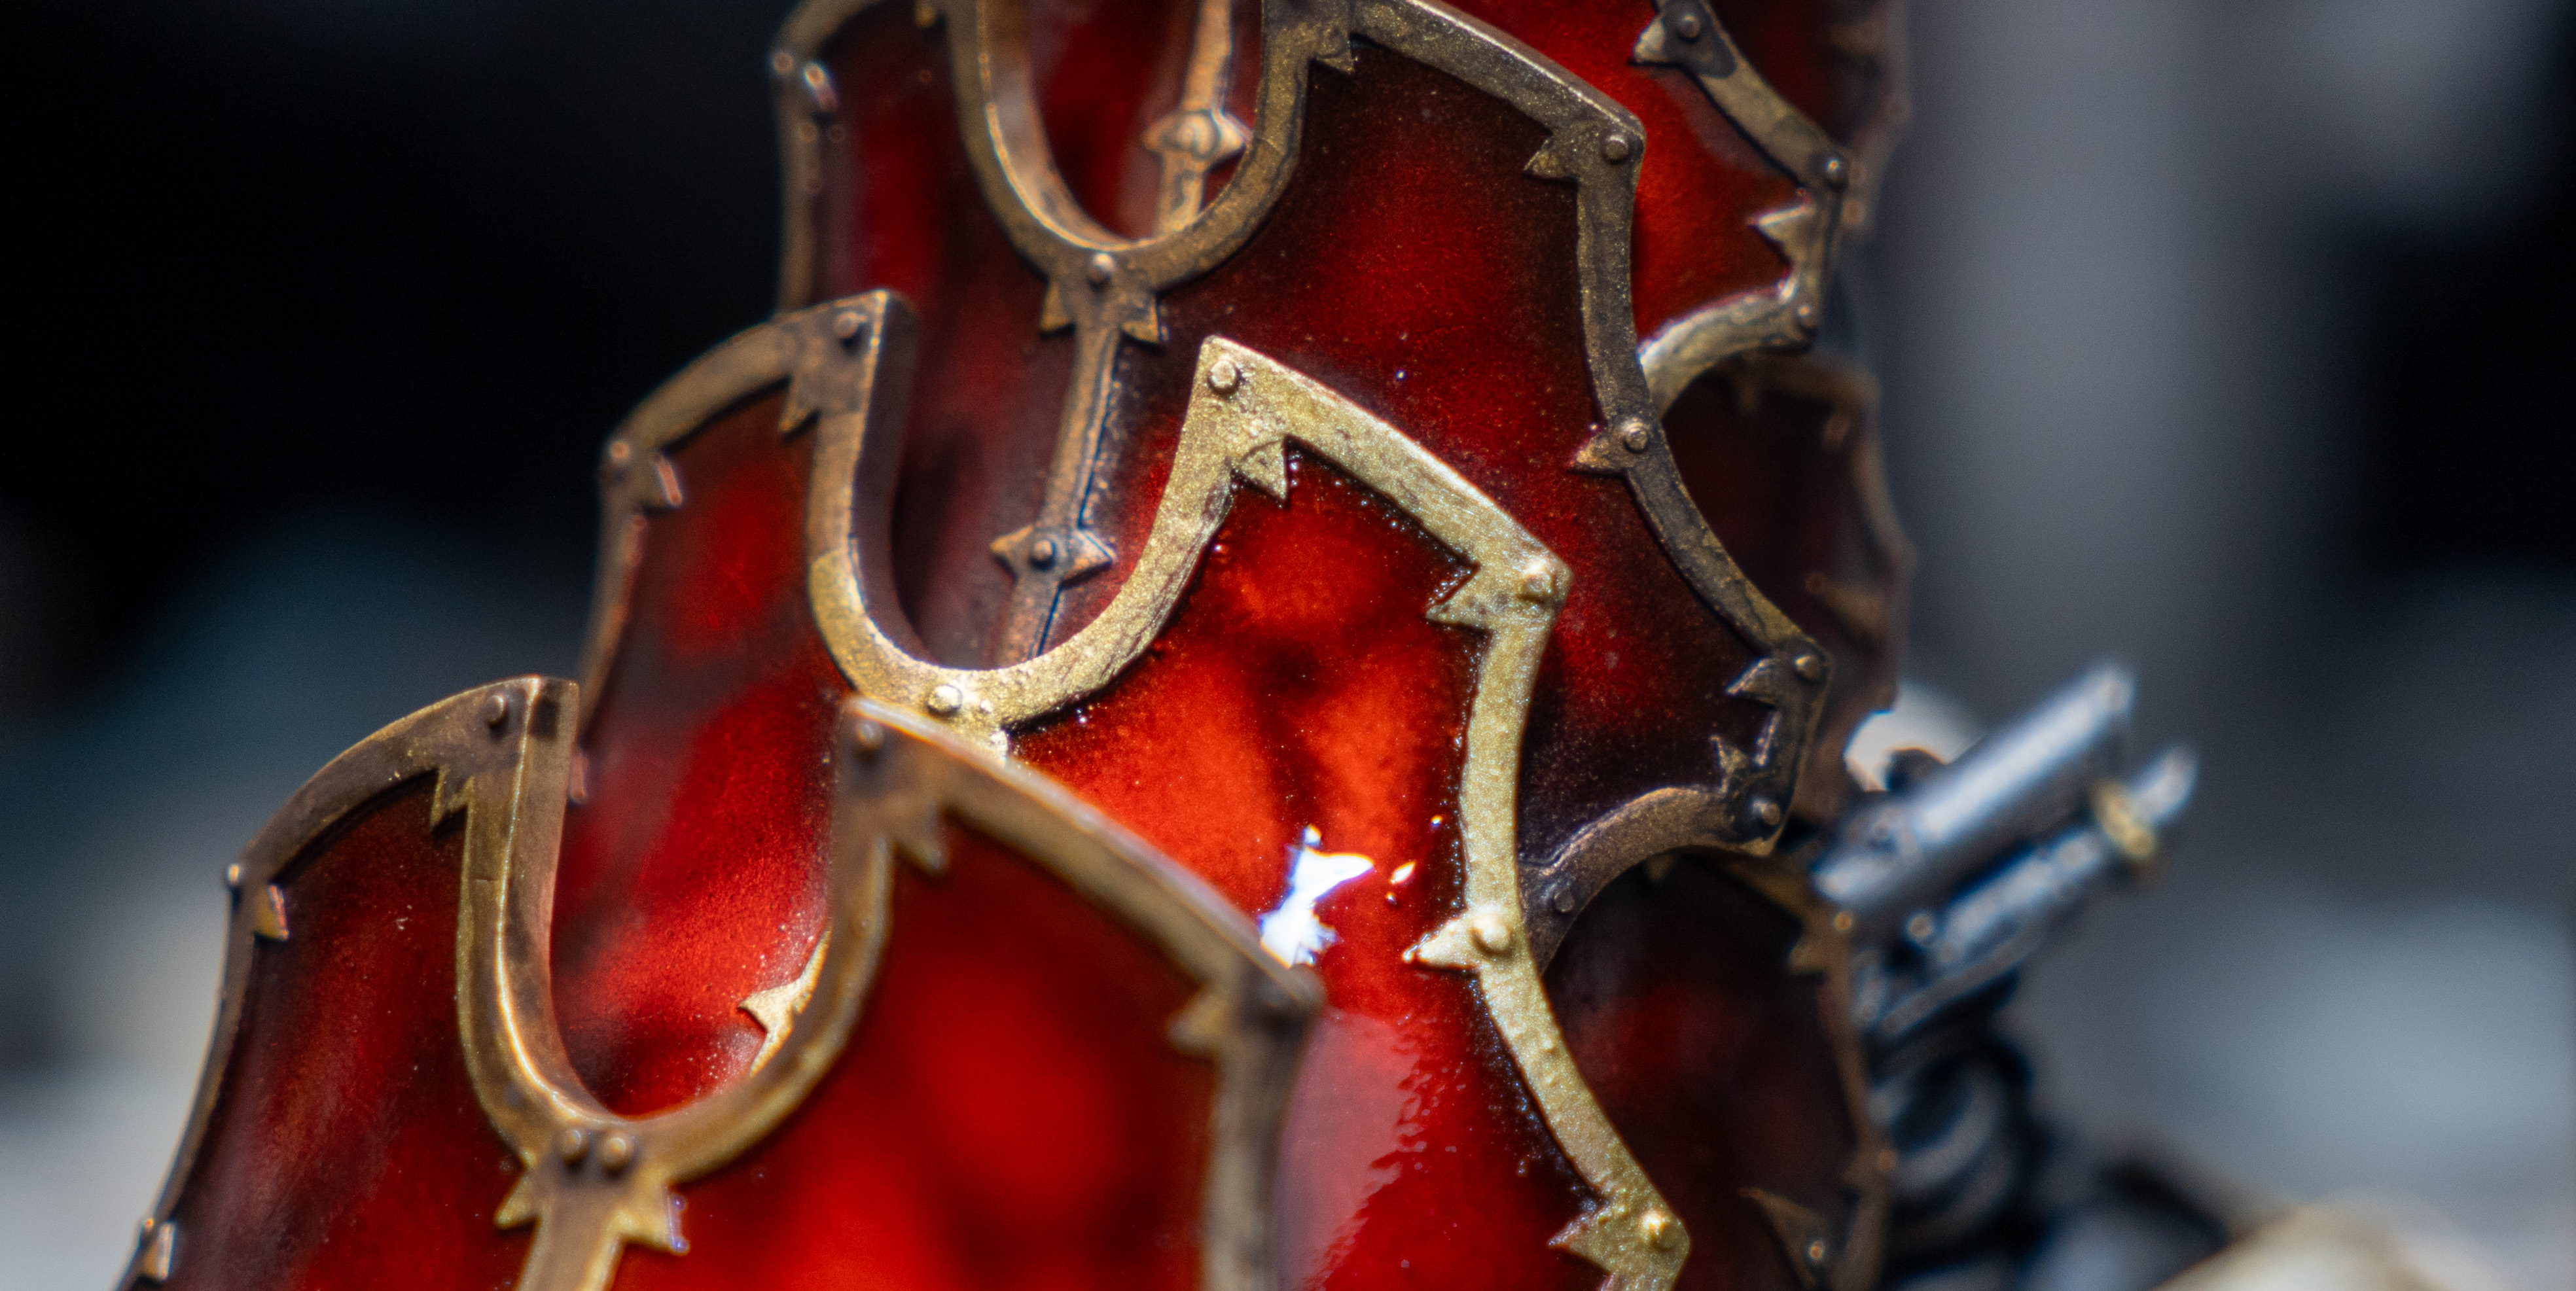
(1/4) Problems are bound to appear regardless of how well you've planned your painting project. In this instance, I only noticed a considerable bump in the surface after applying all the layers which was visible under illumination
(2/4) The surface has been sanded down and a thick layer of C92 Semi-Gloss Black have been reapplied to the surface, sanding down after waiting for a day to cure
(3/4) SM 205 Super Titanium 2 and strands of C92 Semi-Gloss Black are applied the same way as the previous steps.
(4/4) Tamiya X-27 Clear Red is applied on top aiming to blend the surrounding area.
It's important to keep a level head and understand that almost every project can be saved with the right steps. If it proves too difficult, take a step back and take a look at it another day. A new perspective always brings new ideas to light.
Conclusion
Sources
https://warhammer40k.fandom.com/wiki/Brass_Scorpion
https://wh40k.lexicanum.com/wiki/Brass_Scorpion
https://www.youtube.com/watch?v=v4QCYV3OiDw
https://www.reddit.com/r/Warhammer40k/comments/1gnvezq/completed_greater_brass_scorpion/
https://weemen.blogspot.com/2016/01/greater-brass-scorpion-of-khorne.html
https://www.facebook.com/groups/eaviermetal/posts/7339065972824217/